Day 2 brings you shaped cards. I wanted to try something a little different at some point this week. Well, two sweet shaped cards were the next to be completed.
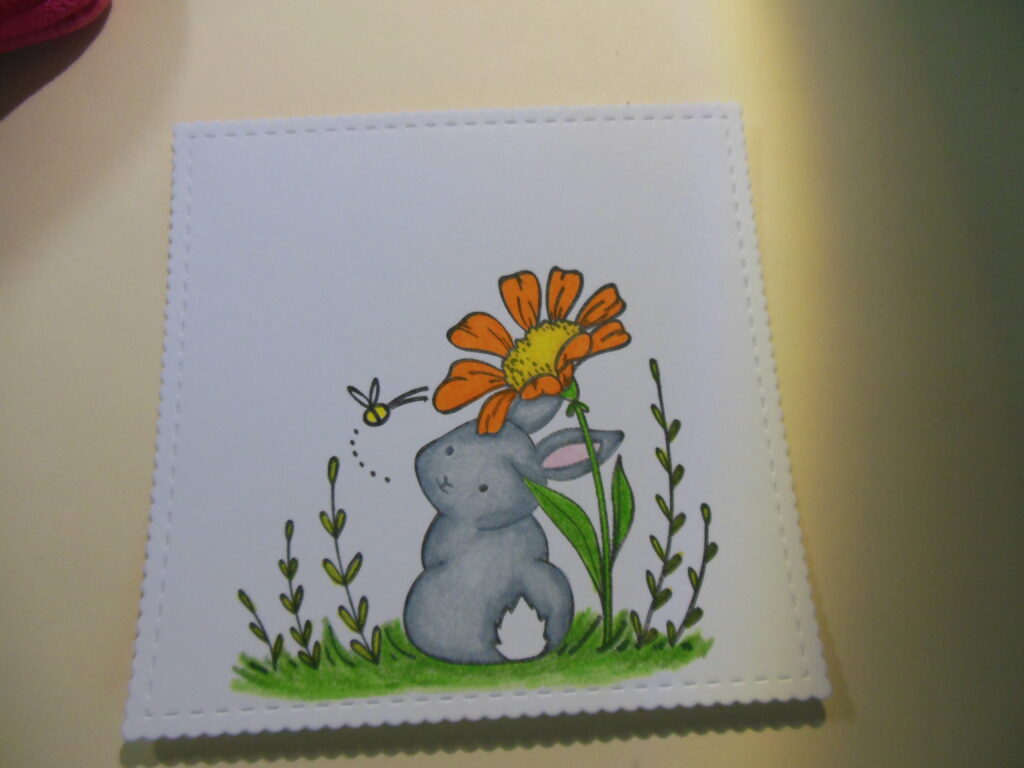
For the first one, I made a simple 5 x 5 square card. I went about this a little backward by starting with my focal image. I used the largest of Unity Stamp Company’s Scallops & Squares Nesting Dies for my focal image panel and then used Hoppy Notes and stamped the focal image using Gina K Designs Amalgam Jet Black Ink (the link is to Obsidian Amalgam Ink as that is the current black amalgam ink). I love this super sweet little bunny.

I colored the image using Prismacolor Pencils.
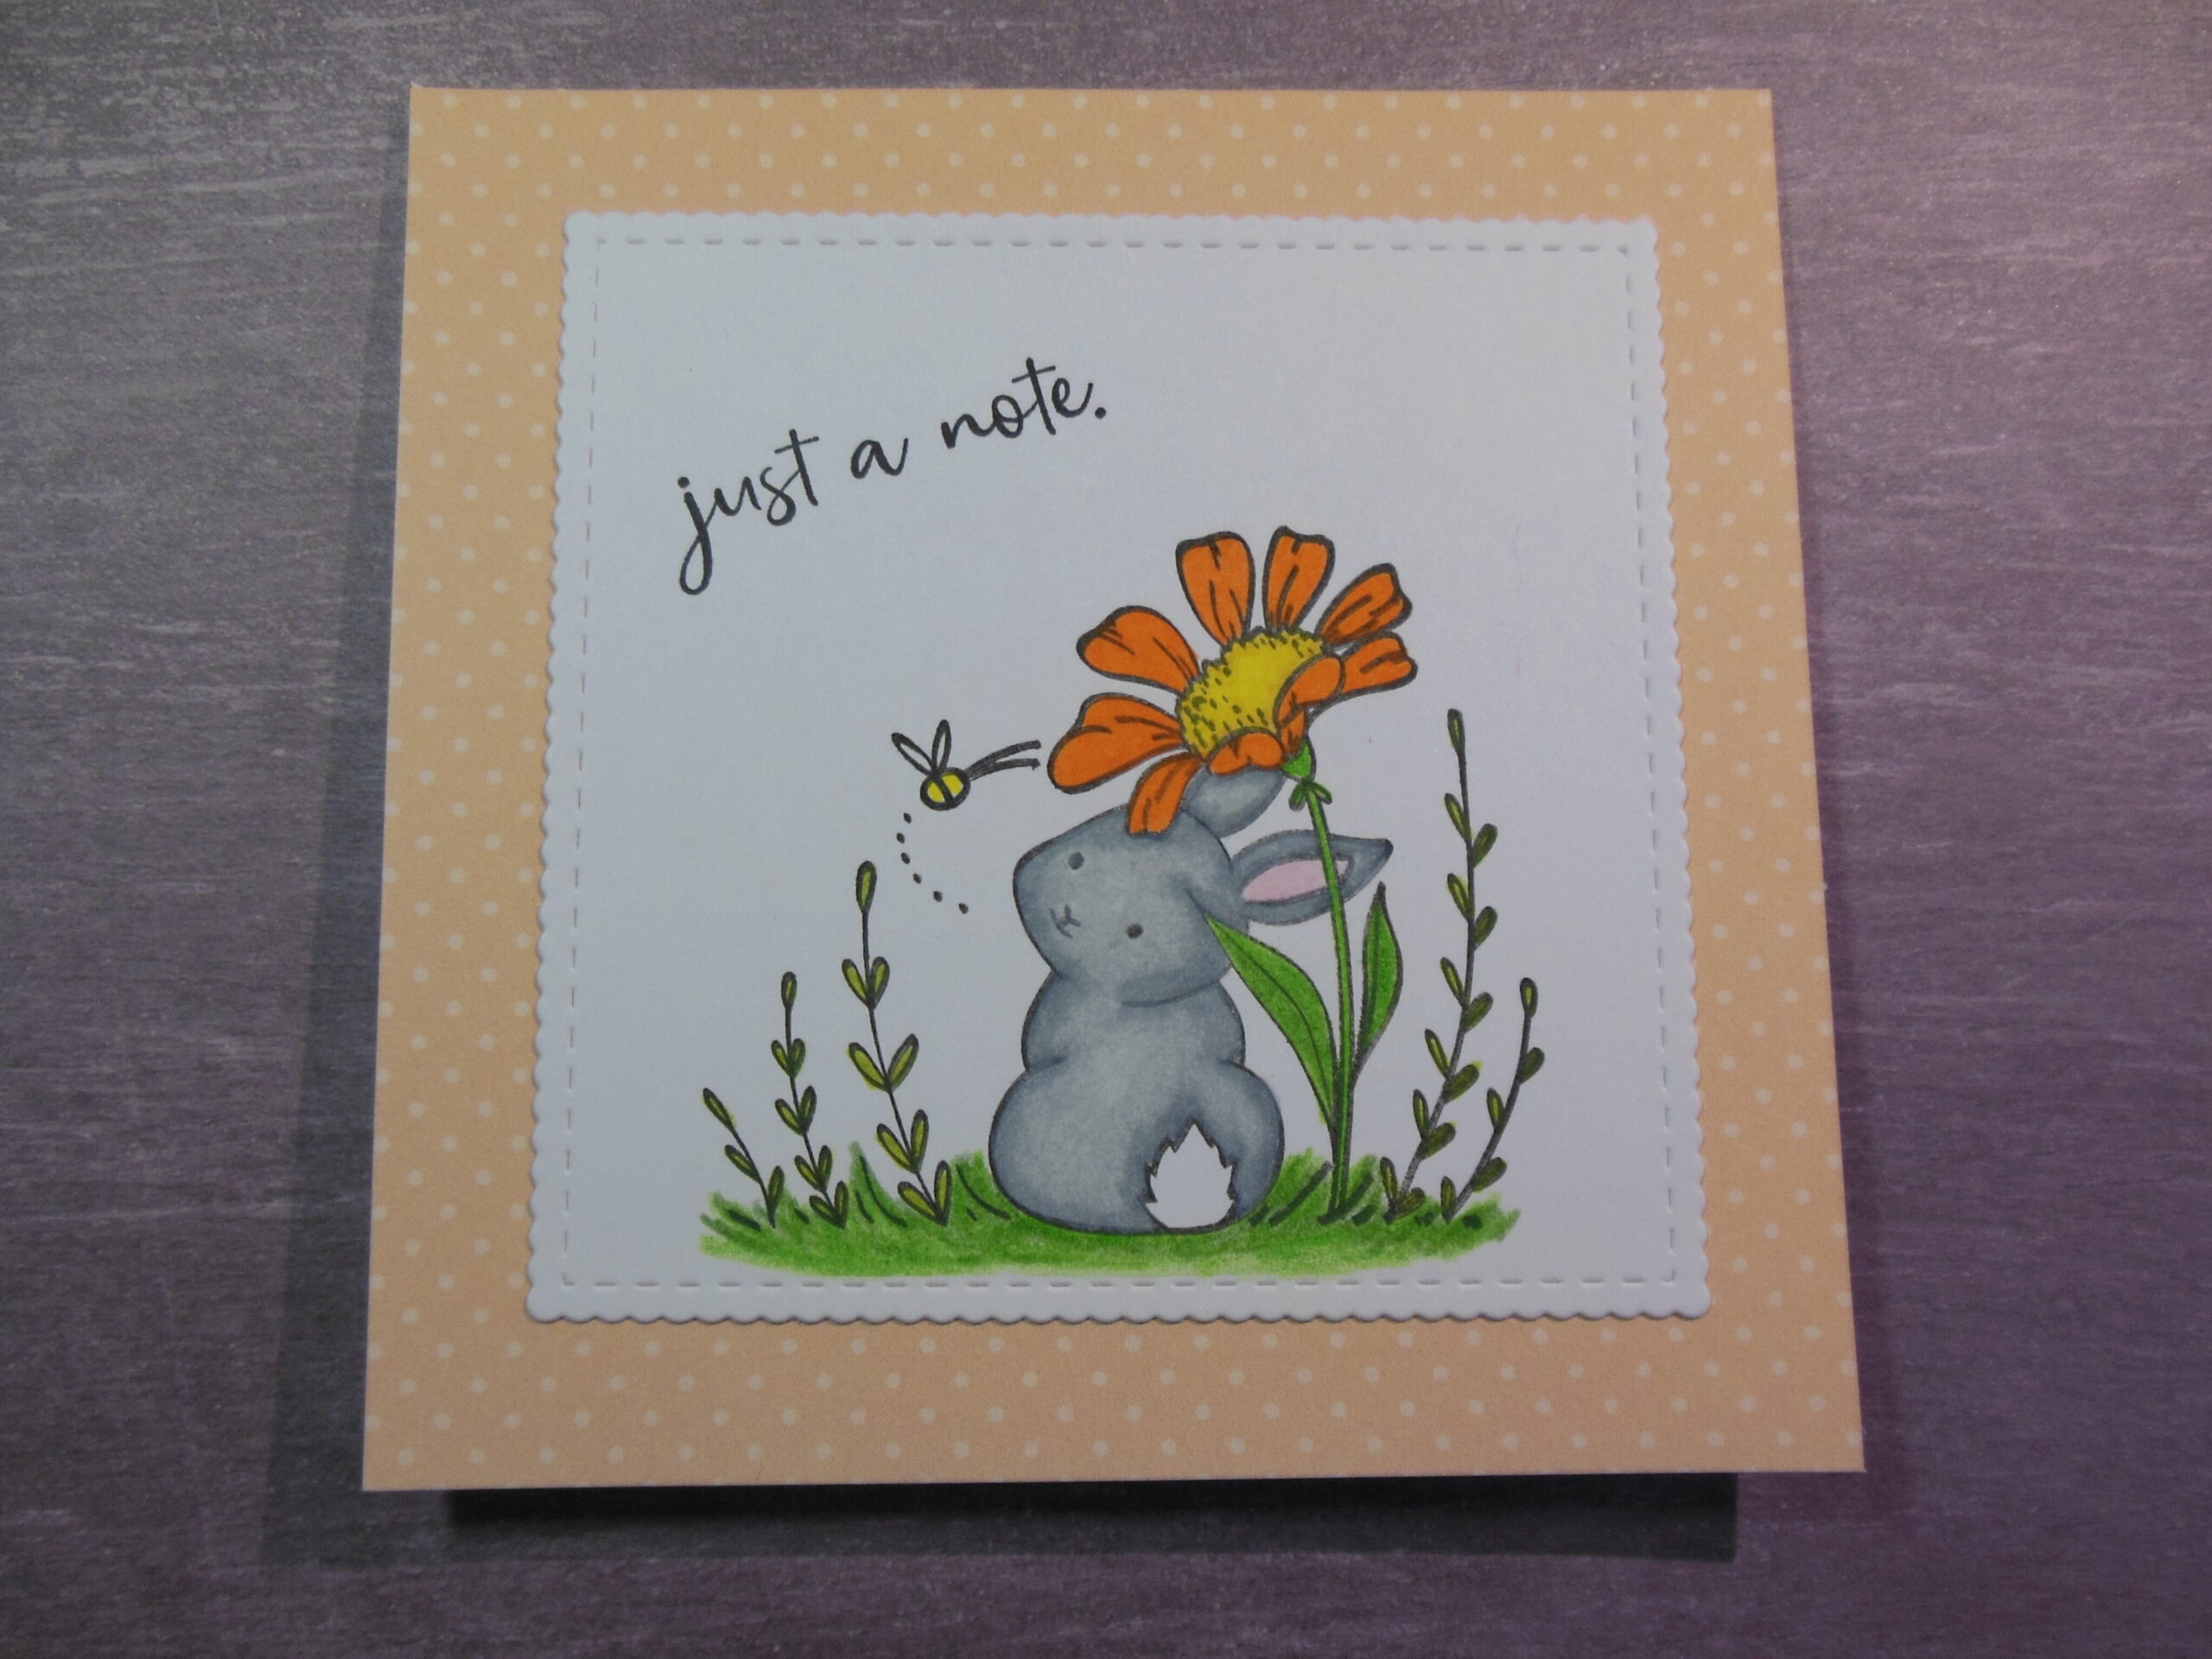
After coloring the image, it sat for a bit waiting to tell me what it wanted to be. After a few days, this little guy told me he wanted to be a 5 x 5 square card. I cut an 8 1/2 x 11 piece of white card stock down to 5 x 10 and scored it at 5 inches. I also dug into my stash of Unity paper packs and decided to use a peach polka dot out of the Cloud-Hopper Chronicles paper pack from the June 2023 Whit Kit.
Finally, I added the sentiment from the Hoppy Notes set and I had a sweet little card.
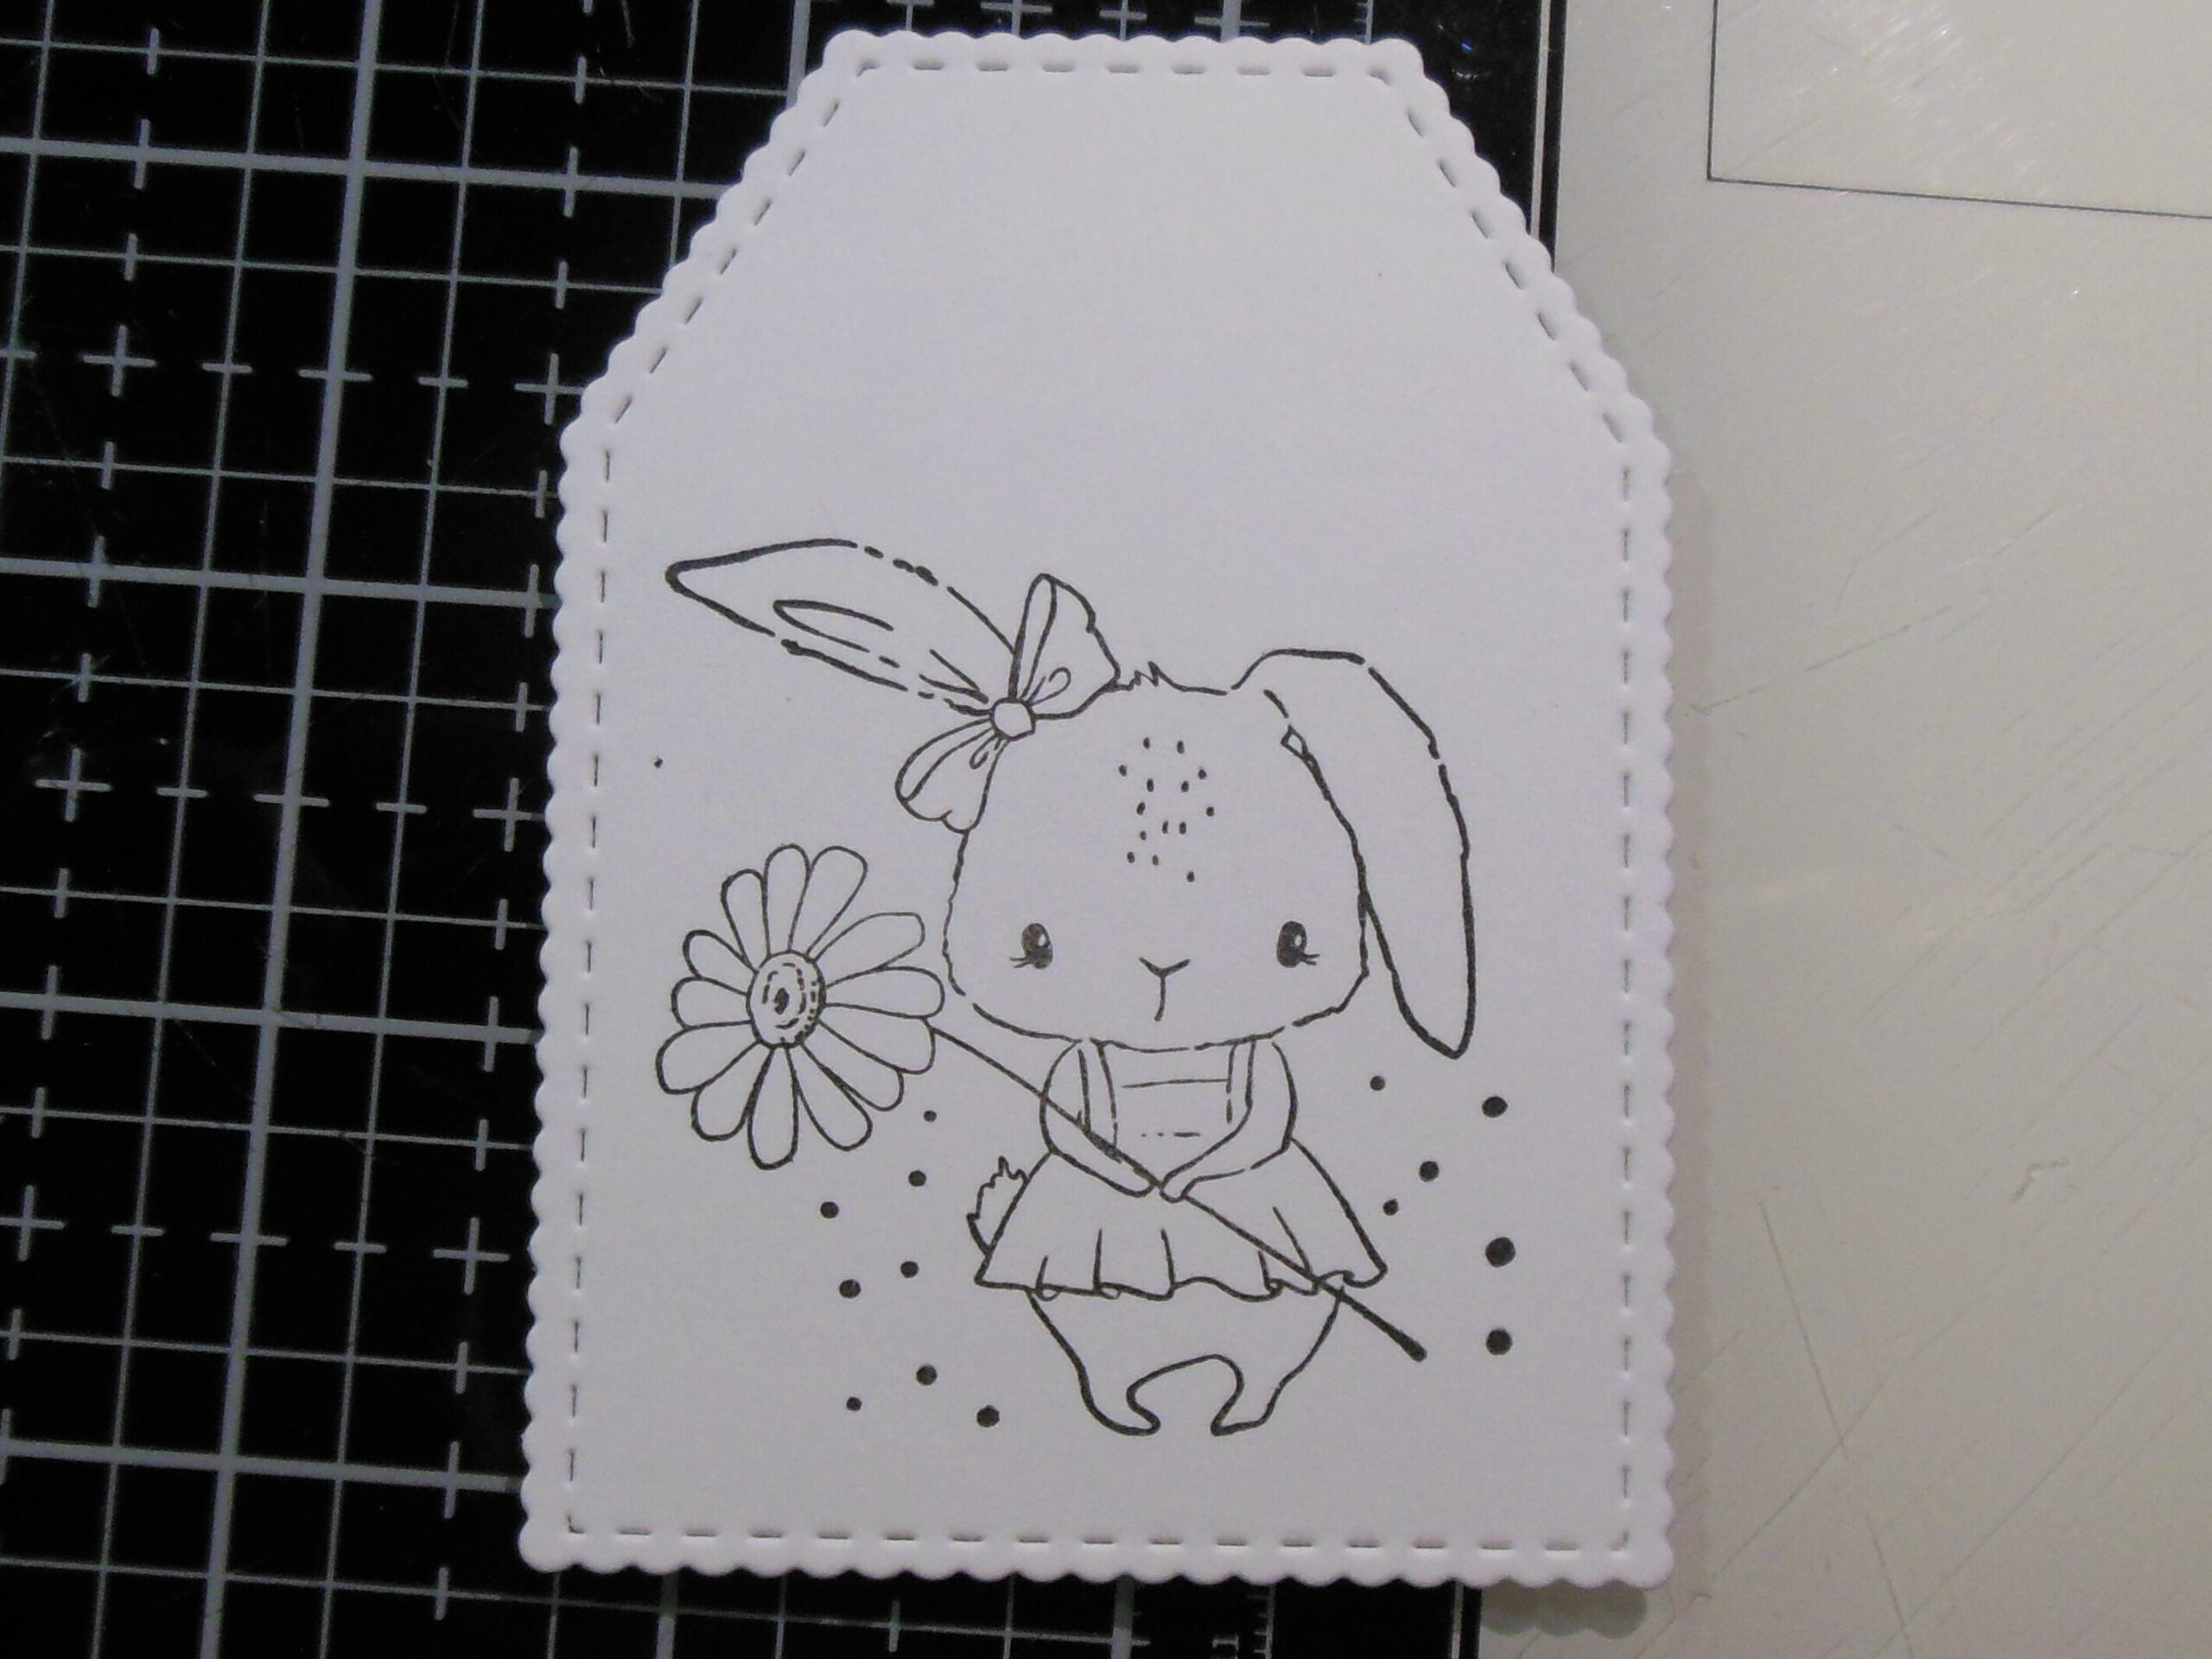
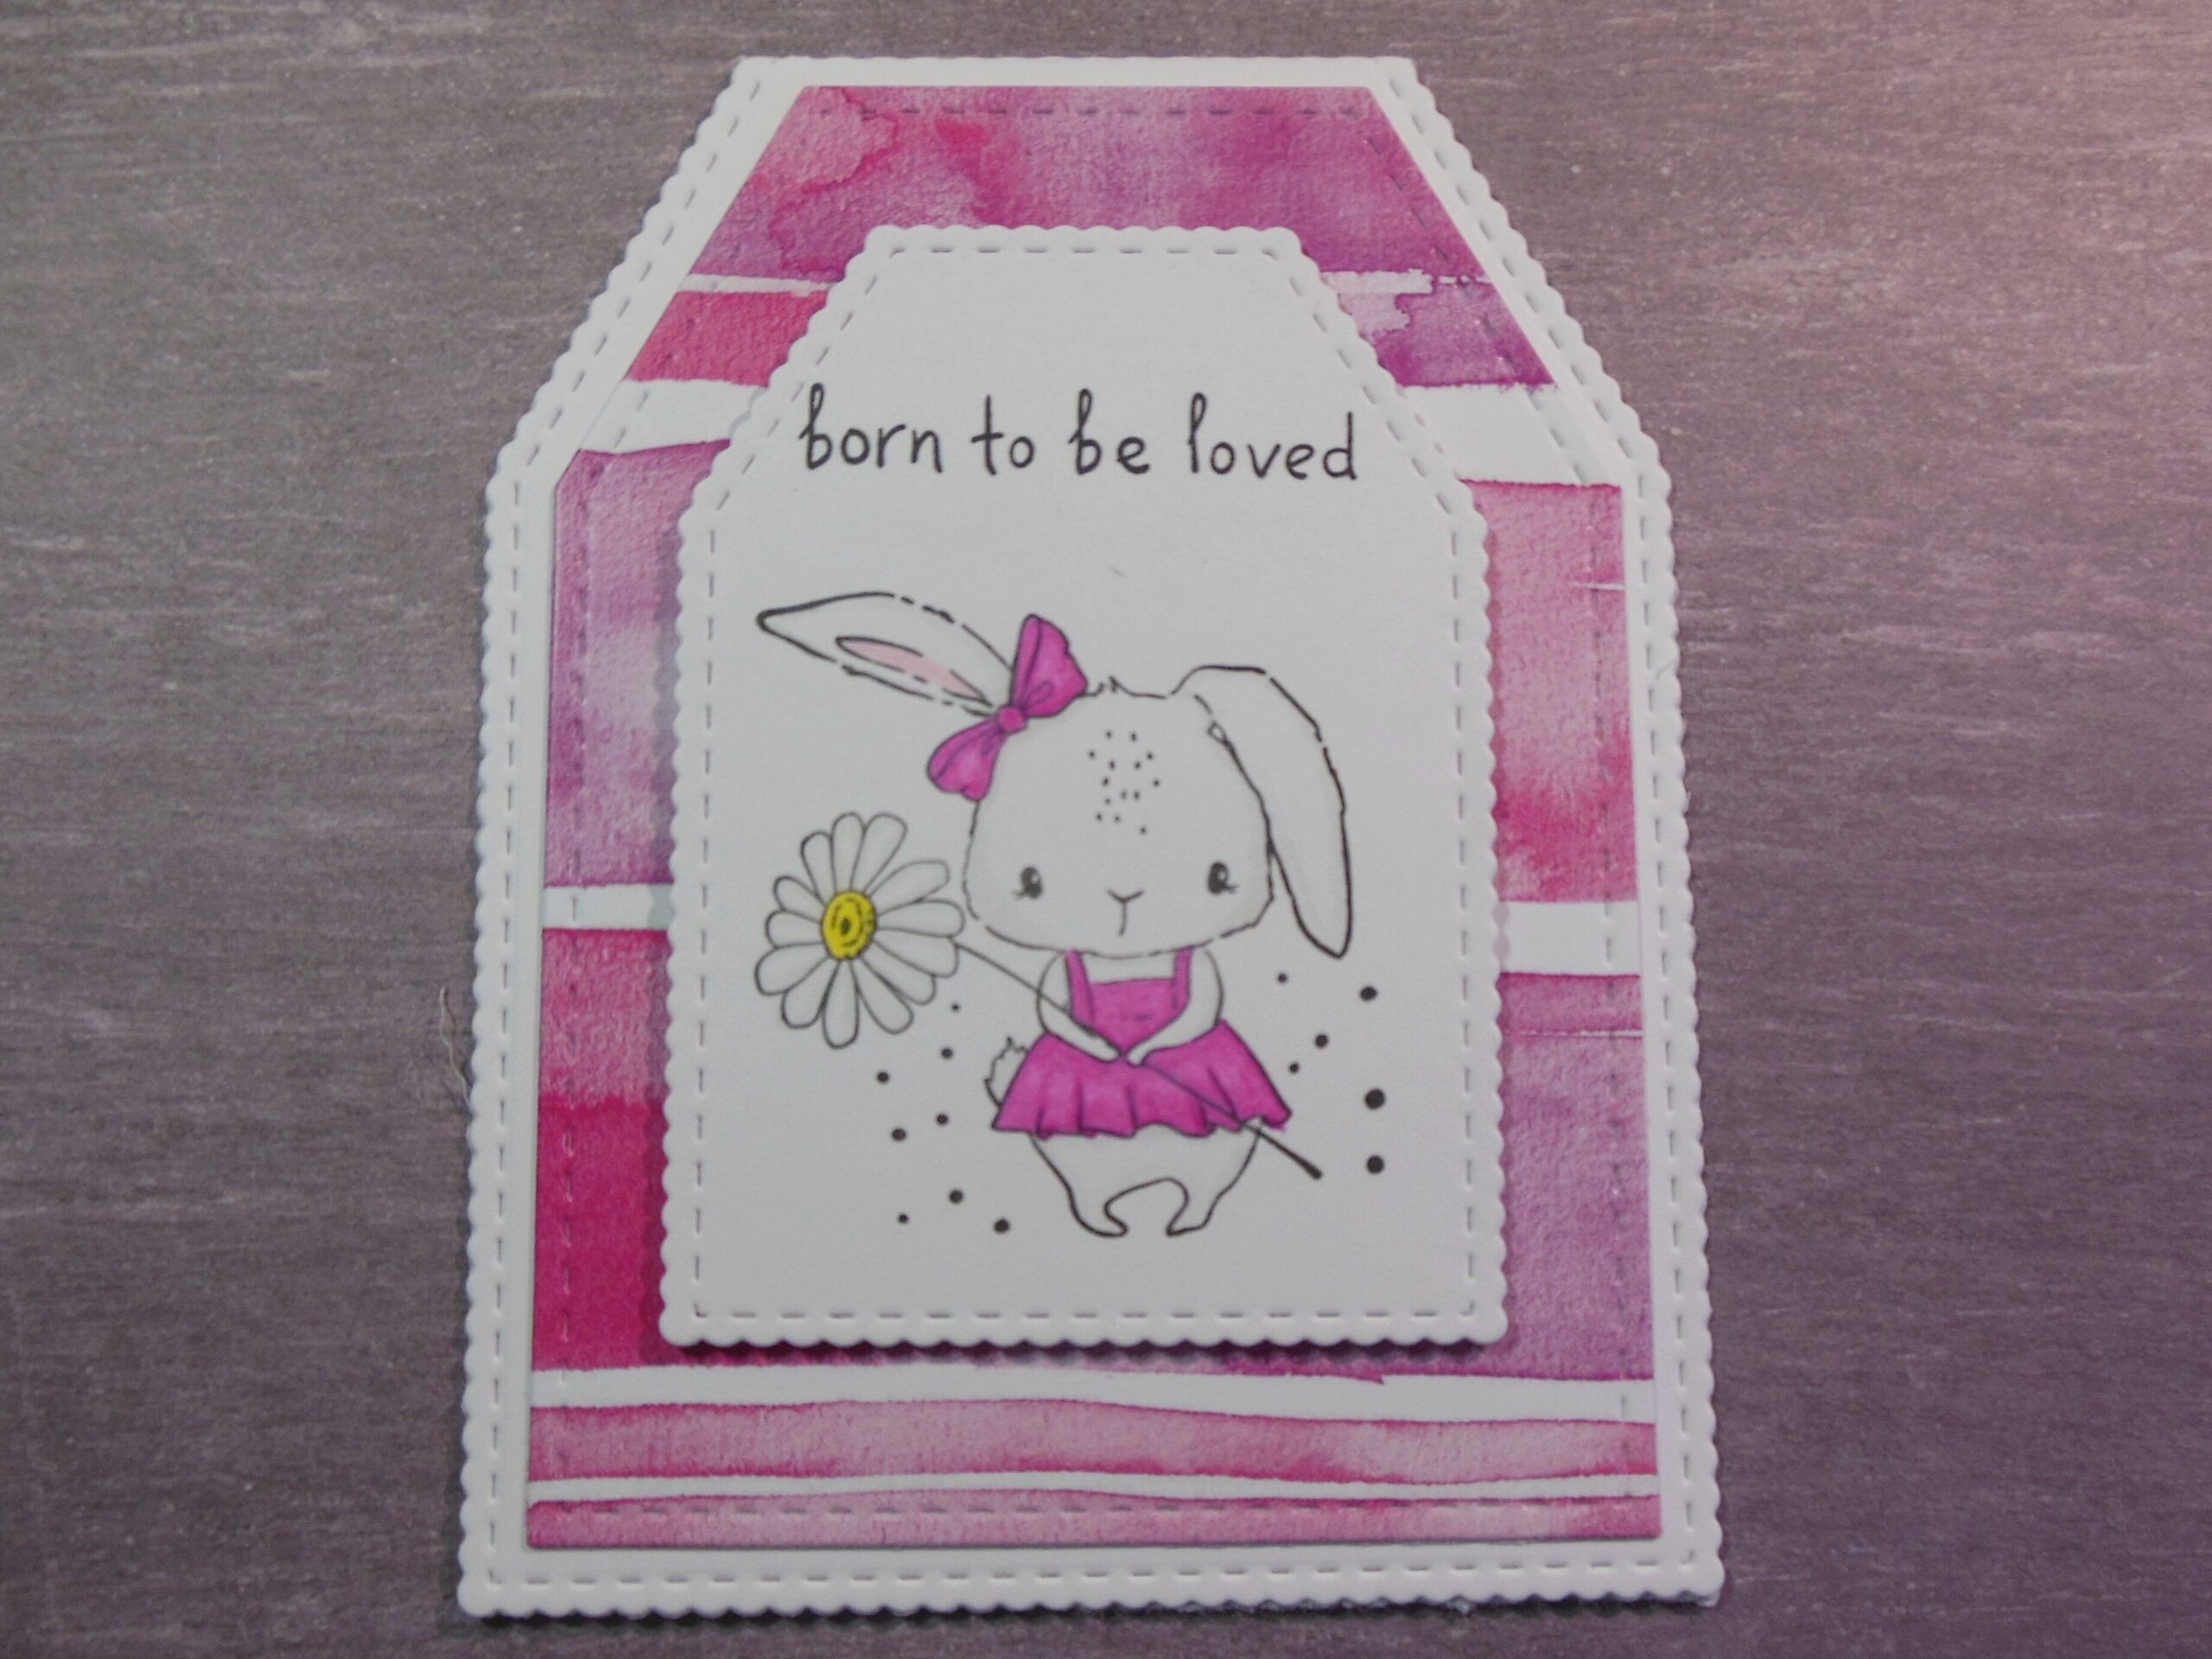
Today’s second card is a little tag card made using Unity’s Make a Tag Die Set. I started with the small scalloped tag and stamped my focal image using Unity’s Born To Be Loved set. This sweet little girl was chosen for me by a dear friend during one of our art days while I was trying to decide on which bunny sets to use for this week. She looked through my basket of bunny sets and said she liked this one best, so I knew I had to use this one. I stamped the image in the same Gina K. black amalgam ink.
I decided to simply spotlight color this sweetie. Every little girl deserves hot pink, and it is sort of my signature color.
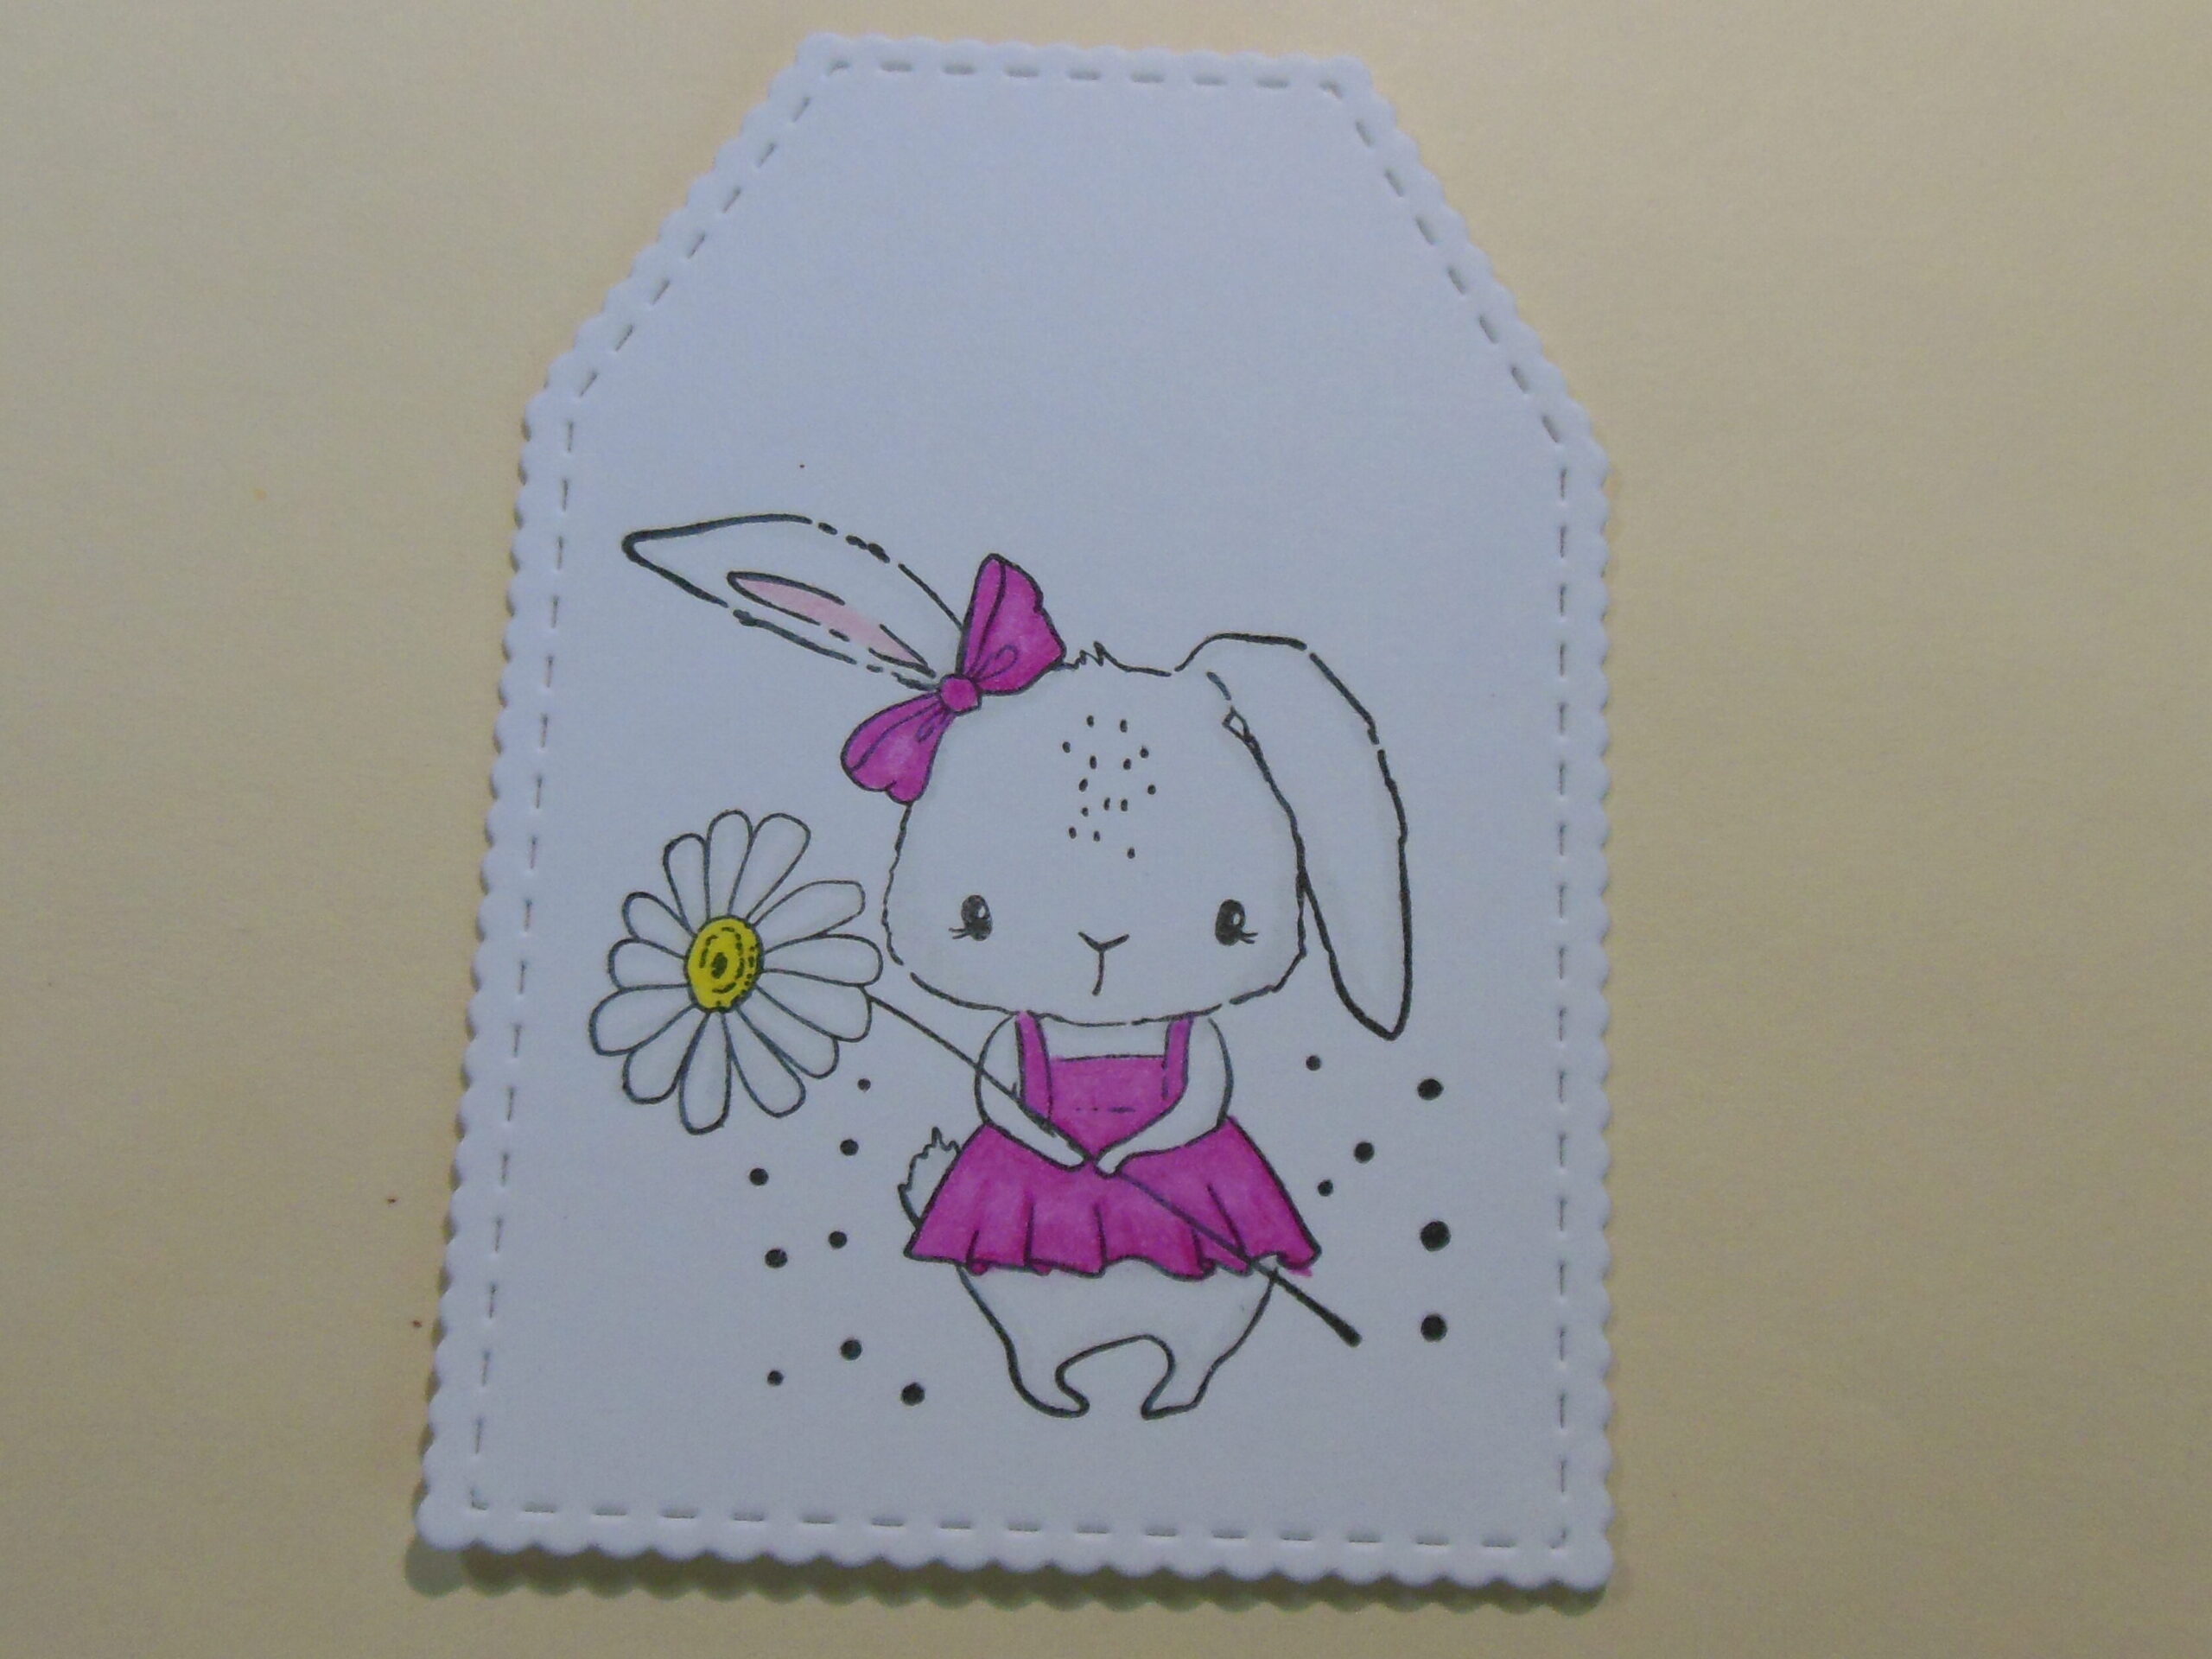
Again, it took me a little time to decide what to actually do with this little tag. As with the square card above, this little sweetie told me a tag-shaped card was the way to go. I used the largest scalloped tag from Unity’s Make a Tag Die Set to cut the base, making sure that the top cutting blade was just off the paper so that I still have a fold. I cut a layer with the next size down. The layer is from Unity’s Watercolor Stripes paper pack from the May 2020 Whit Kit.
I glued the stitched tag directly to the tag base and then popped up my little sweetie tag using foam tape for a little dimension. The sentiment on the front is also from the Born To Be Loved set.
Be sure to leave a comment for a chance to win one of two gifts from Unity that I have to give away this week. Each gift is $20 in store credit on the Unity Stamp Company website. I will be drawing two names using a random picker at the end of the week from those who comment.
Any links in this post are not affiliate links.
Love the shaped cards…darling!
Such cute card!
Super cute cards!
Both are just darling. The 1st one could be mass produced and you could just change the color of the flower on each note card.
Super sweet bunny cards Holly!!
Some “bunny” will love getting these cute cards! 🐰
Such sweet cards!
Sweet bunny images for your shaped cards! Adorable!
So sweet!
Love your sweet shaped bunnies projects!!💕 🐰 😊
I love shaped cards and had not done a tag one so thank you for the inspiration!! Love the paper you paired both cards onto!
Cute, I like that stitch pattern
So cute! I have that sweet bunny with the flower. I’ll give it a try! 🤔 I guess I’m a bunny person too!
Both of these cards are adorable!!!! Thank you for the step-by-step explanations!!! ❤️
Very sweet cards! Thanks for permission to not always color everything.
Both of your creations are super cute!!! Love them!!
-Jenni shamblin
Adorable cards!
Cute!
Really loving your cards- and photos of your process! Darling work- love that tag as pink is my jam!
Holly, both of your bunny cards are so sweet. I love the way you colored them, and the pretty unity papers are just perfect! I loooove the tag shaped card!! I’m going to have to try this, too!
Adorable! Love the folded tag idea with the dies. Love that pink pop from the paper pack as well.
Adorable! I too, let the image tell me the direction to take. No matter my plans for it, the images always direct me.