July’s swap brings us a fun fold card – a tri-fold accordion. YouTube to the rescue – once again!
I watched a video from Stampin-Up demonstrator Tina Zinck. Super simple, but even I messed it up the first couple times. I wrote down all of the cut and score dimensions, but when I went back to actually make the cards, I second guessed what I wrote down. Instead of just going back and re-watching the video, I messed up two card bases. But never fear . . . I will use them. I will just have to do some dreaded math to figure out the sizes of the mats I will need. Anyway . . . let’s get back to what I actually did.
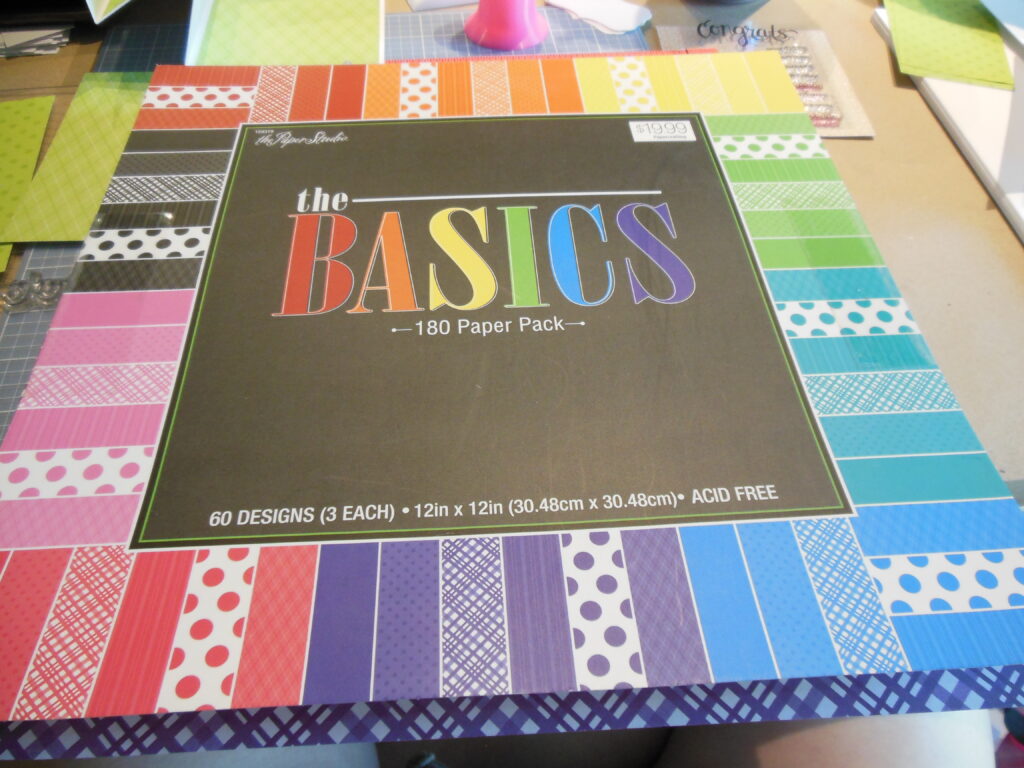
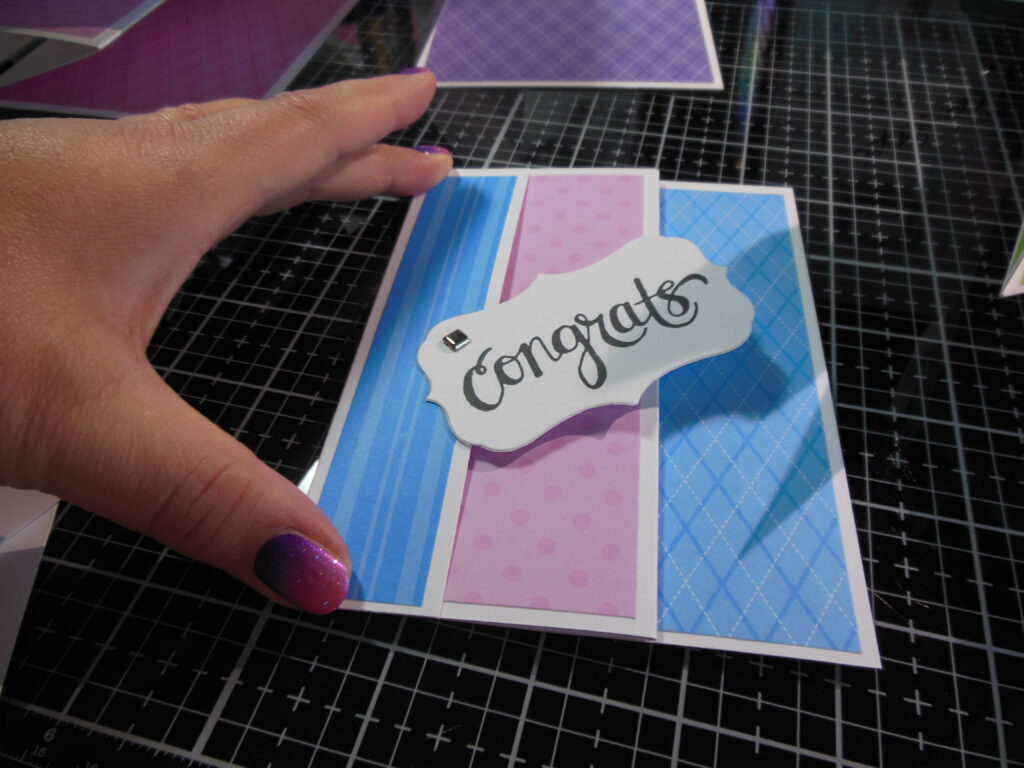
I chose patterned paper from “the Basics” paper stack from The Paper Studio in several different colors. You can see that the stack has several different patterns in each color. I had in mind that I wanted something that could be used for just about any type of “congratulations” you would need. I kept the three patterns I chose in each color in the same scale – a small dot, a small stripe, and a small harlequin plaid.
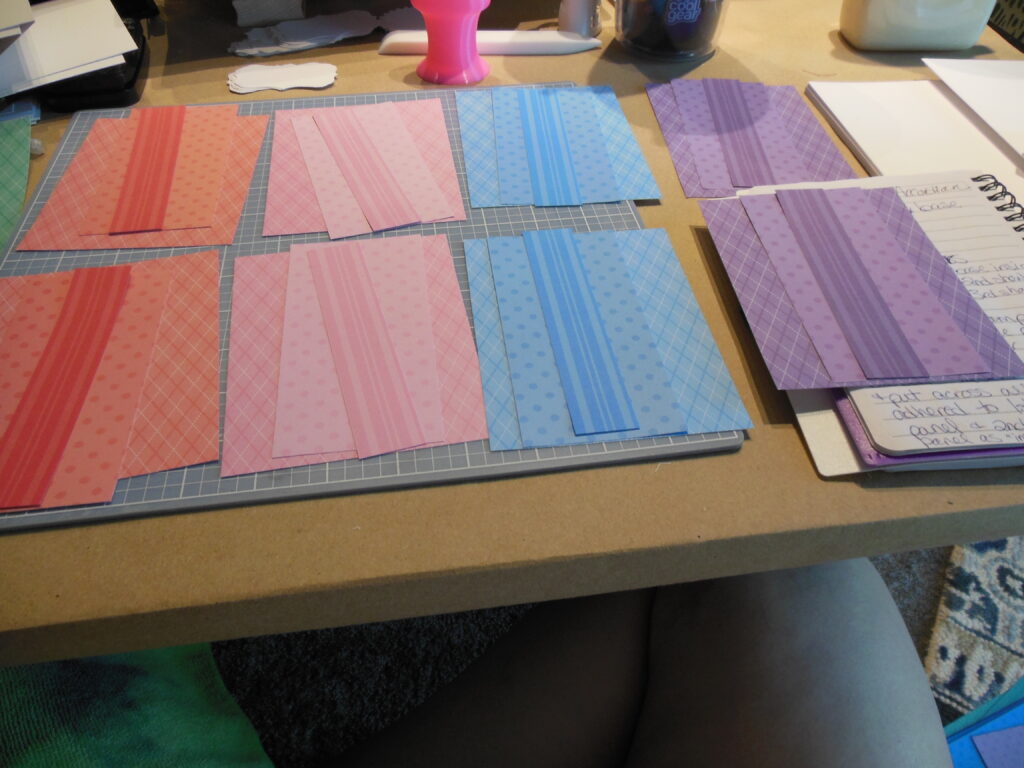
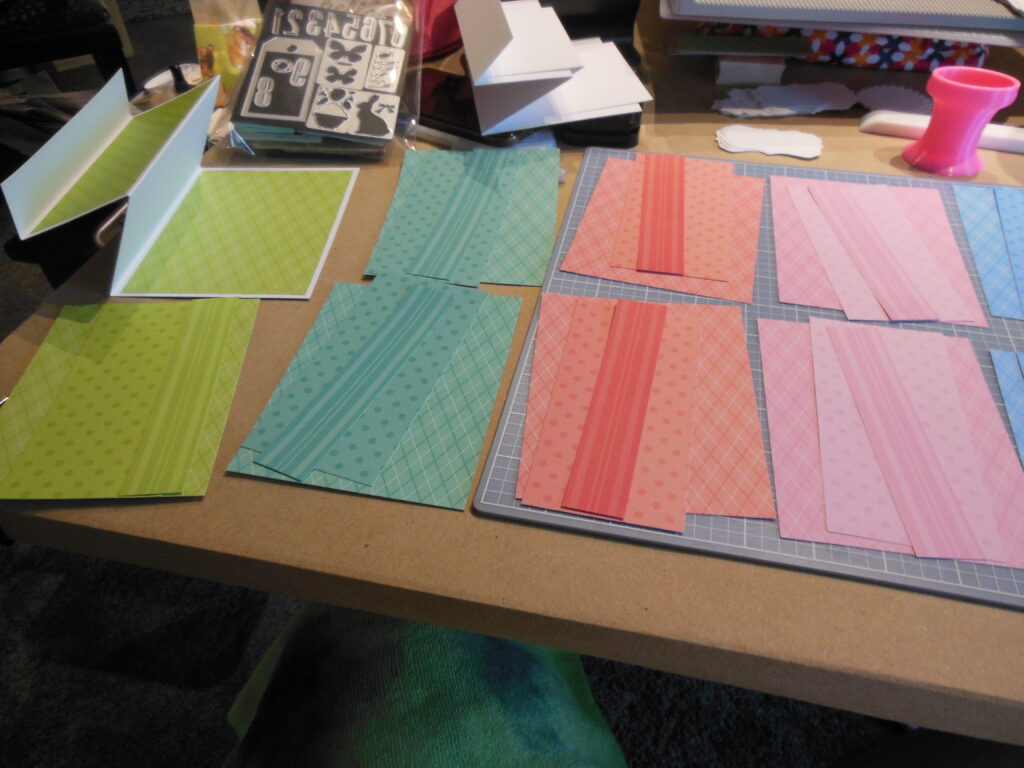

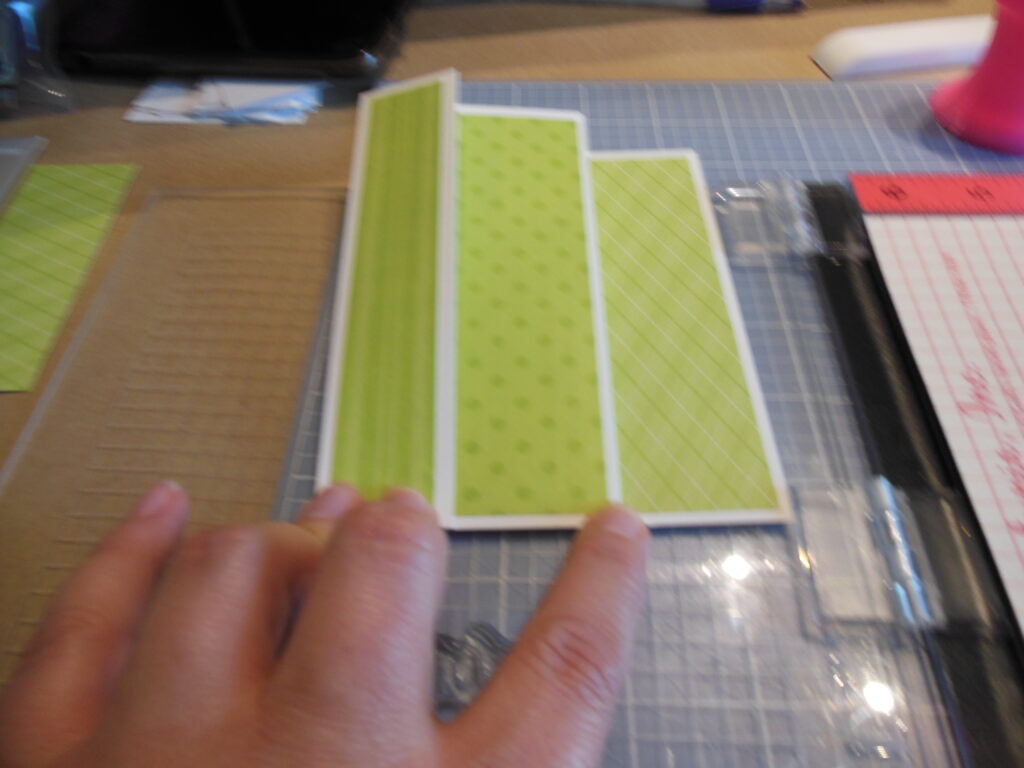
I cut card bases at 11″ x 5 1/2″ and scored them on the long side (11″) at 4 1/4″, 7″ and 9 3/4″. I cut the patterned paper mat layers at 4″ x 5 1/4″ (plaid) for the inside of the base, 2 1/2″ x 5 1/4″ (dot) for the 2nd panel, and 1″ x 5 1/4″ (stripe) for the top panel.
Next, I die cut label shapes using Sizzix “Labels” dies and stamped then with a cute little scripty “Congrats” from Hero Arts Stamp & Cut “Congrats” set.
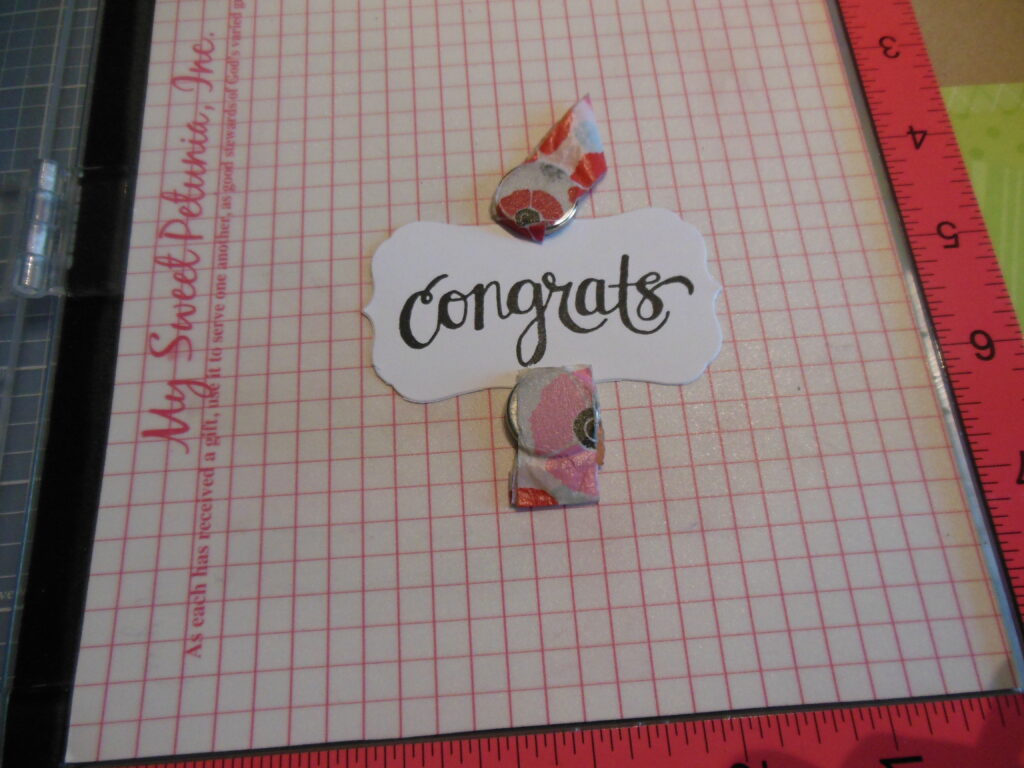
Next, I pulled out the old brads for a touch of metallic and added the sentiment to the first flap of the card.
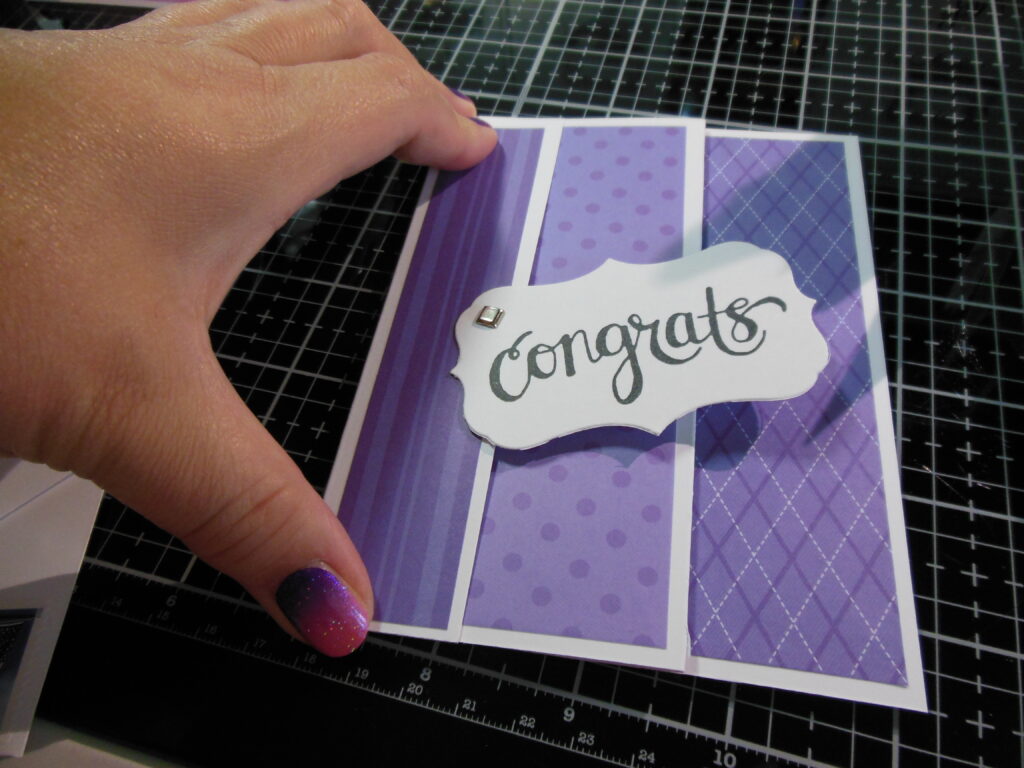
Another option that I went with on some of the cards was mixing the colors. This added just another little bit of fun!
These cards came together pretty quickly once I got my bases measured and scored correctly.
Any links in this blog are not affiliate links.
These are so fun!