Our Craft Roulette episode for September is Episode No. 175. The parameters are: (1) Project – 4.25″ Square; (2) Colors – Craft Roulette; (3) Element – Night; and (4) Random – Bottom Border.
Here I am once again at the end of the month without a finished swap card. I’m not sure why I overanalyze and struggle with these Craft Roulette cards so much . . . they really are pretty simple once you really get started. Anyway . . . let’s get started!
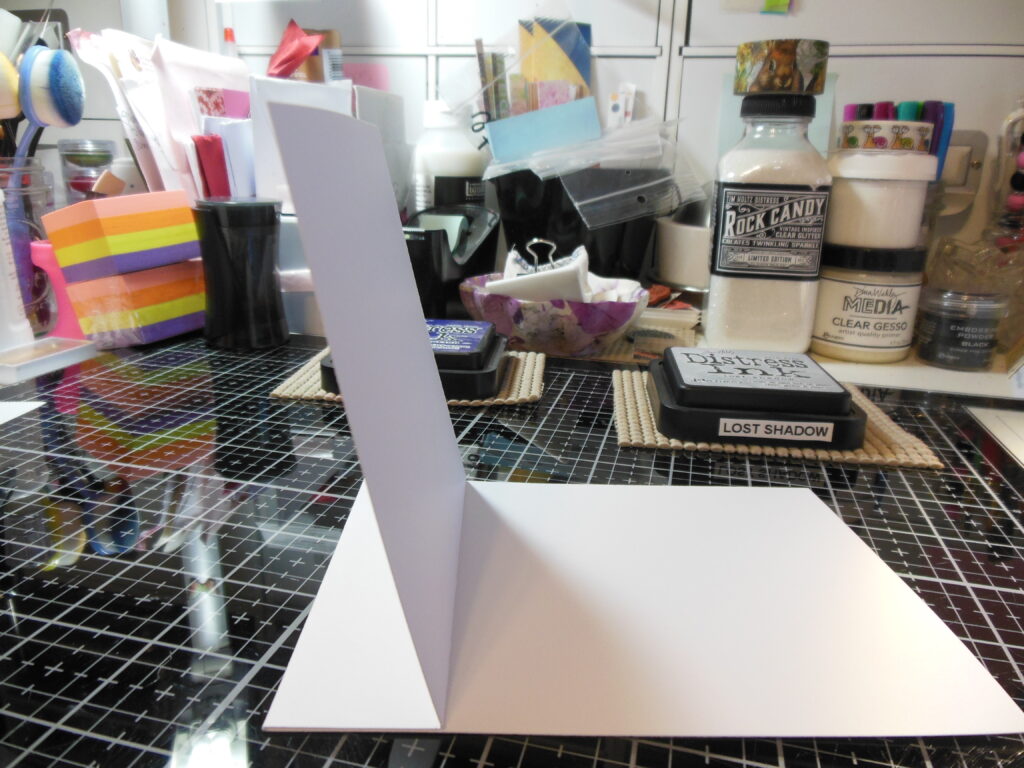
I decided a book binding card would be a pretty easy way to get the 4.25 square parameter handled. I took a white 4 1/4 x 11 white card base and then scored it at 4 1/4 and 5 1/2. The 5 1/2 score is the regular score and fold for an A2 size card. The 4 1/4 score is what is going to give us the book binding. I folded the card base at the score marks – first at the 5 1/2 to get our A2 card fold, and then at the 4 1/4, folding it backward so you end up with a skinny Z fold.

After getting the Z fold going, I glued the space between the 4 1/4 score and the 5 1/2 score together, which gives me my 4.25 square card.
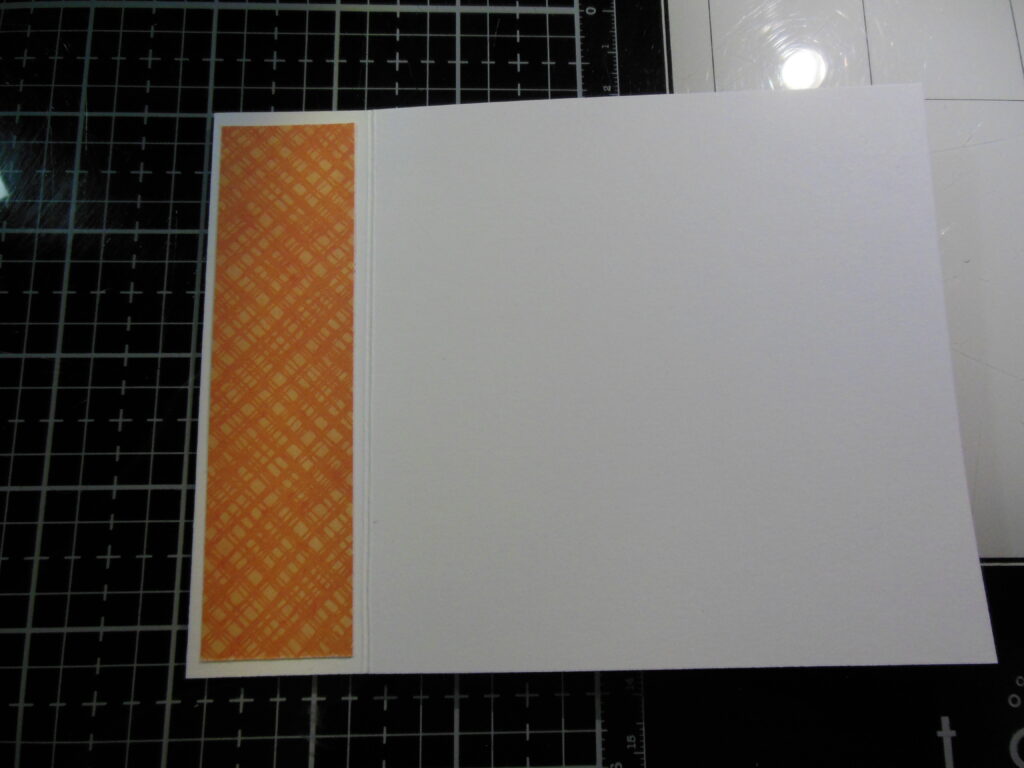
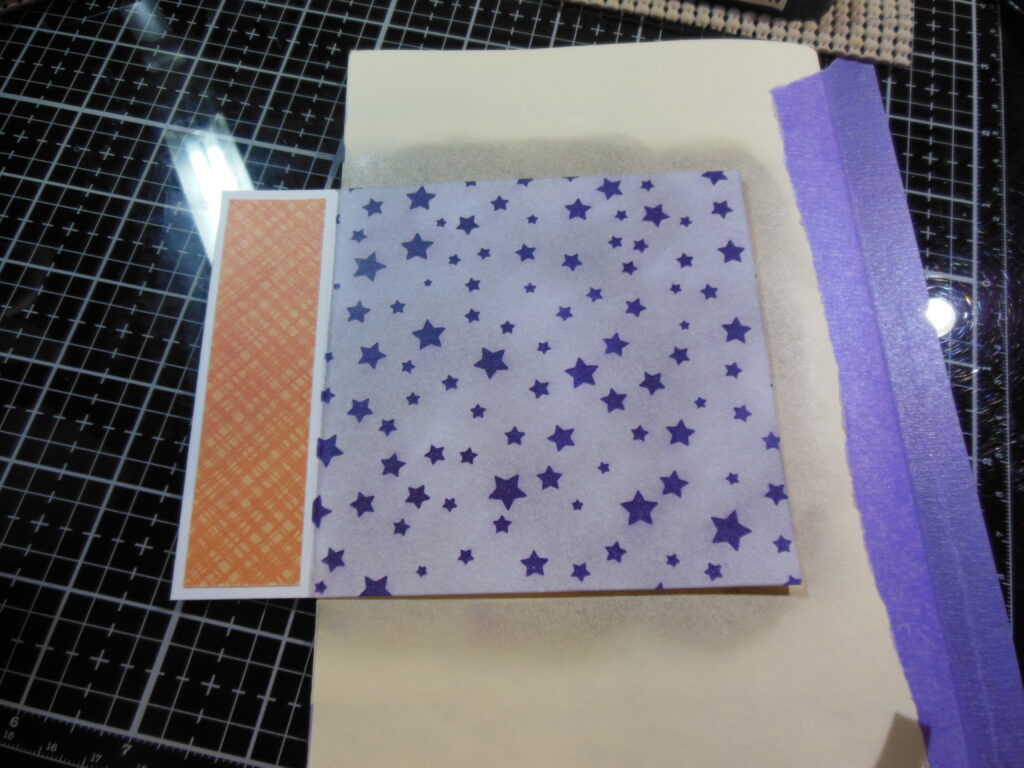
After I prepared the card base, I decided on my Craft Roulette colors. While the world of Craft Roulette is really wide open in terms of color, there is definitely Team Orange and Team Purple. So for the Craft Roulette colors for this particular card, I chose orange and purple. I found some paper in Vicki Boutin’s Bold & Bright 6×8 paper pad that has a couple shades of orange and some texture all in one. I cut a 1″x4″ strip to made the bookbinding side of the card front.
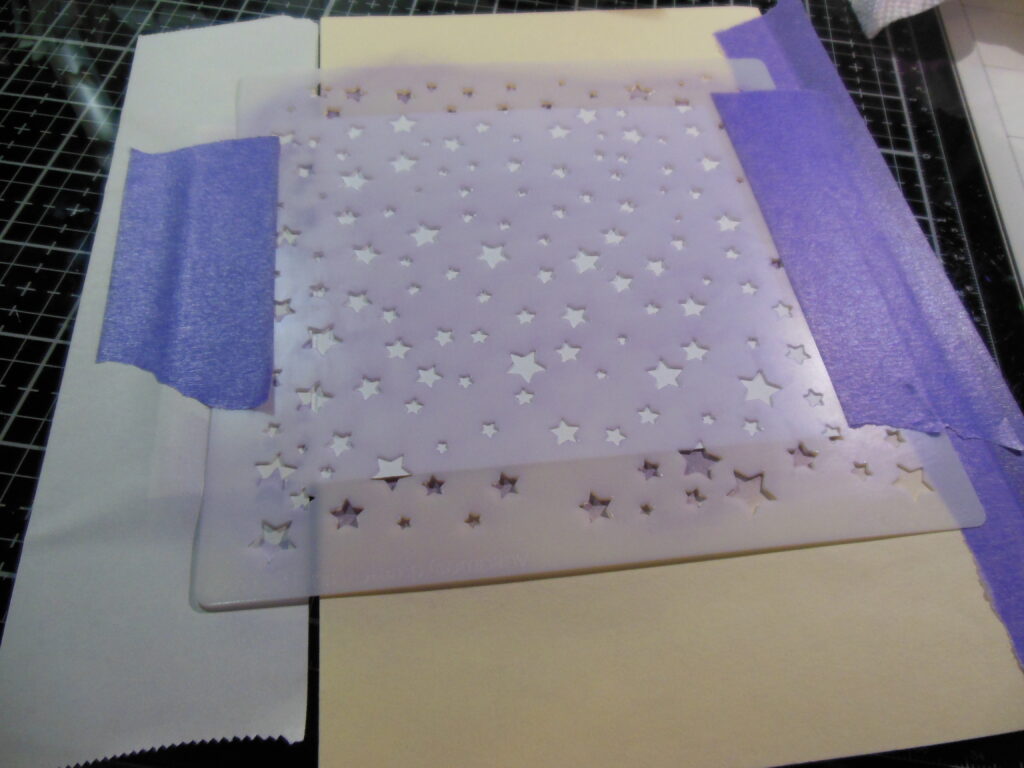
So where was I going to use purple. Well, I reached into my stencil stash and found Unity Stamp Company’s Star Confetti stencil from 2020. I’m not sure if this stencil is still available or not. I stenciled the stars on the 4 1/2 square of the card front using Distress Ink in Villainous Potion.
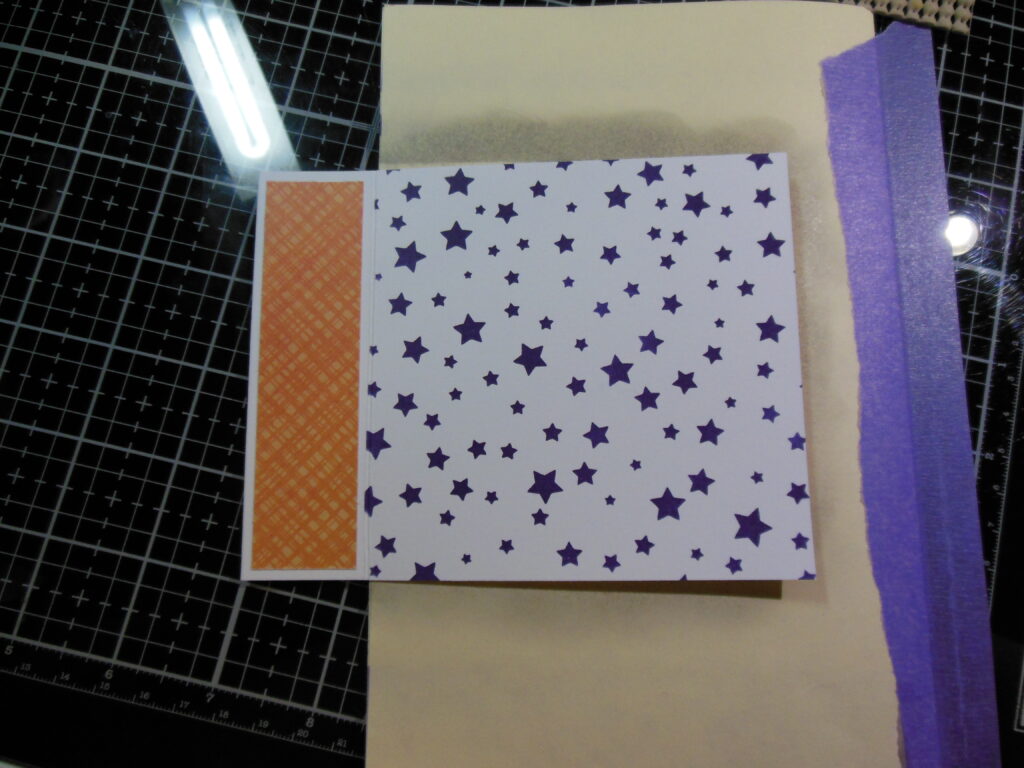
I decided the white of the card base was just too stark with the deep, dark purple. I used Distress Ink Lost Shadow to take down some of the brightness of the white.
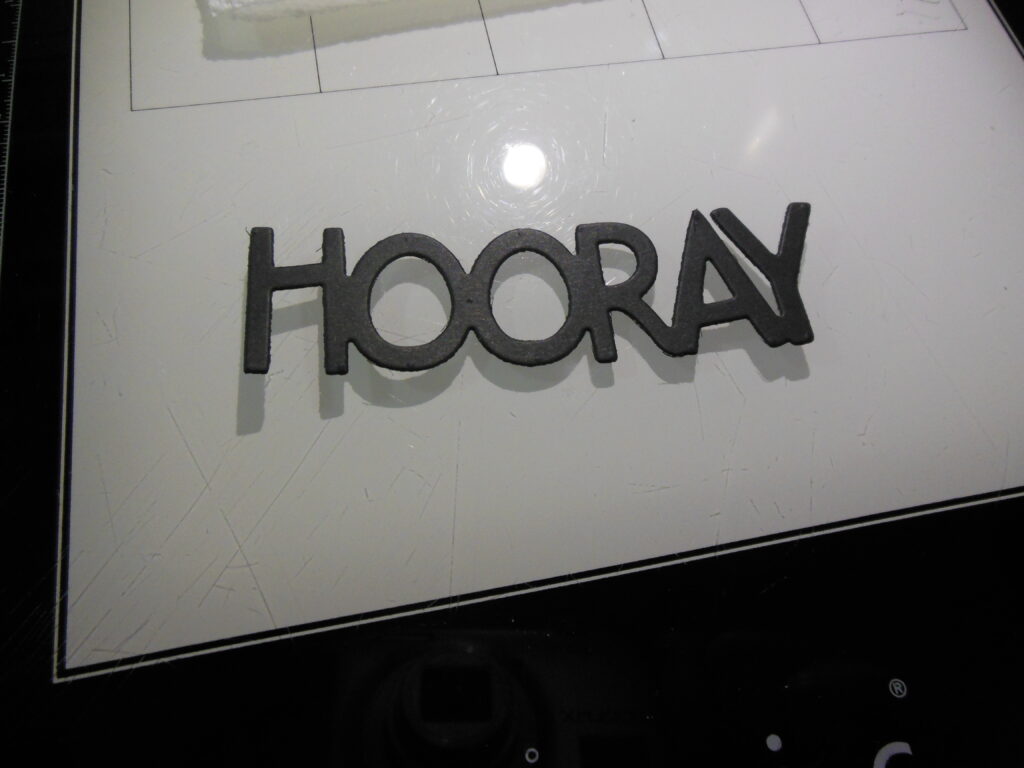
Now I needed to figure out a sentiment. So things sat for a bit while the card decided what sentiment it wanted. After a while, the card told me it wanted a celebration type die cut sentiment. I tried out a couple different die cuts and settled on an Avery Elle “Hooray” word die in simple black cardstock.
The final card turned out pretty simple, but still impactful. This will make a great celebration card for whatever may come up. I’ve left the inside blank for now so that I can customize it when the event presents itself.

I hope you’ve enjoyed seeing my process.
Any links in this post are not affiliate links.