Our Craft Roulette episode for October is Episode No. 199. The parameters are: (1) Project – Card with Bookmark; (2) Colors – Bakery; (3) Element – Large Animal(s); and (4) Random – Add Horizontal Lines.
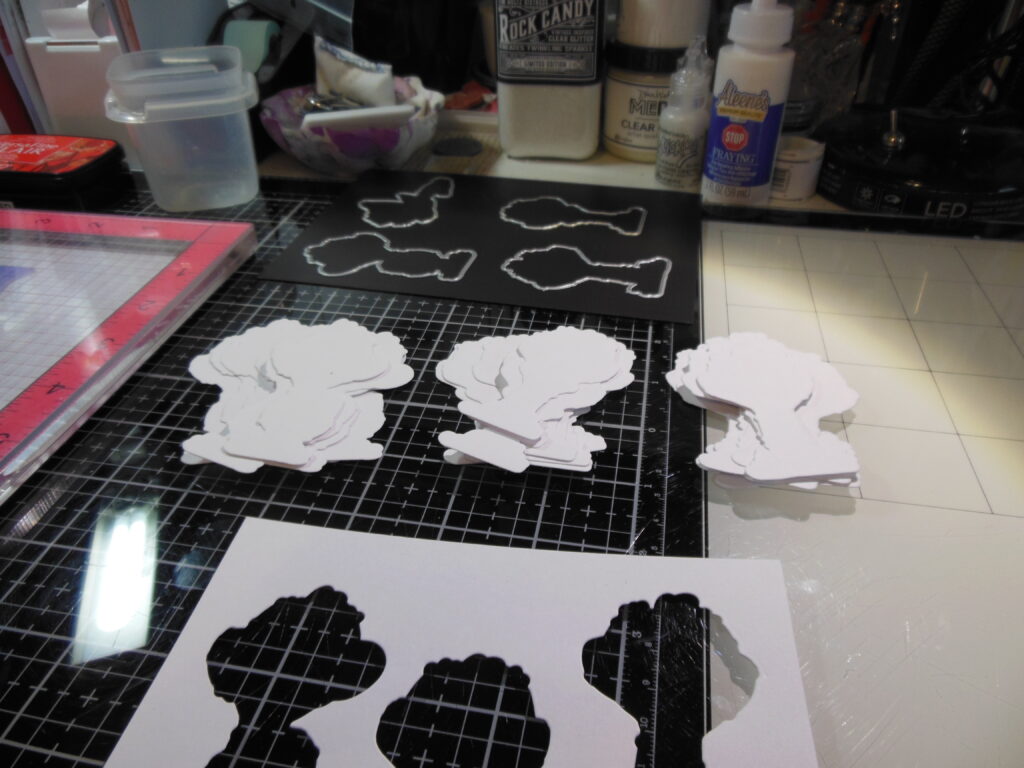
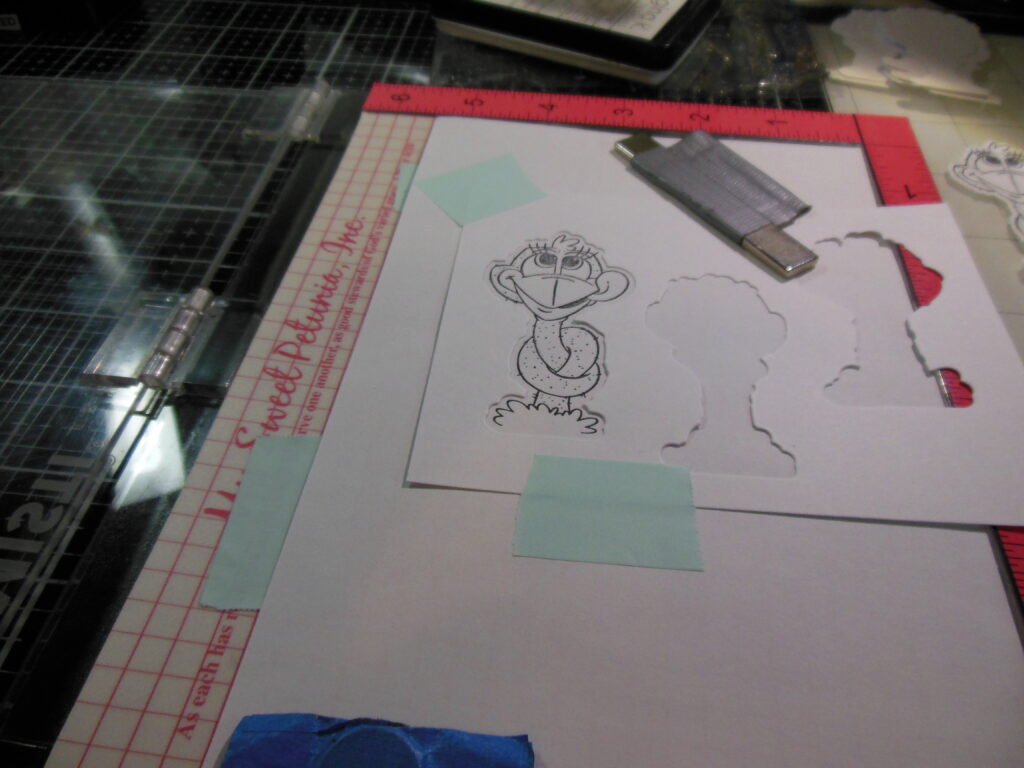
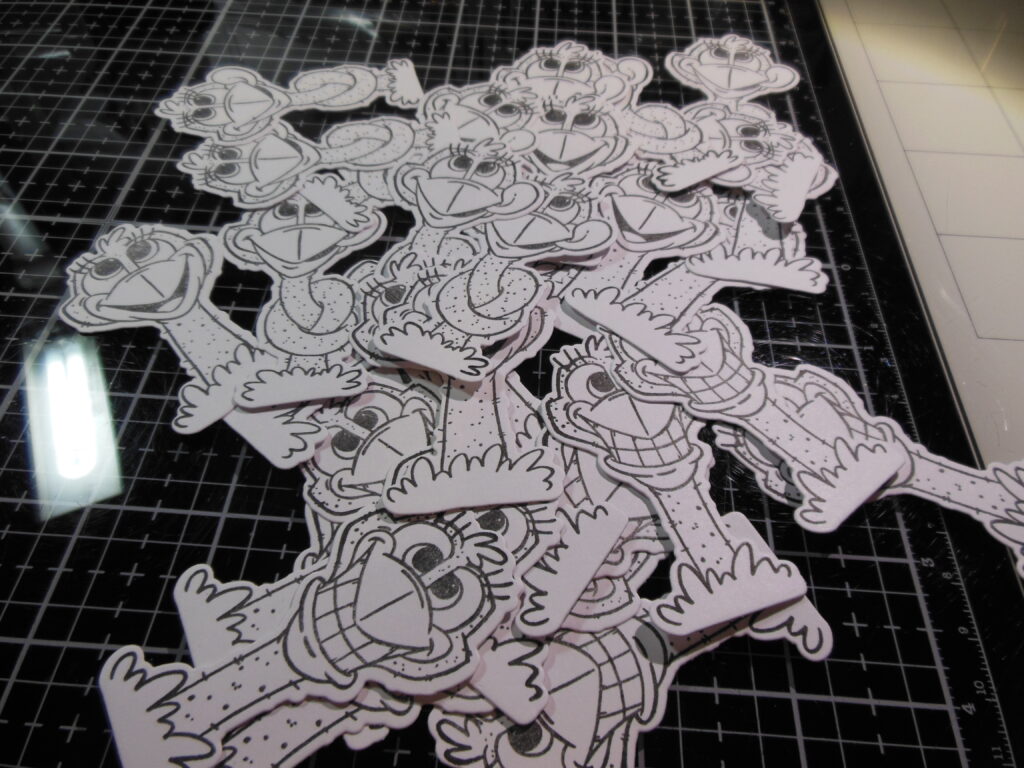
So once again, where do I start with these parameters . . . . For this one, I started with my element parameter – large animals. I went to my stash and dug out my Whimsy Stamps Hey Ostrich stamps and coordinating dies. I picked out three of the four ostriches and cut out each of the ostriches multiple times, and then used the negatives from the dies cuts to line up the heads for perfect stamping.
Next I moved on to my random parameter – horizontal lines. I used Unity Stamp Company’s Wonky Stripes Background to take care of that parameter. I took care of my color parameter and used VersaFine Clair Tulip Red ink to stamp my wonky stripes. I used red to remind me of cherry pie – which to me is definitely a bakery color.
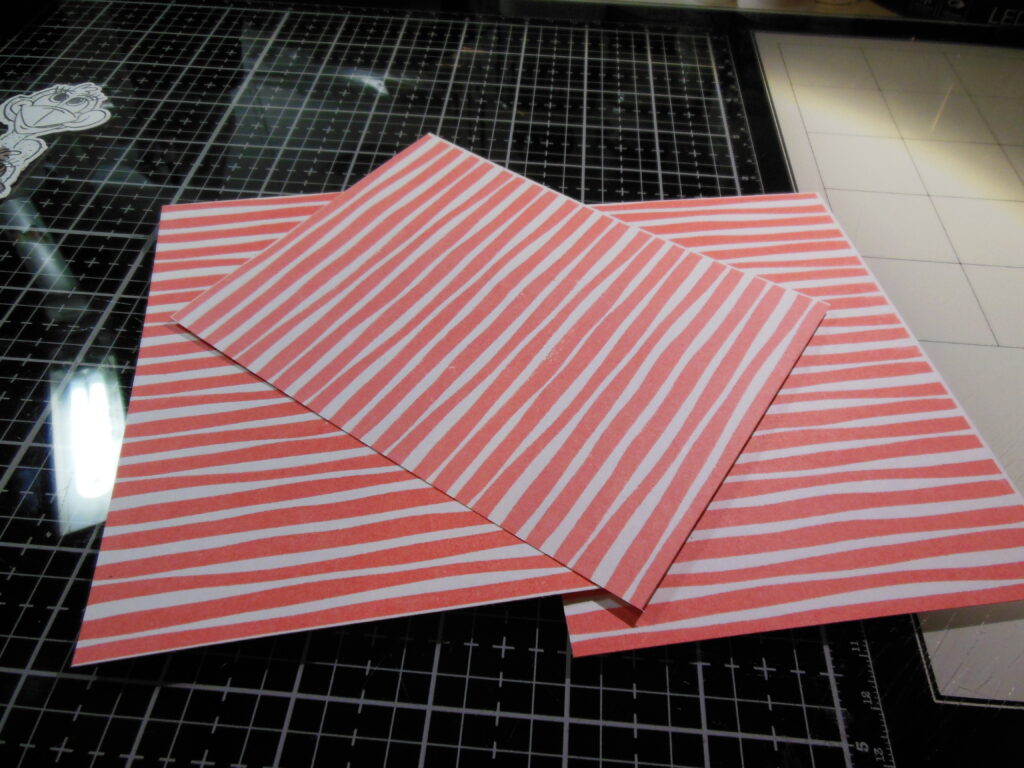
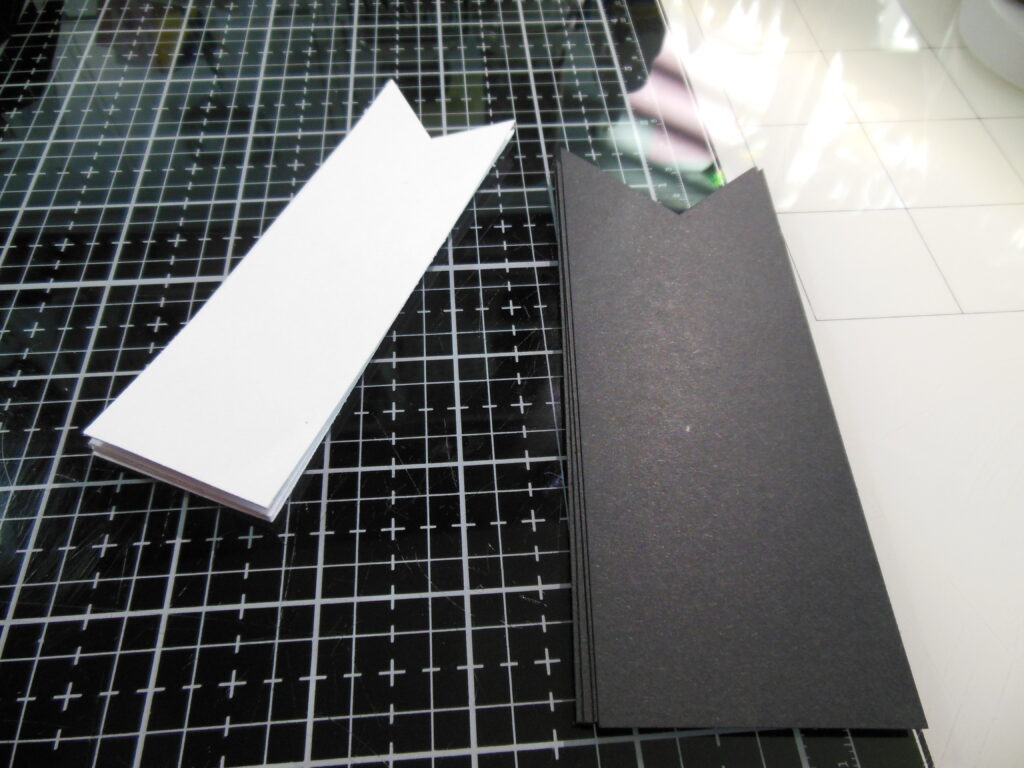
I trimmed the wonky striped background down to 4 x 5 1/4 and glued it to a black card base. I cut a white panel to 4 x 5 1/4 and glued it to the inside of the card base. I left the inside blank so it can be used for any occasion where a bunch of goofy ostriches are appropriate. Of course, I forgot to take a picture of this step, but I’m sure you can visualize gluing this panel to a black card base.
I colored up my ostriches using Spectrum Noir alcohol markers: IG1 to give a little highlight to the white areas; FS2 for the neck and head; FS7 for the beak; and PP2 for the tongues.

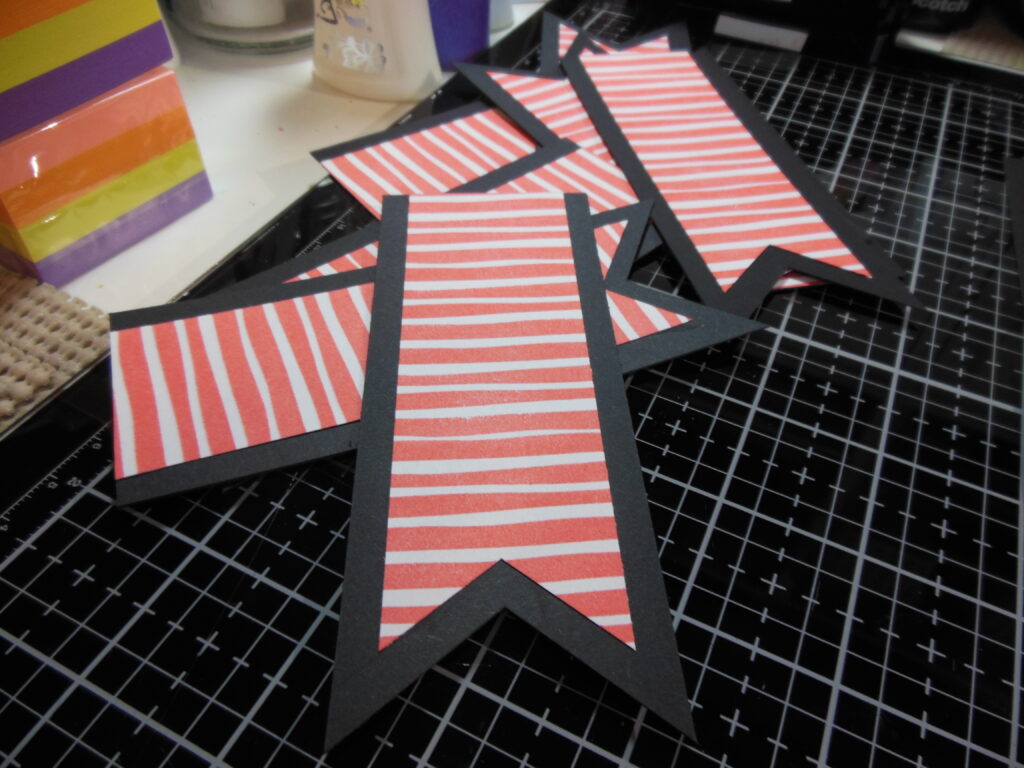
Now I needed to focus and knock out my bookmarks. I cut white paper into 1.5″ strips and black card base into 2″ strips. I used my W R Memory Keepers Banner Punch on the 1.5″ slot for the white paper and on the 2″ slot for the black base to punch the banner shapes.
I again used the Wonky Stripes Background in VersaFine Clair Tulip Red to create the white layer for the bookmark.
I used two of the small banner dies from Gina K. Designs Master Layouts 3 to cut sentiment strips for both the card and the bookmark. I chose two of the sentiments from the Hey Ostrich stamp set and stamped them on the banner strips. Once again, I forgot to snap a pic for you.
I added two ostriches to each card front and one to each bookmark. I then added a sentiment to each card and each bookmark.

I had fun making these ostrich cards and bookmarks. I hope you enjoyed seeing my process!
Any links in this post are not affiliate links.