Our Craft Roulette episode for this month is Episode 14. The parameters are: (1) Project – Peekaboo Card; (2) Colors – Rose Garden; (3) Element – Lettering; and (4) Random – TieDye.
I am stumped with what to do, so I better just go ahead and start somewhere. I started by creating my tiedye element. I started with Canson XL Mixed Media Paper. I used Ken Oliver Color Burst watercolor powders in Deep Space, Alizarin Crimson, and Peony. I dropped several drops of each powder onto the page and the sprayed the page with lots of water to make the colors burst.
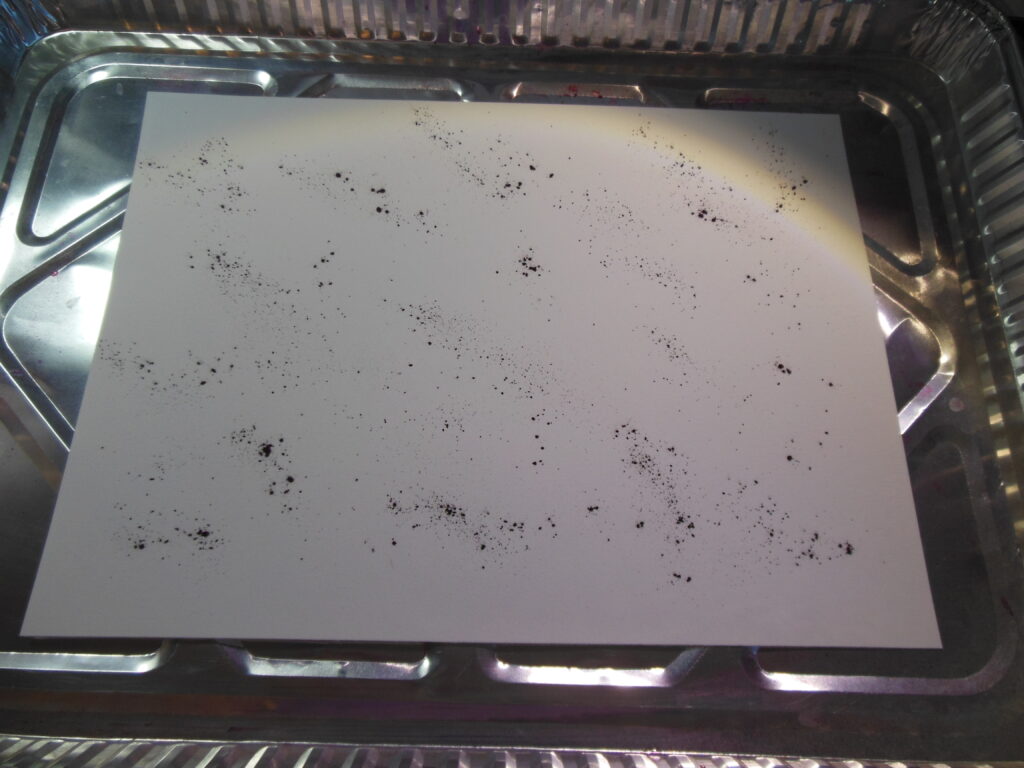
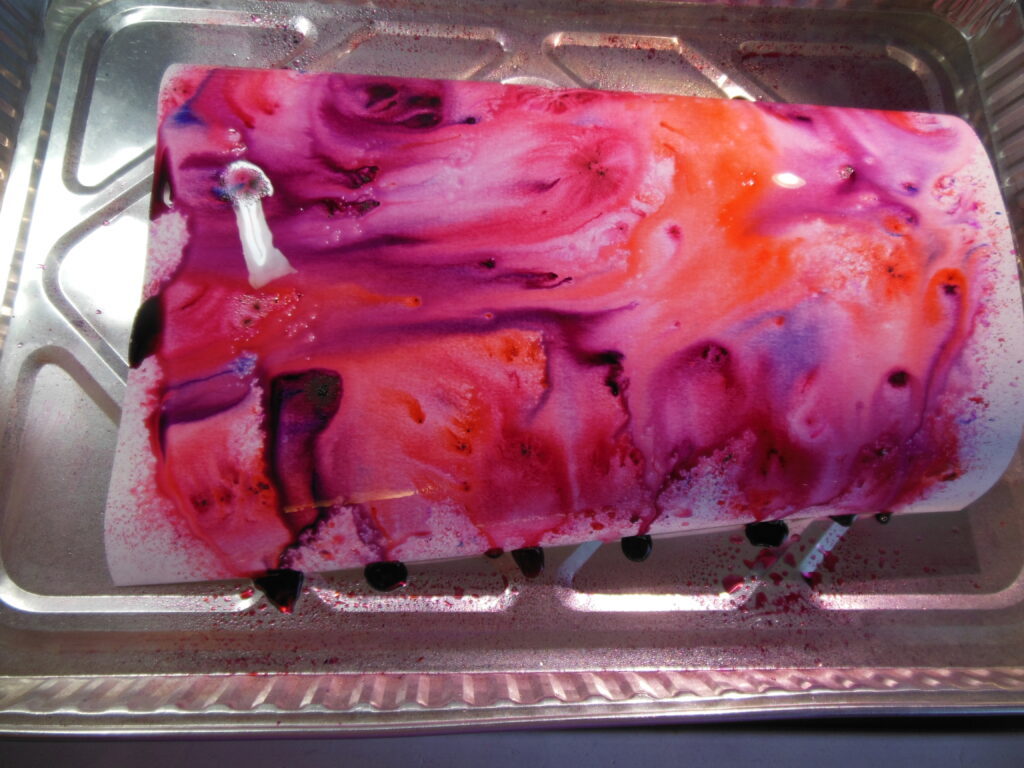
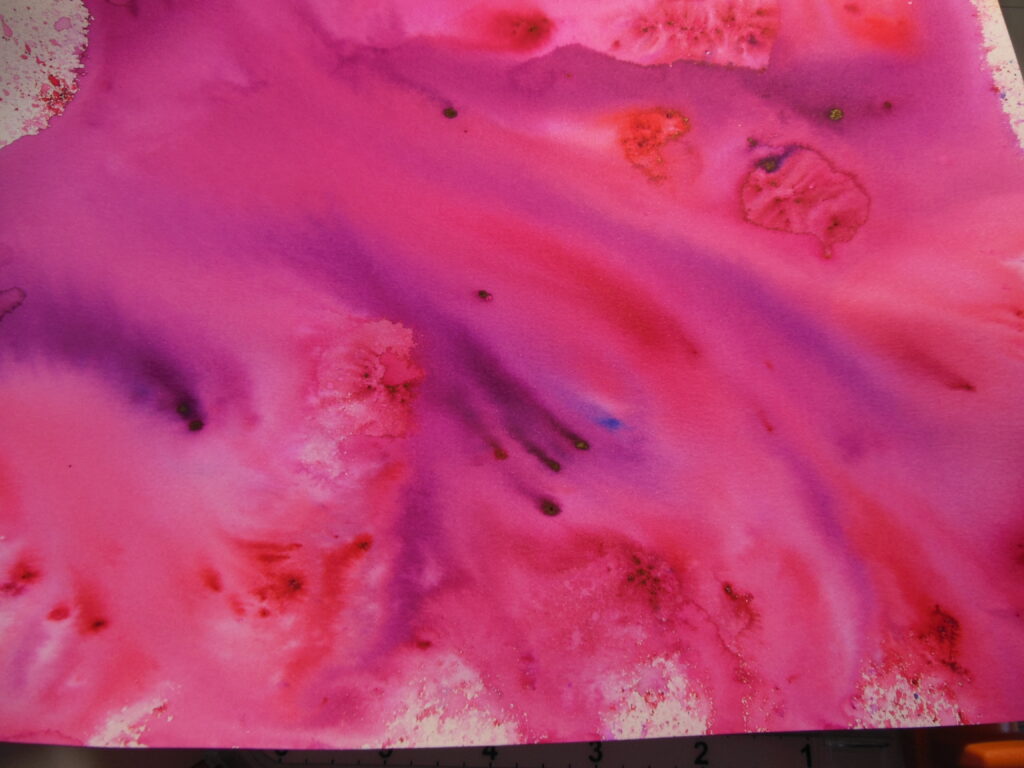
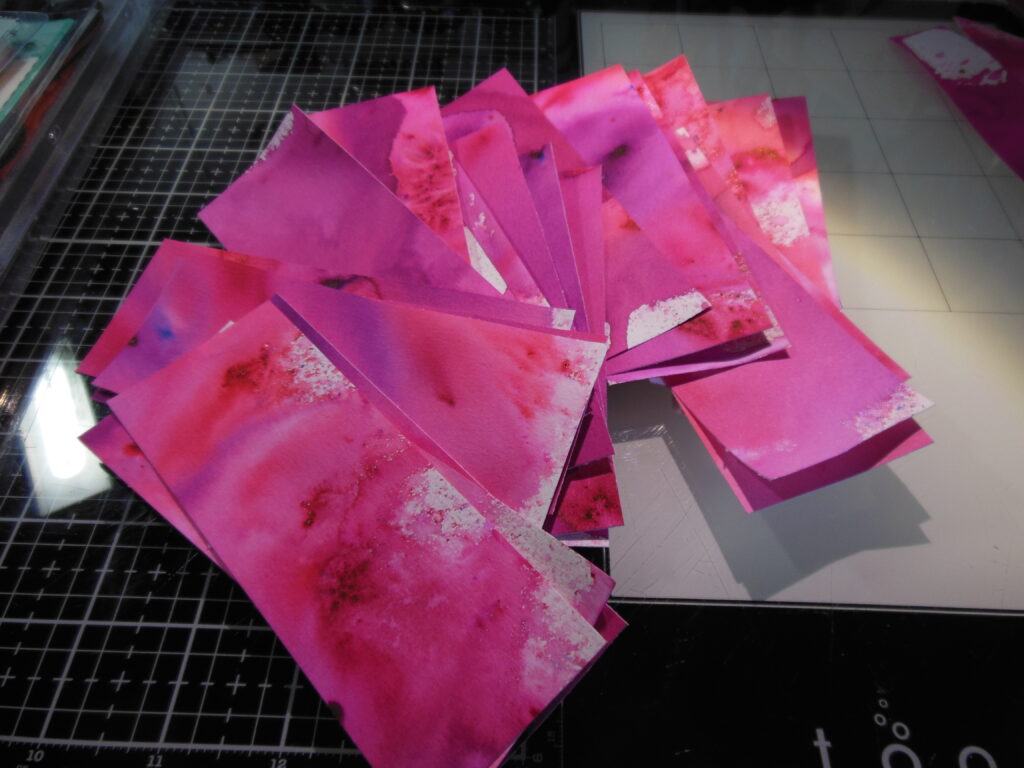
These didn’t quite tie-dye as must as I would have liked, but you can still see the variation in the colors well enough. (I even went so far as to make more tie-dye papers and then realized if I used those I wouldn’t have the correct color parameter for my cards. So now I have 4 more tie-dye pages to cut up and do something with.)
While letting my pages dry completely, I worked on deciding what I was going to do for the peek-a-boo parameter. I settled on using Tim Holtz’s Stacked Tiles Hearts and Hexagons to cut shapes directly into my card base front panel. I chose hearts in several sizes and arranged them down the left side of the card front and the largest hexagon in the center.
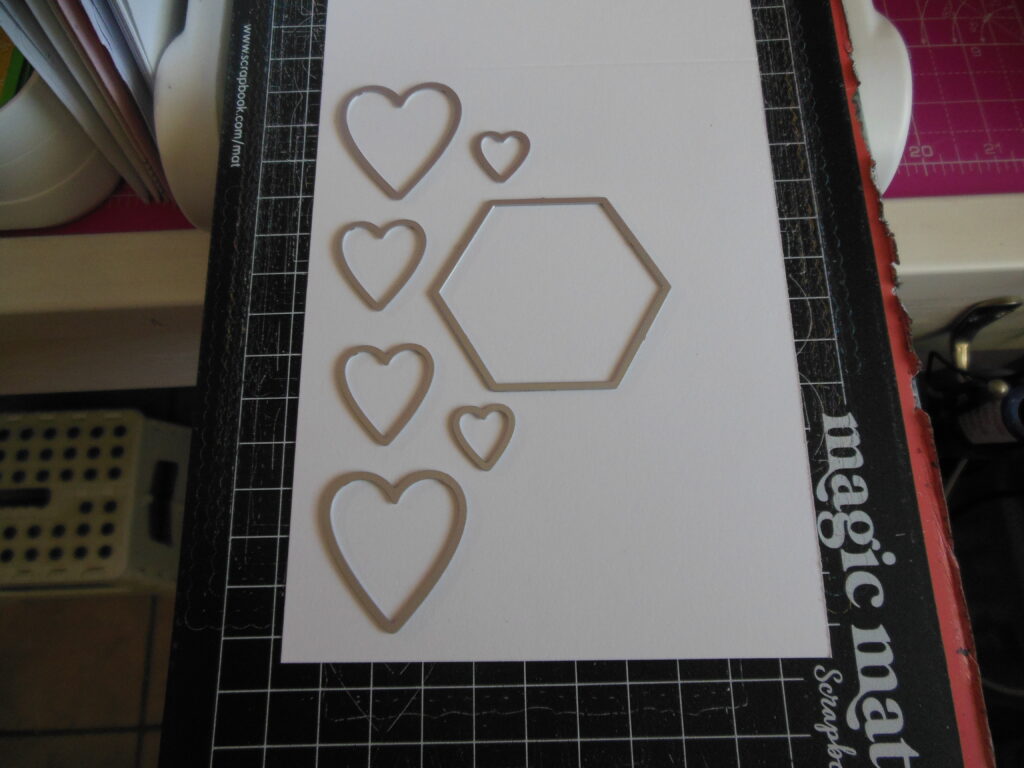
I cut my dozen card fronts and then cut my tie-dye papers into 2 inch strips that were 4 1/4 inches long – just enough to fit behind the hearts.
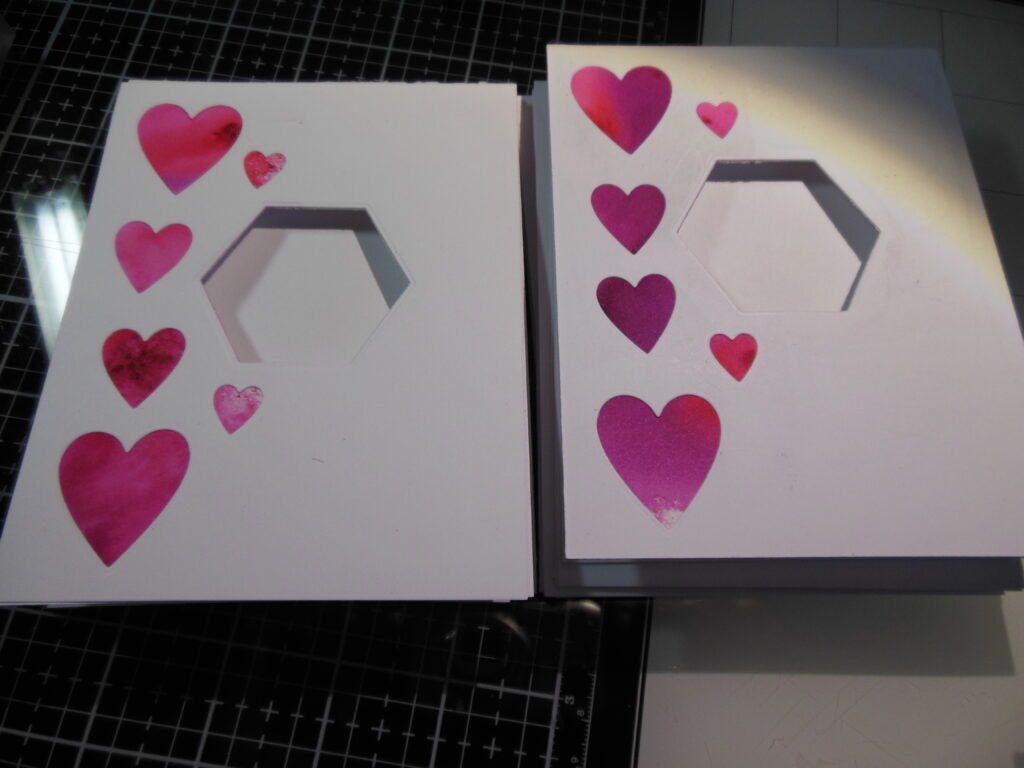
I glued the strips behind the hearts and then glued a thin white panel onto the card front to hide the strip panel and clean up the inside of the card. I realized after doing that, that I should have trimmed the white panel down to 4 x 5 1/4 because I ended up with some panels the hung out from the card a smidge. But it’s handmade, right?!?!?!
So now my hexagon is covered again, so back to the die cutting to cut out the hexagon again so that my sentiment will show through from the inside when the card is completely done. Since I had already cut the hexagon out of the card front, the dies nestled right back in and cut through the little bit of the color panel and the white inside panel very nicely.
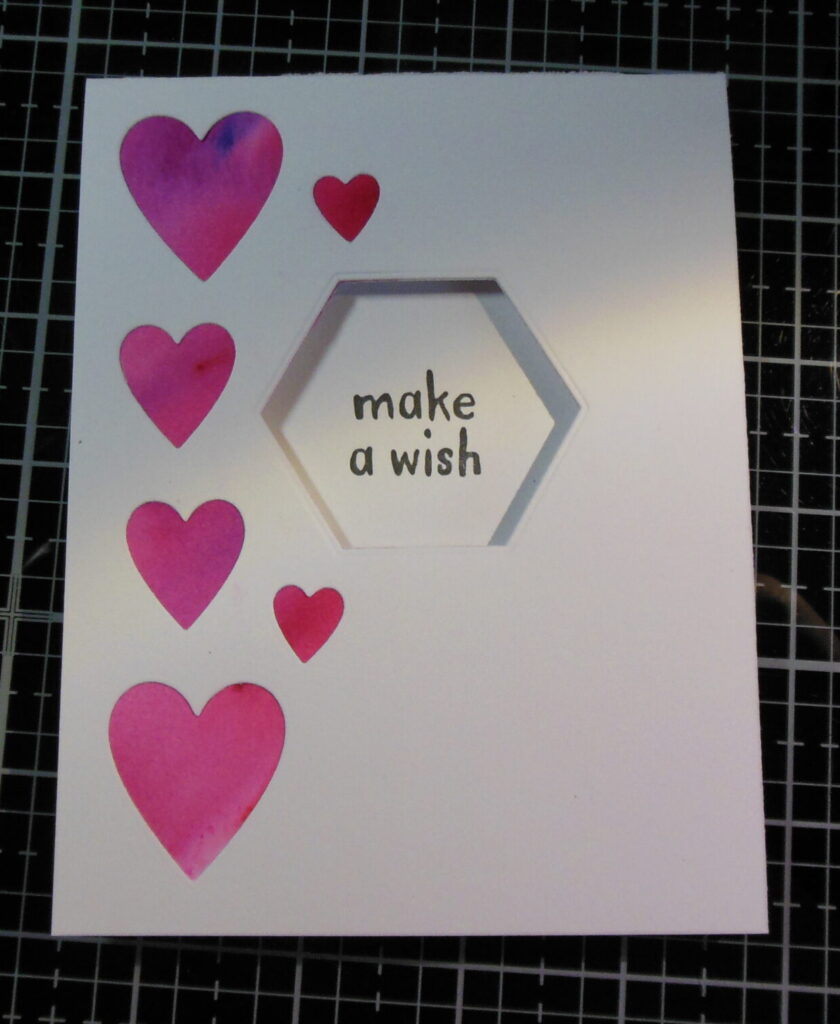
While I was deciding on what to use for my peek-a-boo parameter, I decided on what sentiment I was going to have peeking through from the inside. Tim Holtz to the rescue once again! His Note Quotes stamp set has sweet little sayings that fit beautifully inside the largest hexagon (and probably the largest of most of the other Stacked Tiles die sets – certainly the Squares and Circles, and probably the Rectangles and Ovals too.) I used the “make a wish” sentiment and left the front blank. My swap gals can put a front sentiment on the cards when they use them if they want.
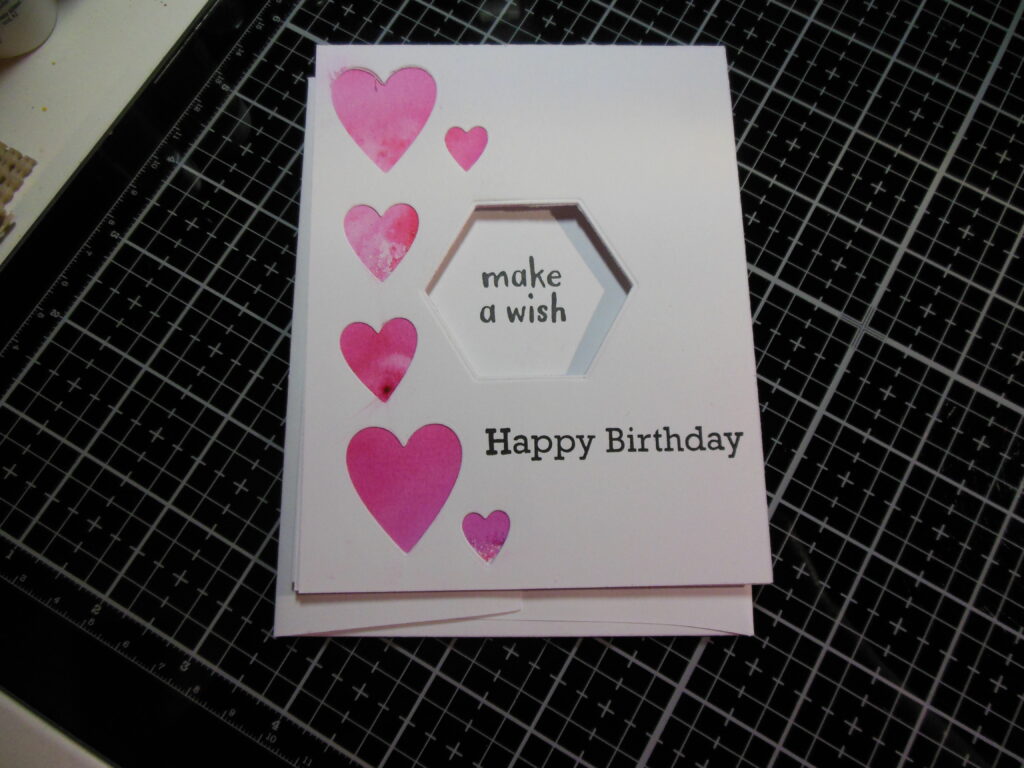
I pretty much immediately needed to use a couple of my extra cards and turned them into birthday cards by stamping a little “Happy Birthday” from my stash on the front.
I hope you enjoyed seeing my process to make these cards.
Any links in this post are not affiliate links.
Beautiful, once again, little sis! You have an eye for color weather it is paper or fabric. Well done!
Love this!
Beautiful creations Holly! I was trying to figure out how you did the hearts 🥰