Our Craft Roulette episode for June is Episode No. 21. The parameters are: (1) Project – Two Random Cards; (2) Colors – Cool; (3) Element – Wreath; and (4) Random – Pencils.
So once again, where to start?!?! What’s in my stash that I can use to make a wreath? The longer I sat and thought about what I was going to do, the further into the month we got. Next thing I knew it was the end of June, and I still hadn’t done anything. I decided simple will be better and pulled out my Gina K Designs Wreath Builder templates and stamp sets and made a couple of prototypes. Then things sat again for another couple weeks.
Now its Fourth of July weekend, and I go to my sister’s house for three days. I planned ahead and took only the projects that I was behind on – 4 months of rolo swaps, 2 months of ATC swaps, and this project of 2 cards. (FYI – I got almost all of the projects completed or nearly completed so I felt good!)
So let’s dive into how I created my two random wreath cards . . . settle in. . .with two cards, this is going to be a long one!
I pulled out my Gina K Designs Wreath Builder stamp sets – Original Wreath Builder, Holiday Wreath Builder, and Reasons to Celebrate (which appears to be retired now).
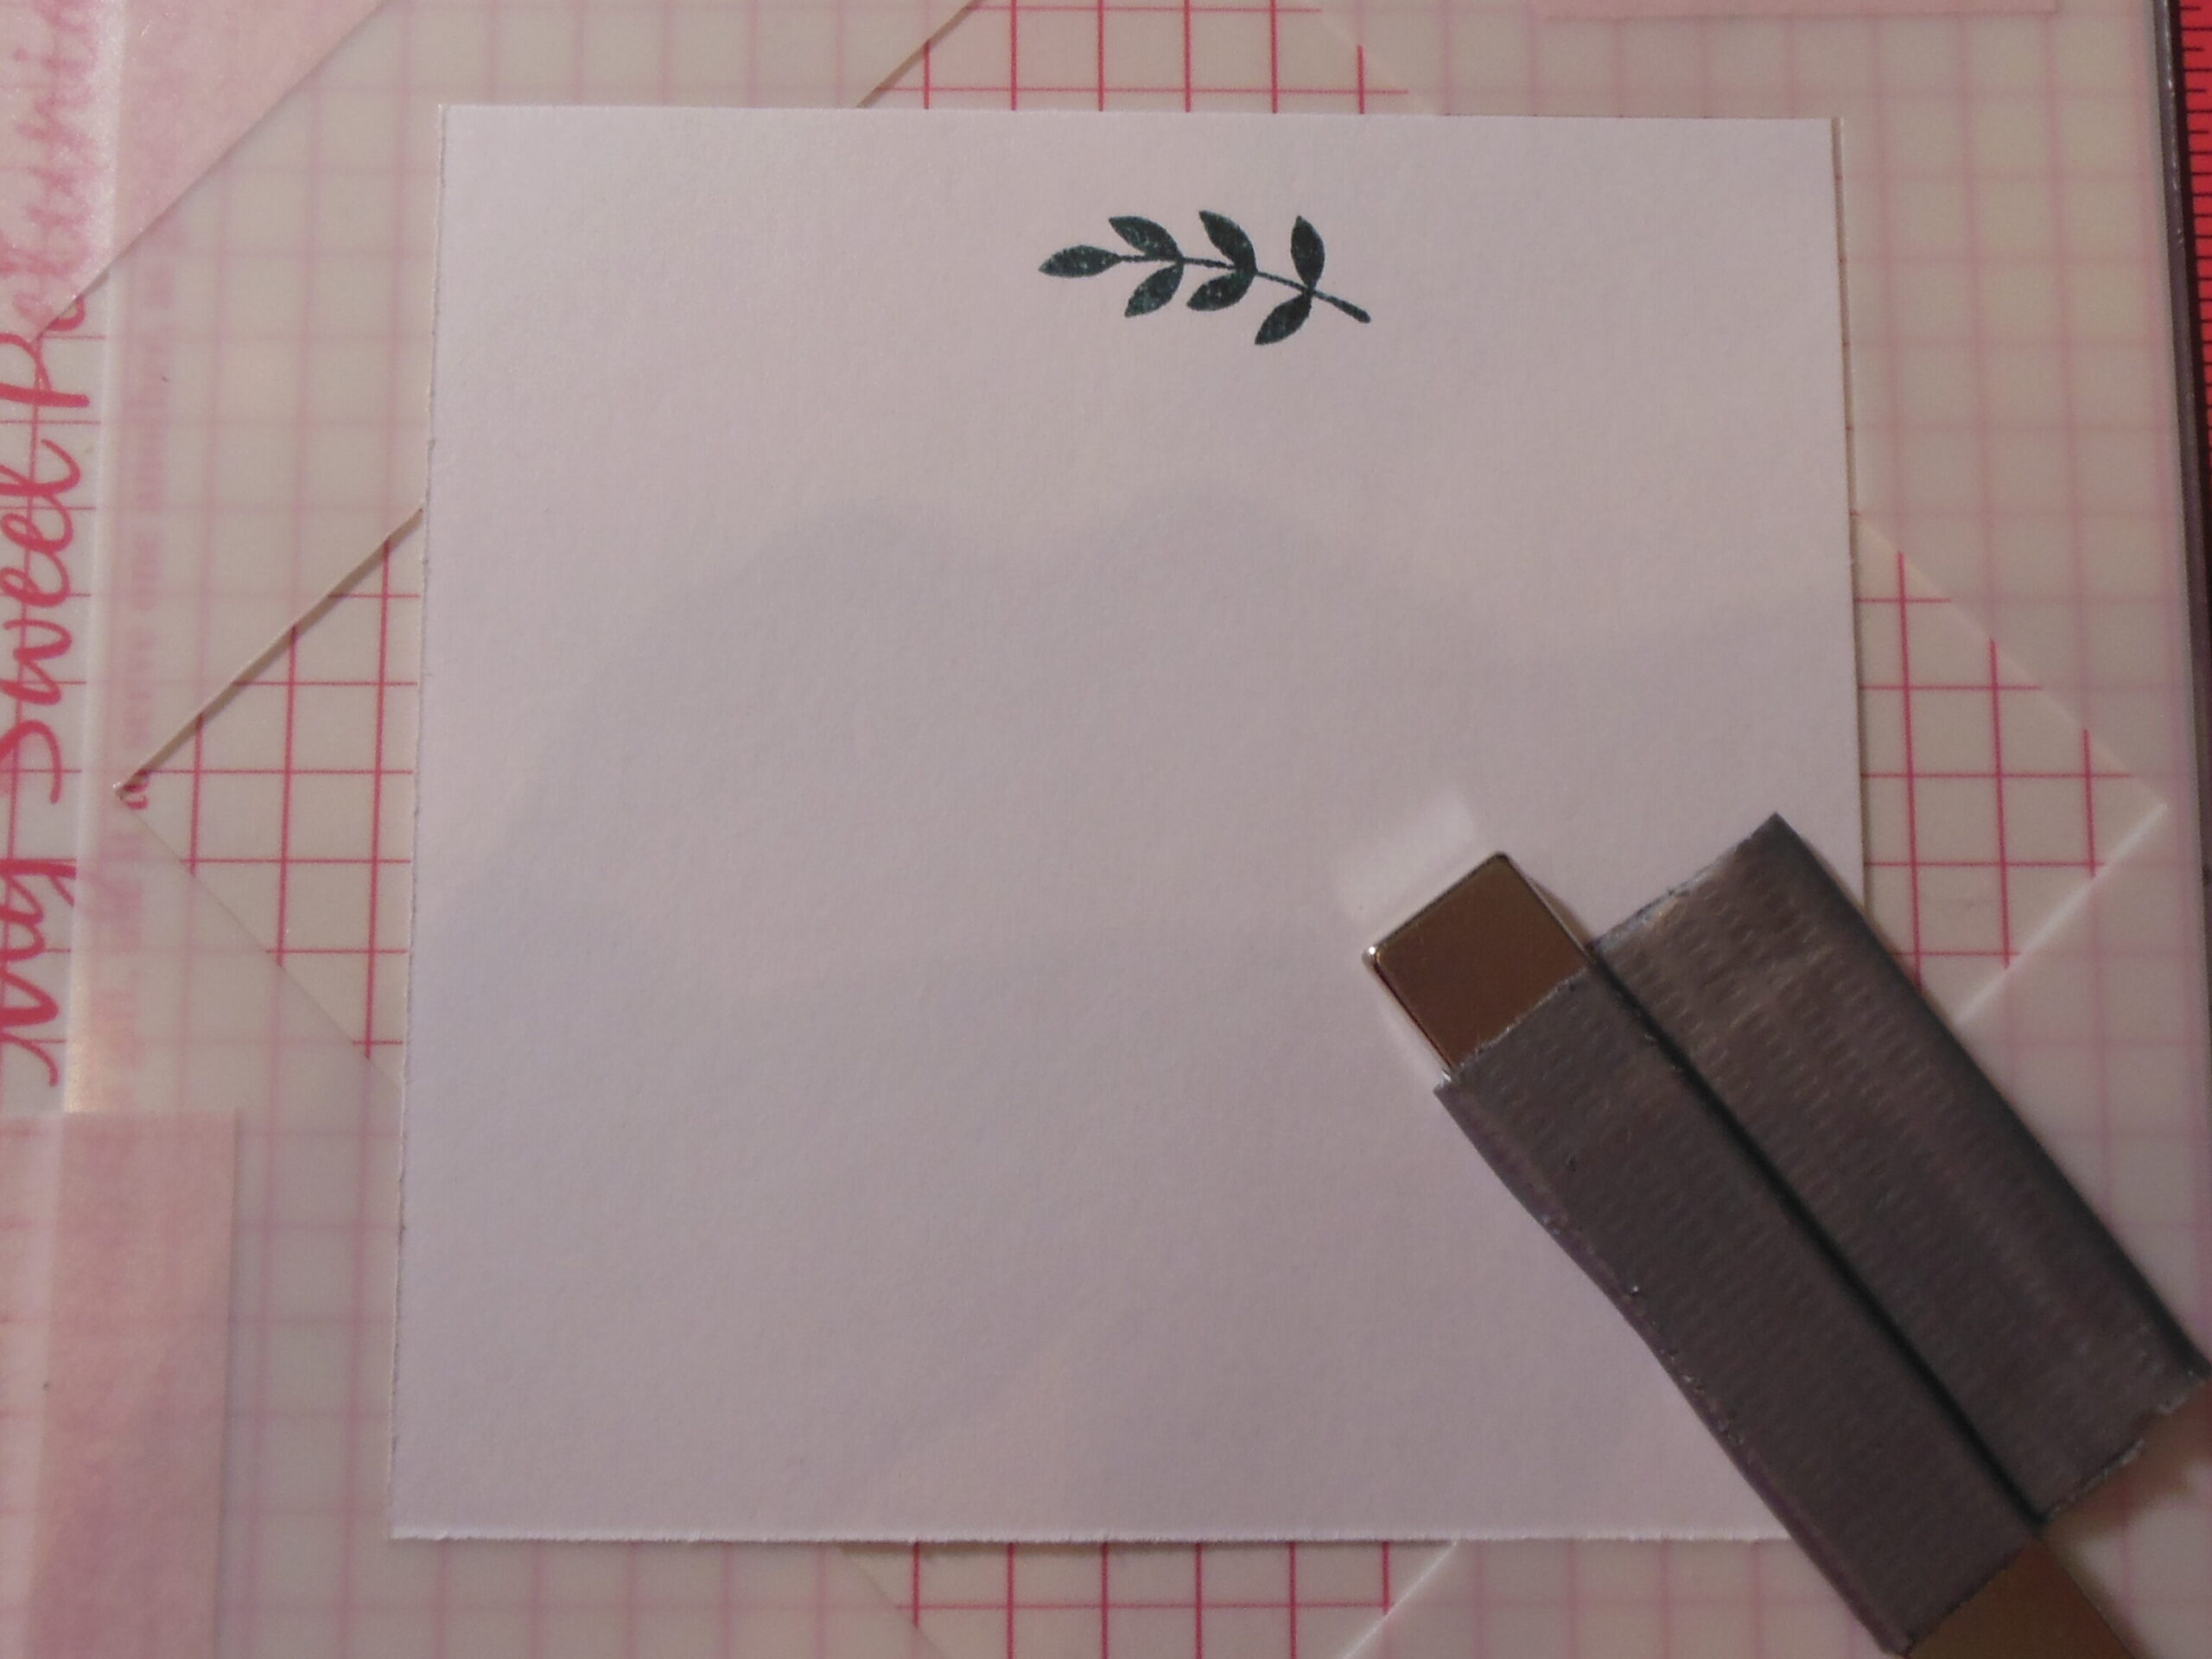
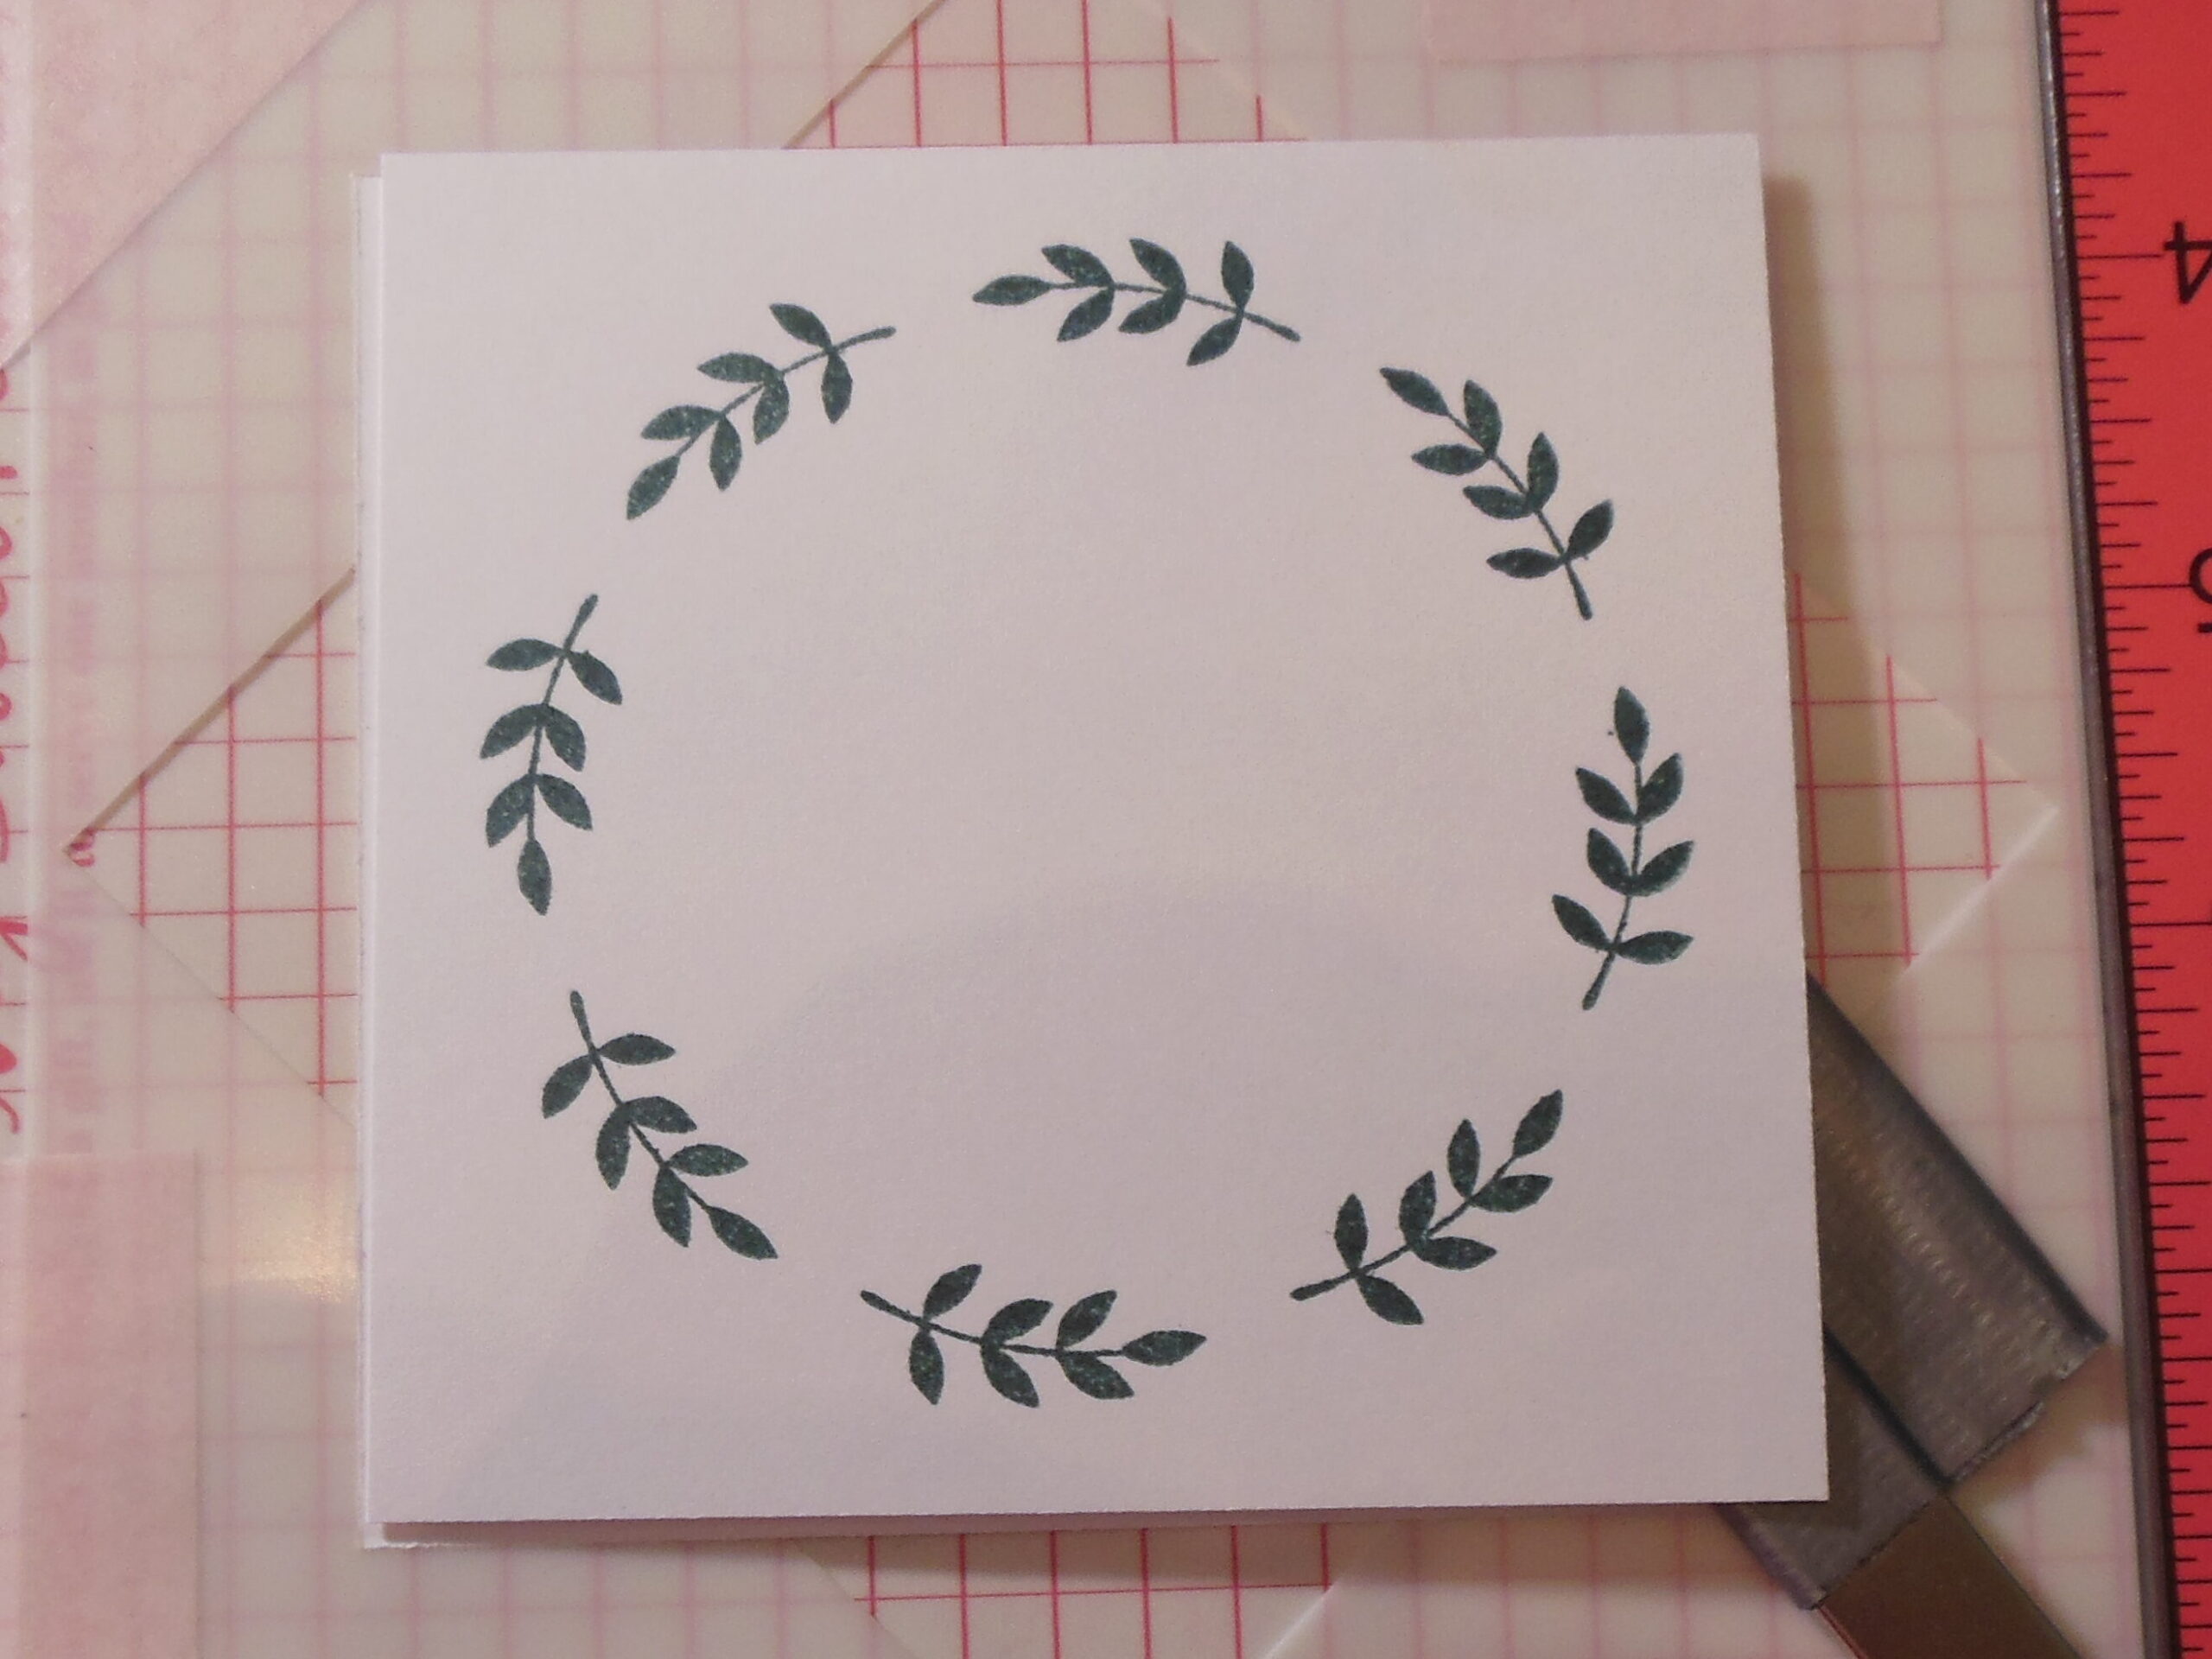
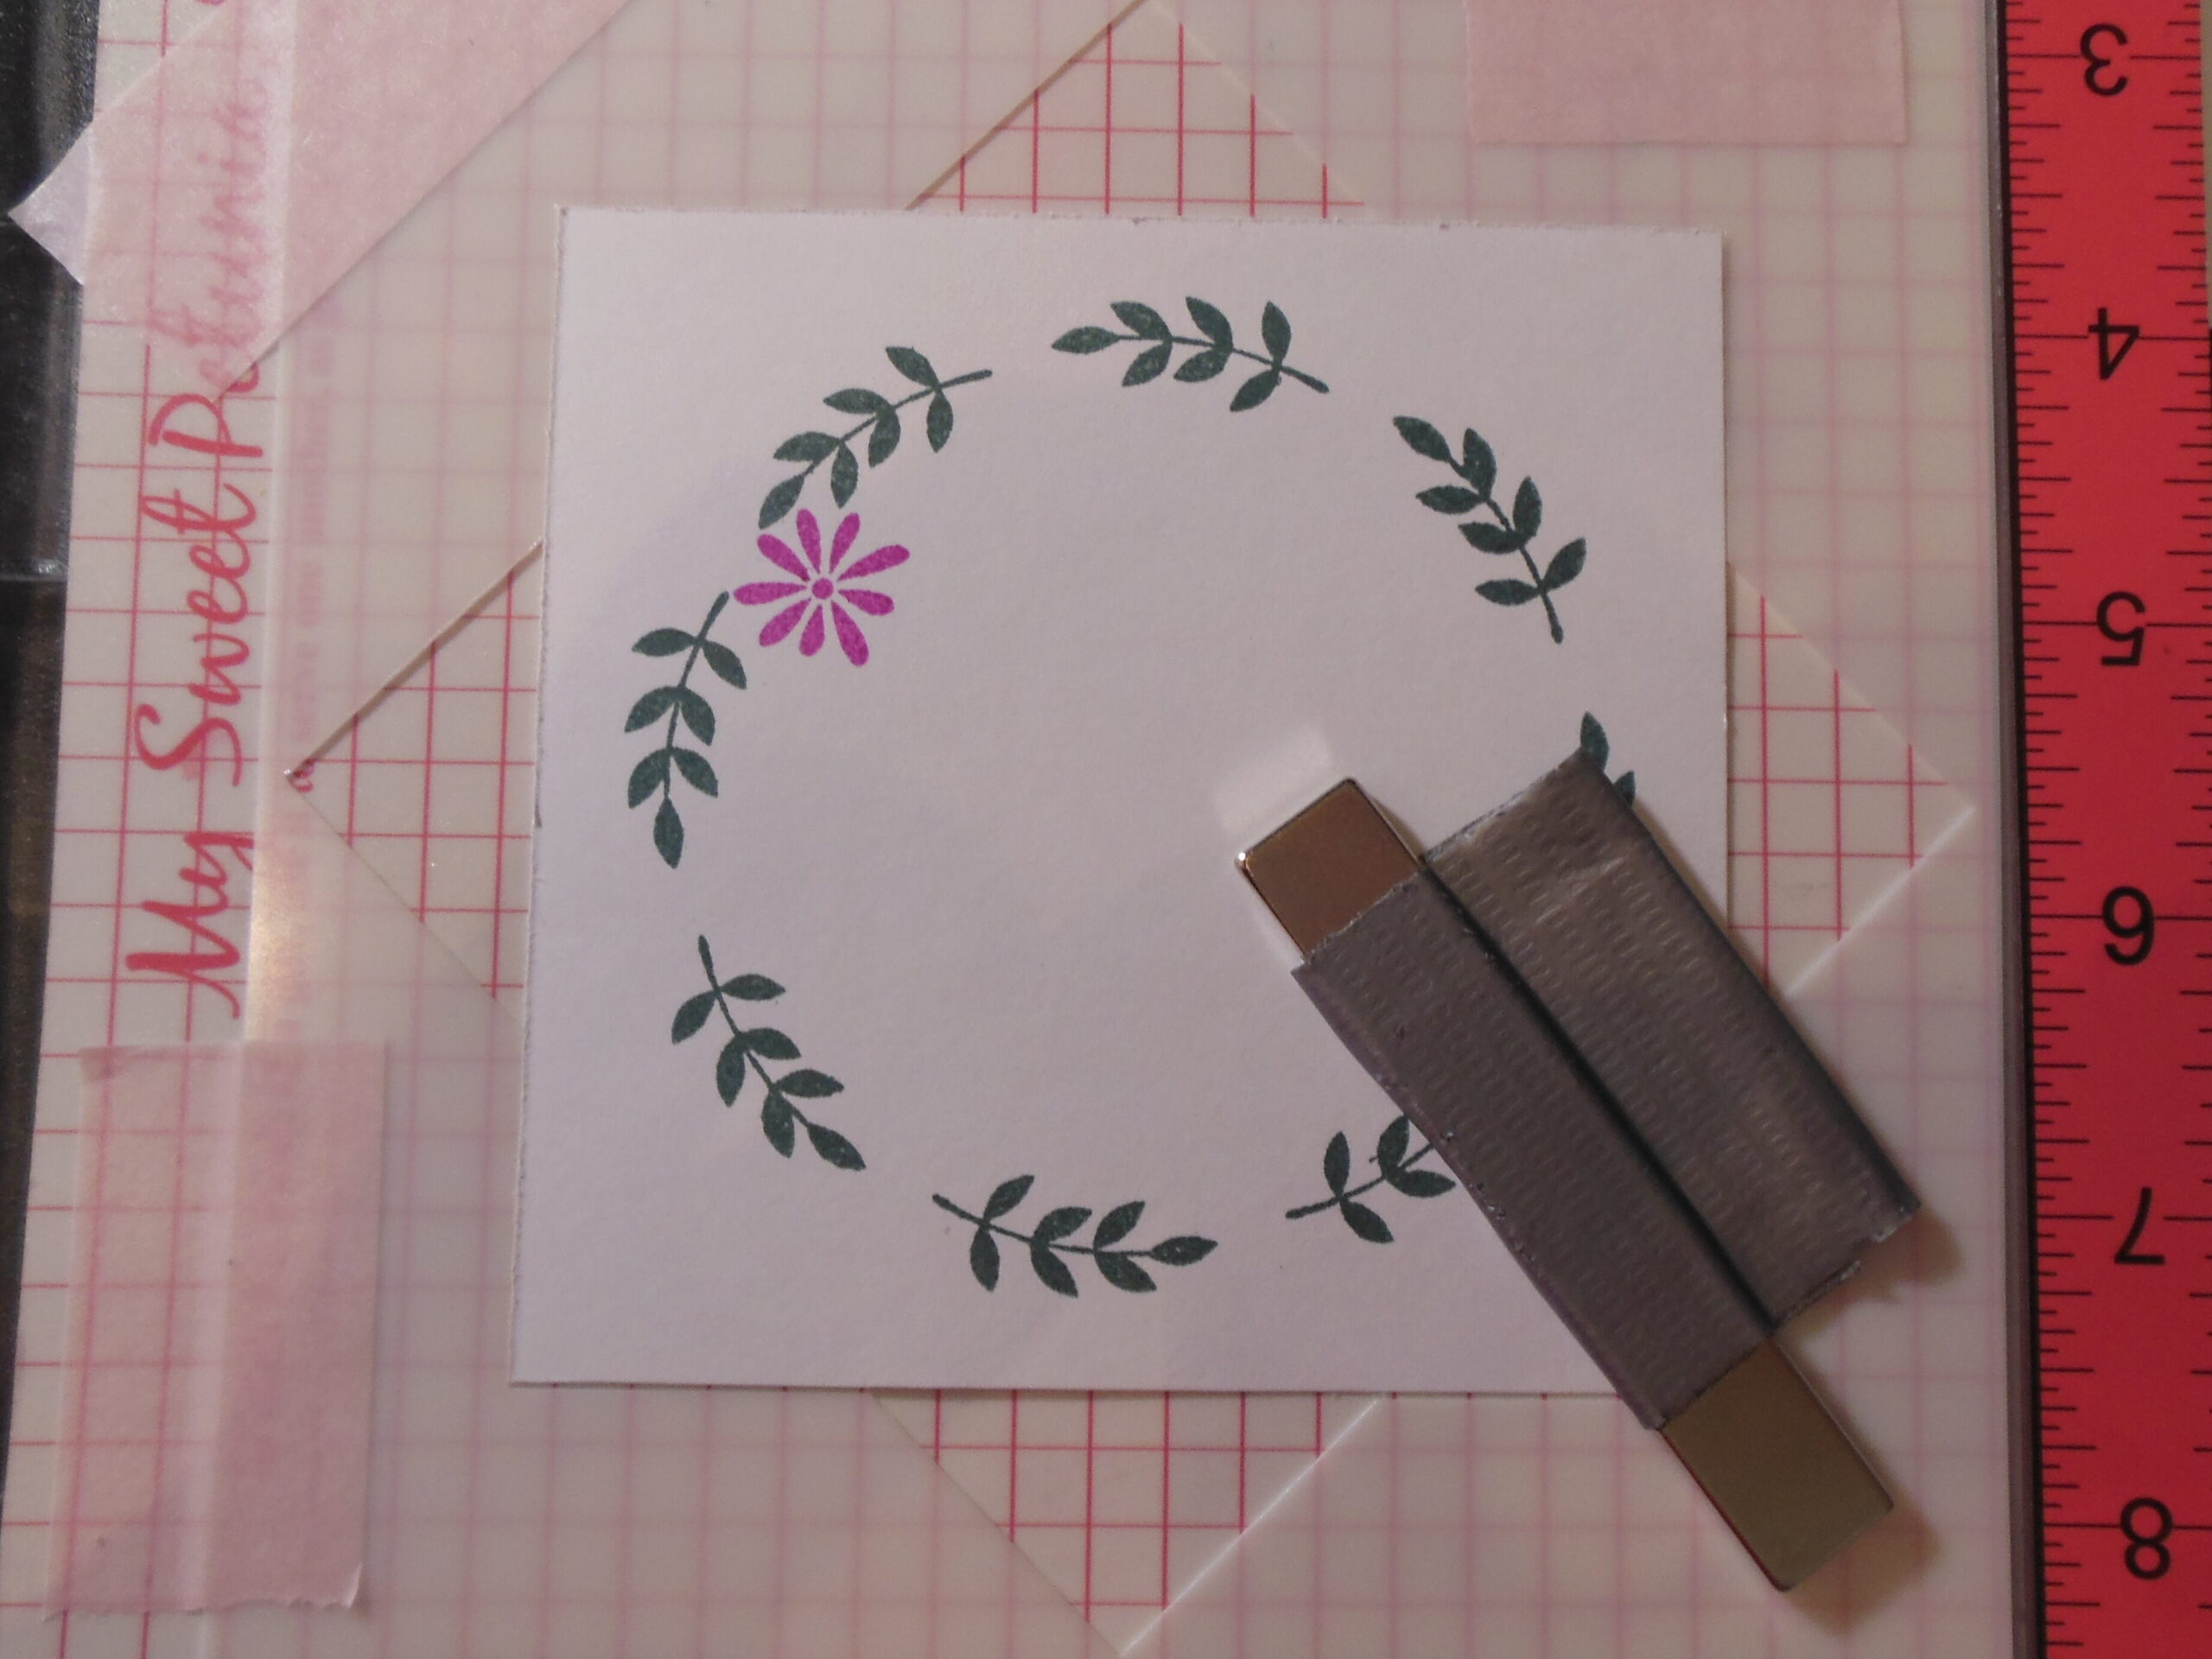
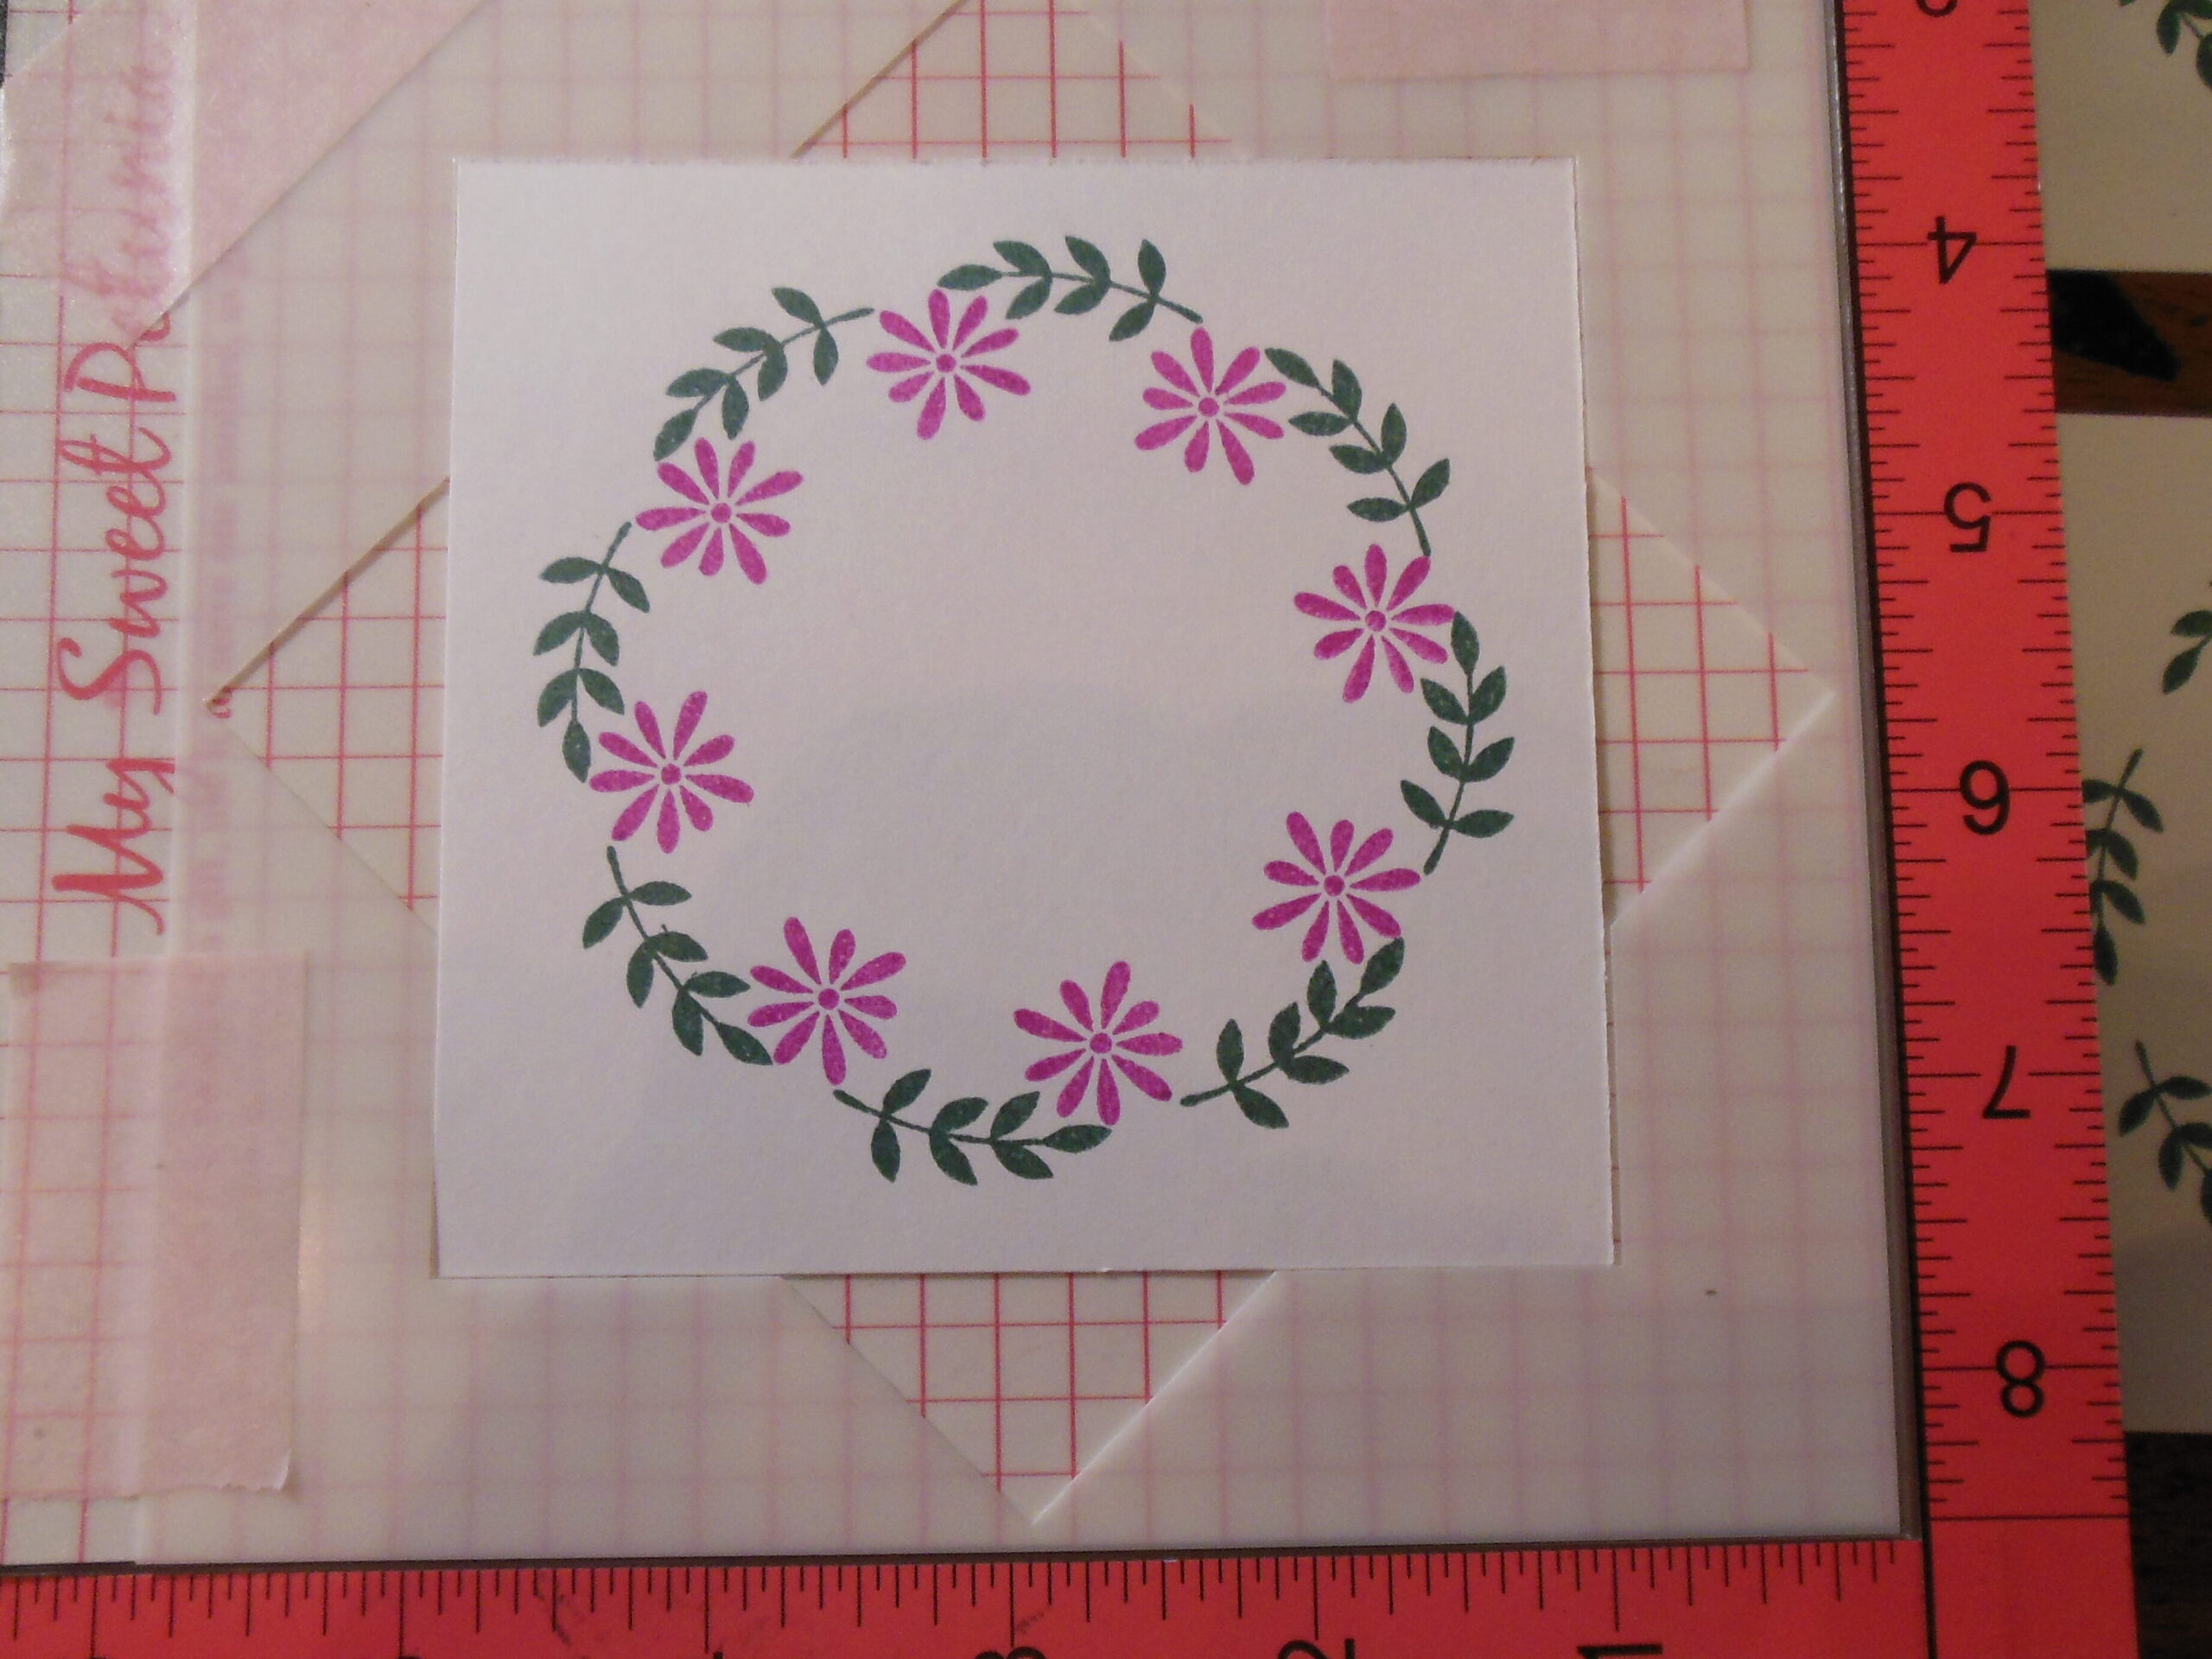
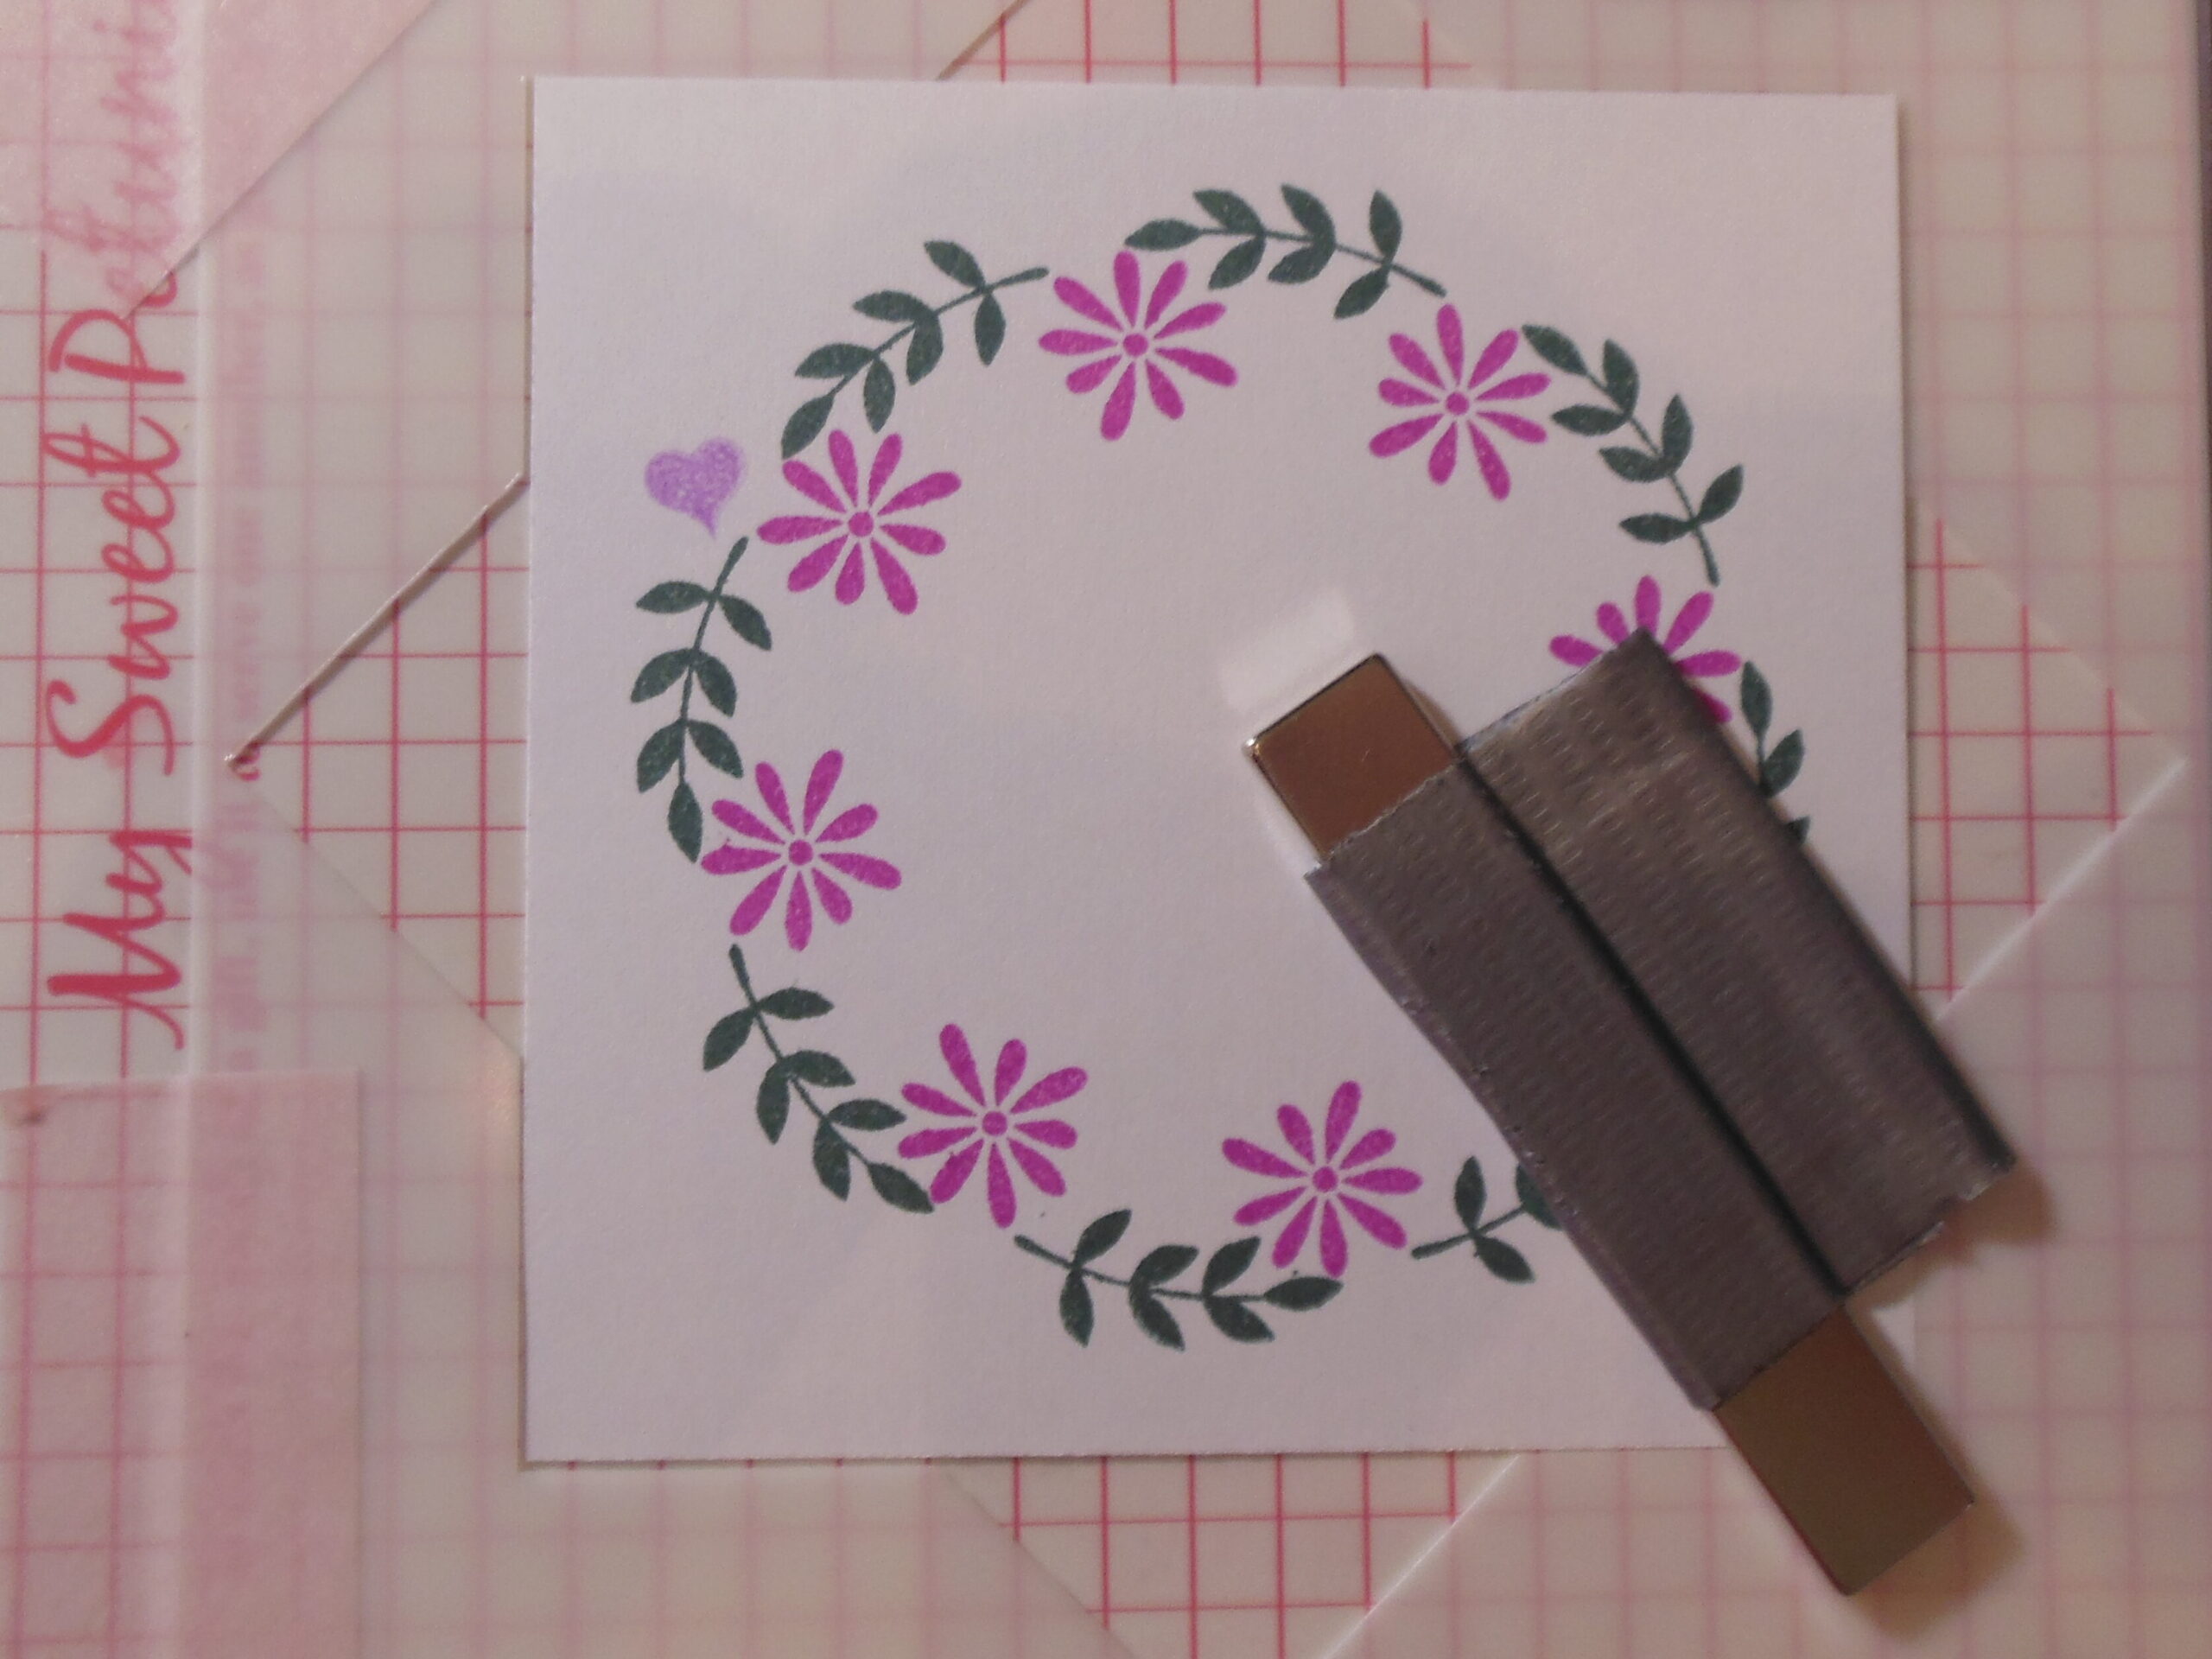
For my first card, I decided to do a wedding card. I’ve done birthday cards for my last two cards and decided I should do something different. I picked out some cool colors from my Gina K Designs ink cubes – Light Orchid, Medium Orchid, and Dark Spruce, and started building my wreath. I started with some greenery from the Original Wreath Builder set in the Dark Spruce.
Next I added in the flower on the inside of the wreath, using Medium Orchid.
And then added in the larger of the two small hearts from the Original Wreath Builder set on the outside of the wreath, stamping it in Light Orchid.

To fill in the gaps between the flowers on the inside of the wreath, I used the wedding bells from the Reasons to Celebrate set. I stamped these in Gina K Designs Black Amalgam ink.
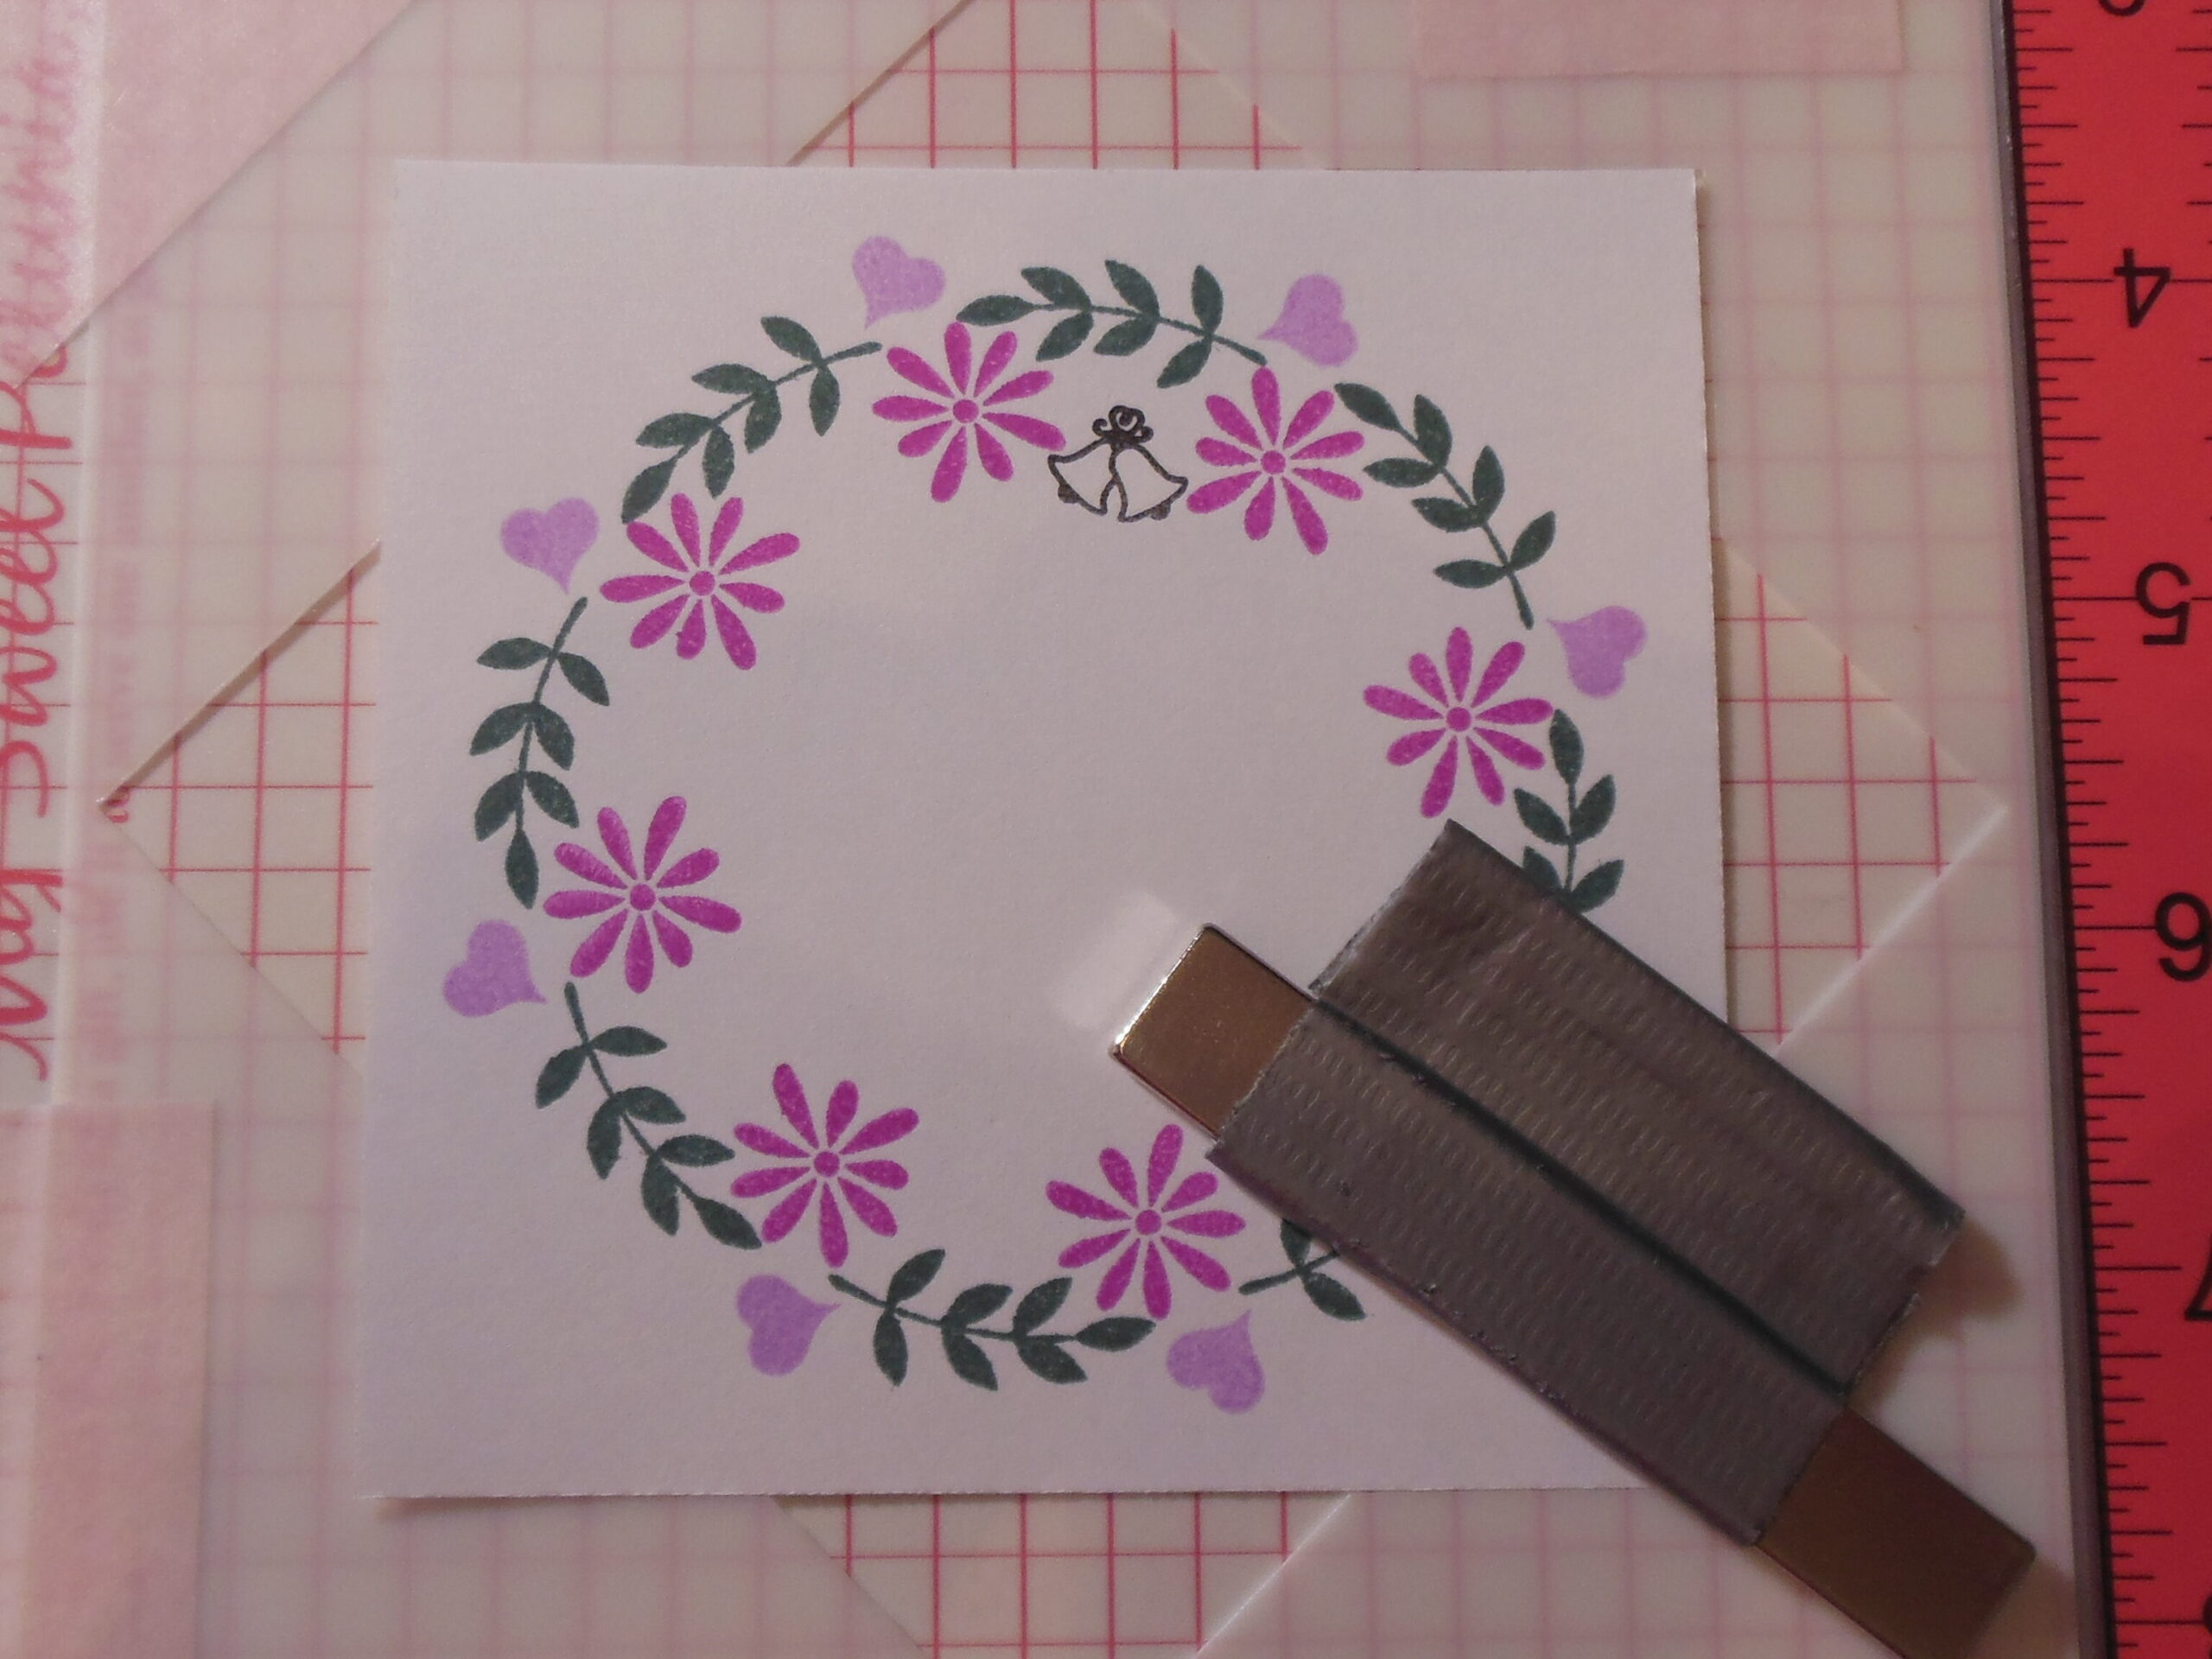
And finally, I stamped the sentiment, which is also from the Reasons to Celebrate set, in the center in Black Amalgam Ink.

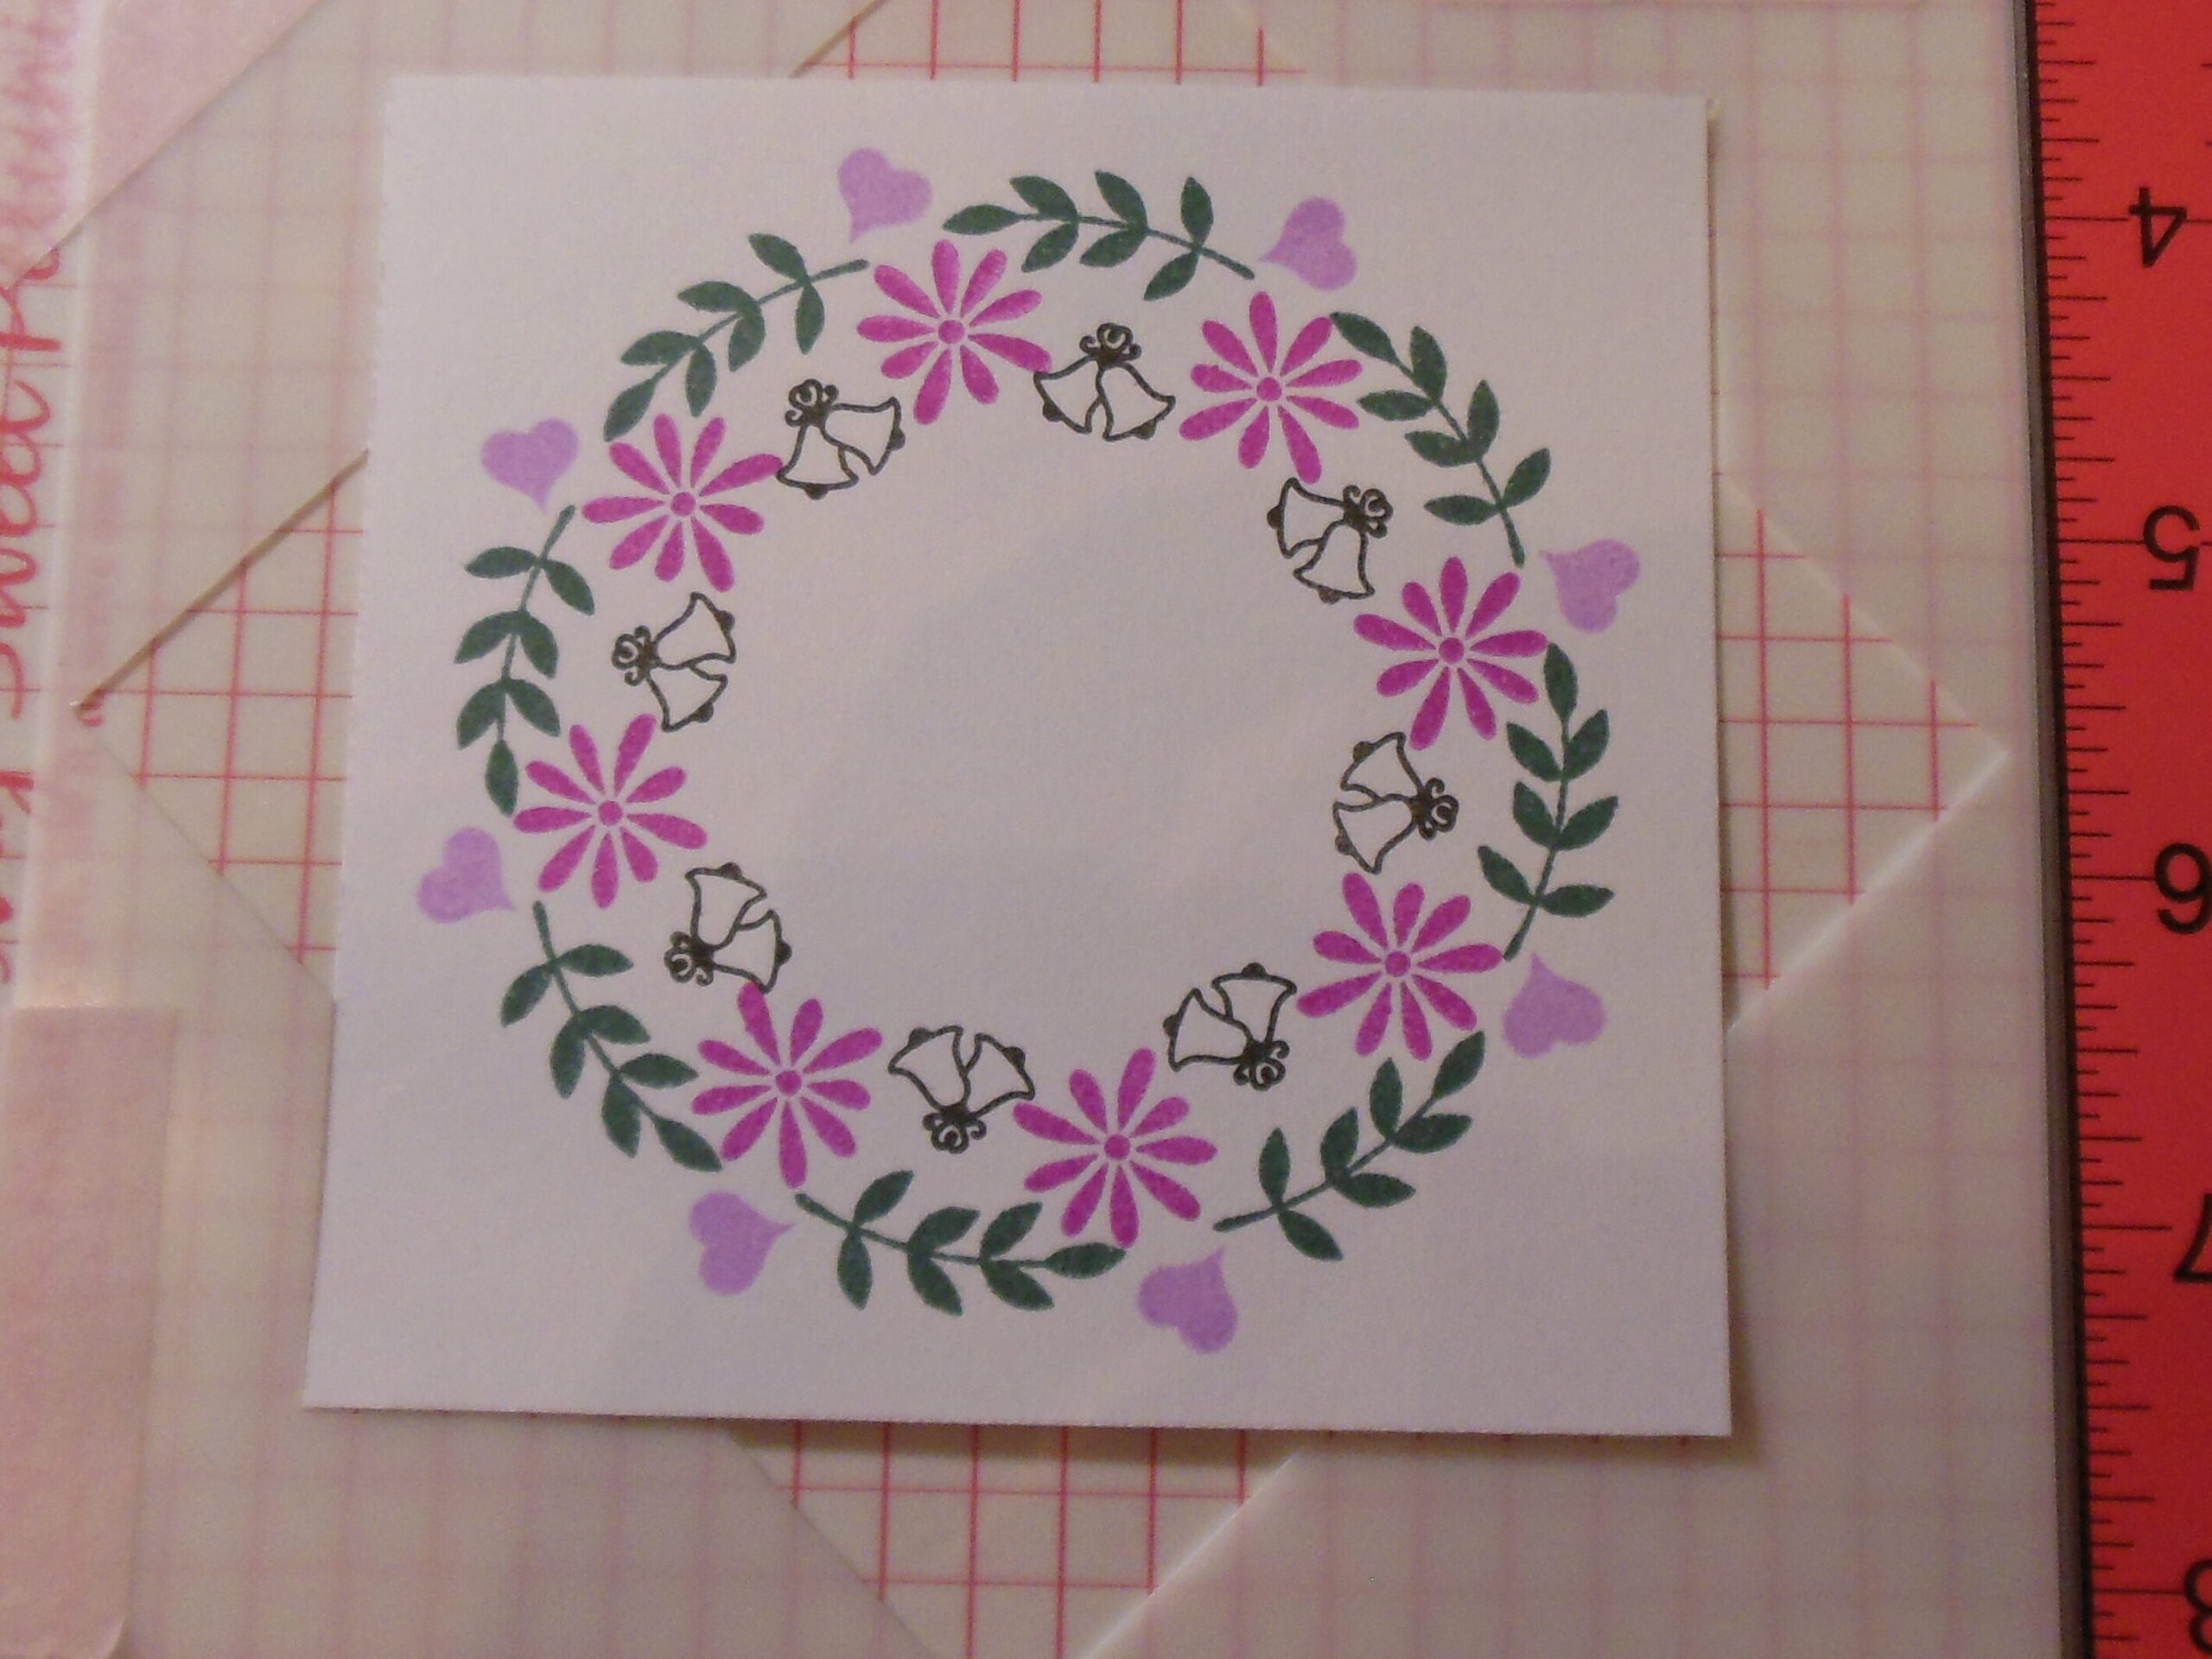
So the card front is done, right? Not yet. I still have that pesky pencils parameter I need to use. So, I pulled out my Primsa Colored Pencils and chose the Silver and drew in hearts inside the stamped hearts. Pencils parameter met! (And I apparently didn’t take a picture of this so look for it in the final card picture below.)
I centered the 4 x 4 square wreath front on a 4 1/4 x 5 1/2 card black base, added a white panel on the inside of the card, and one card is done!

Now for card number two!
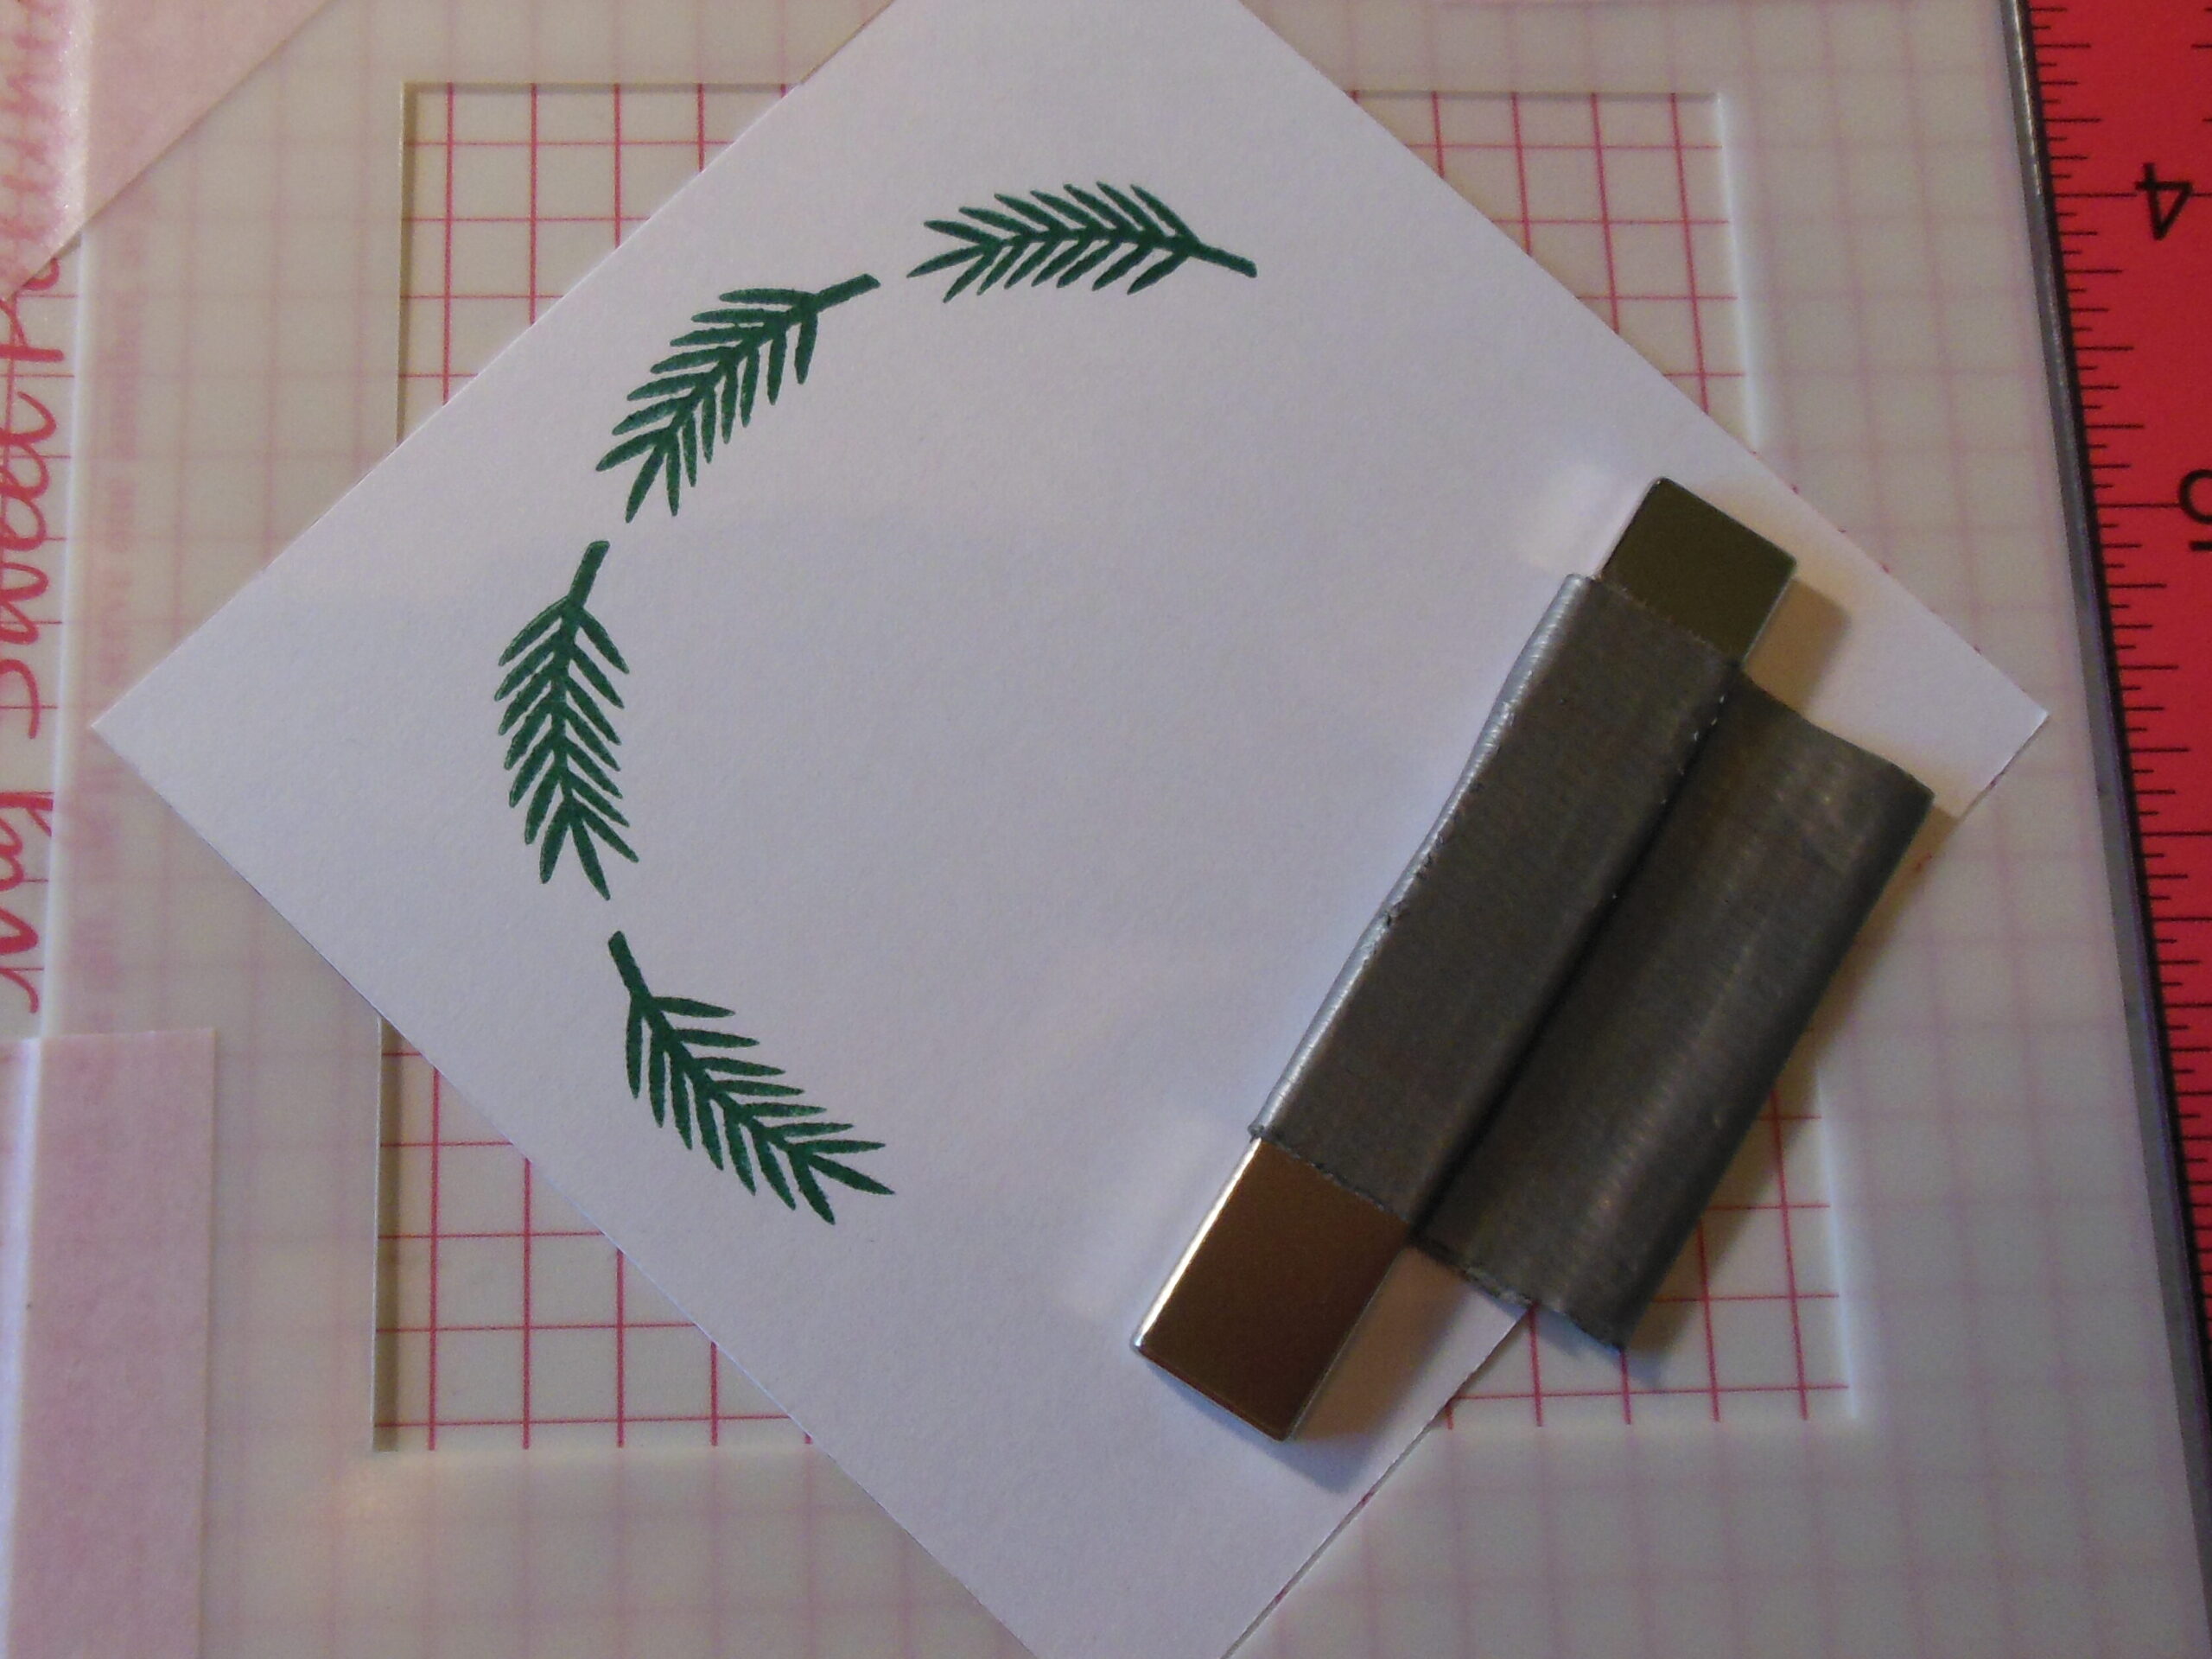
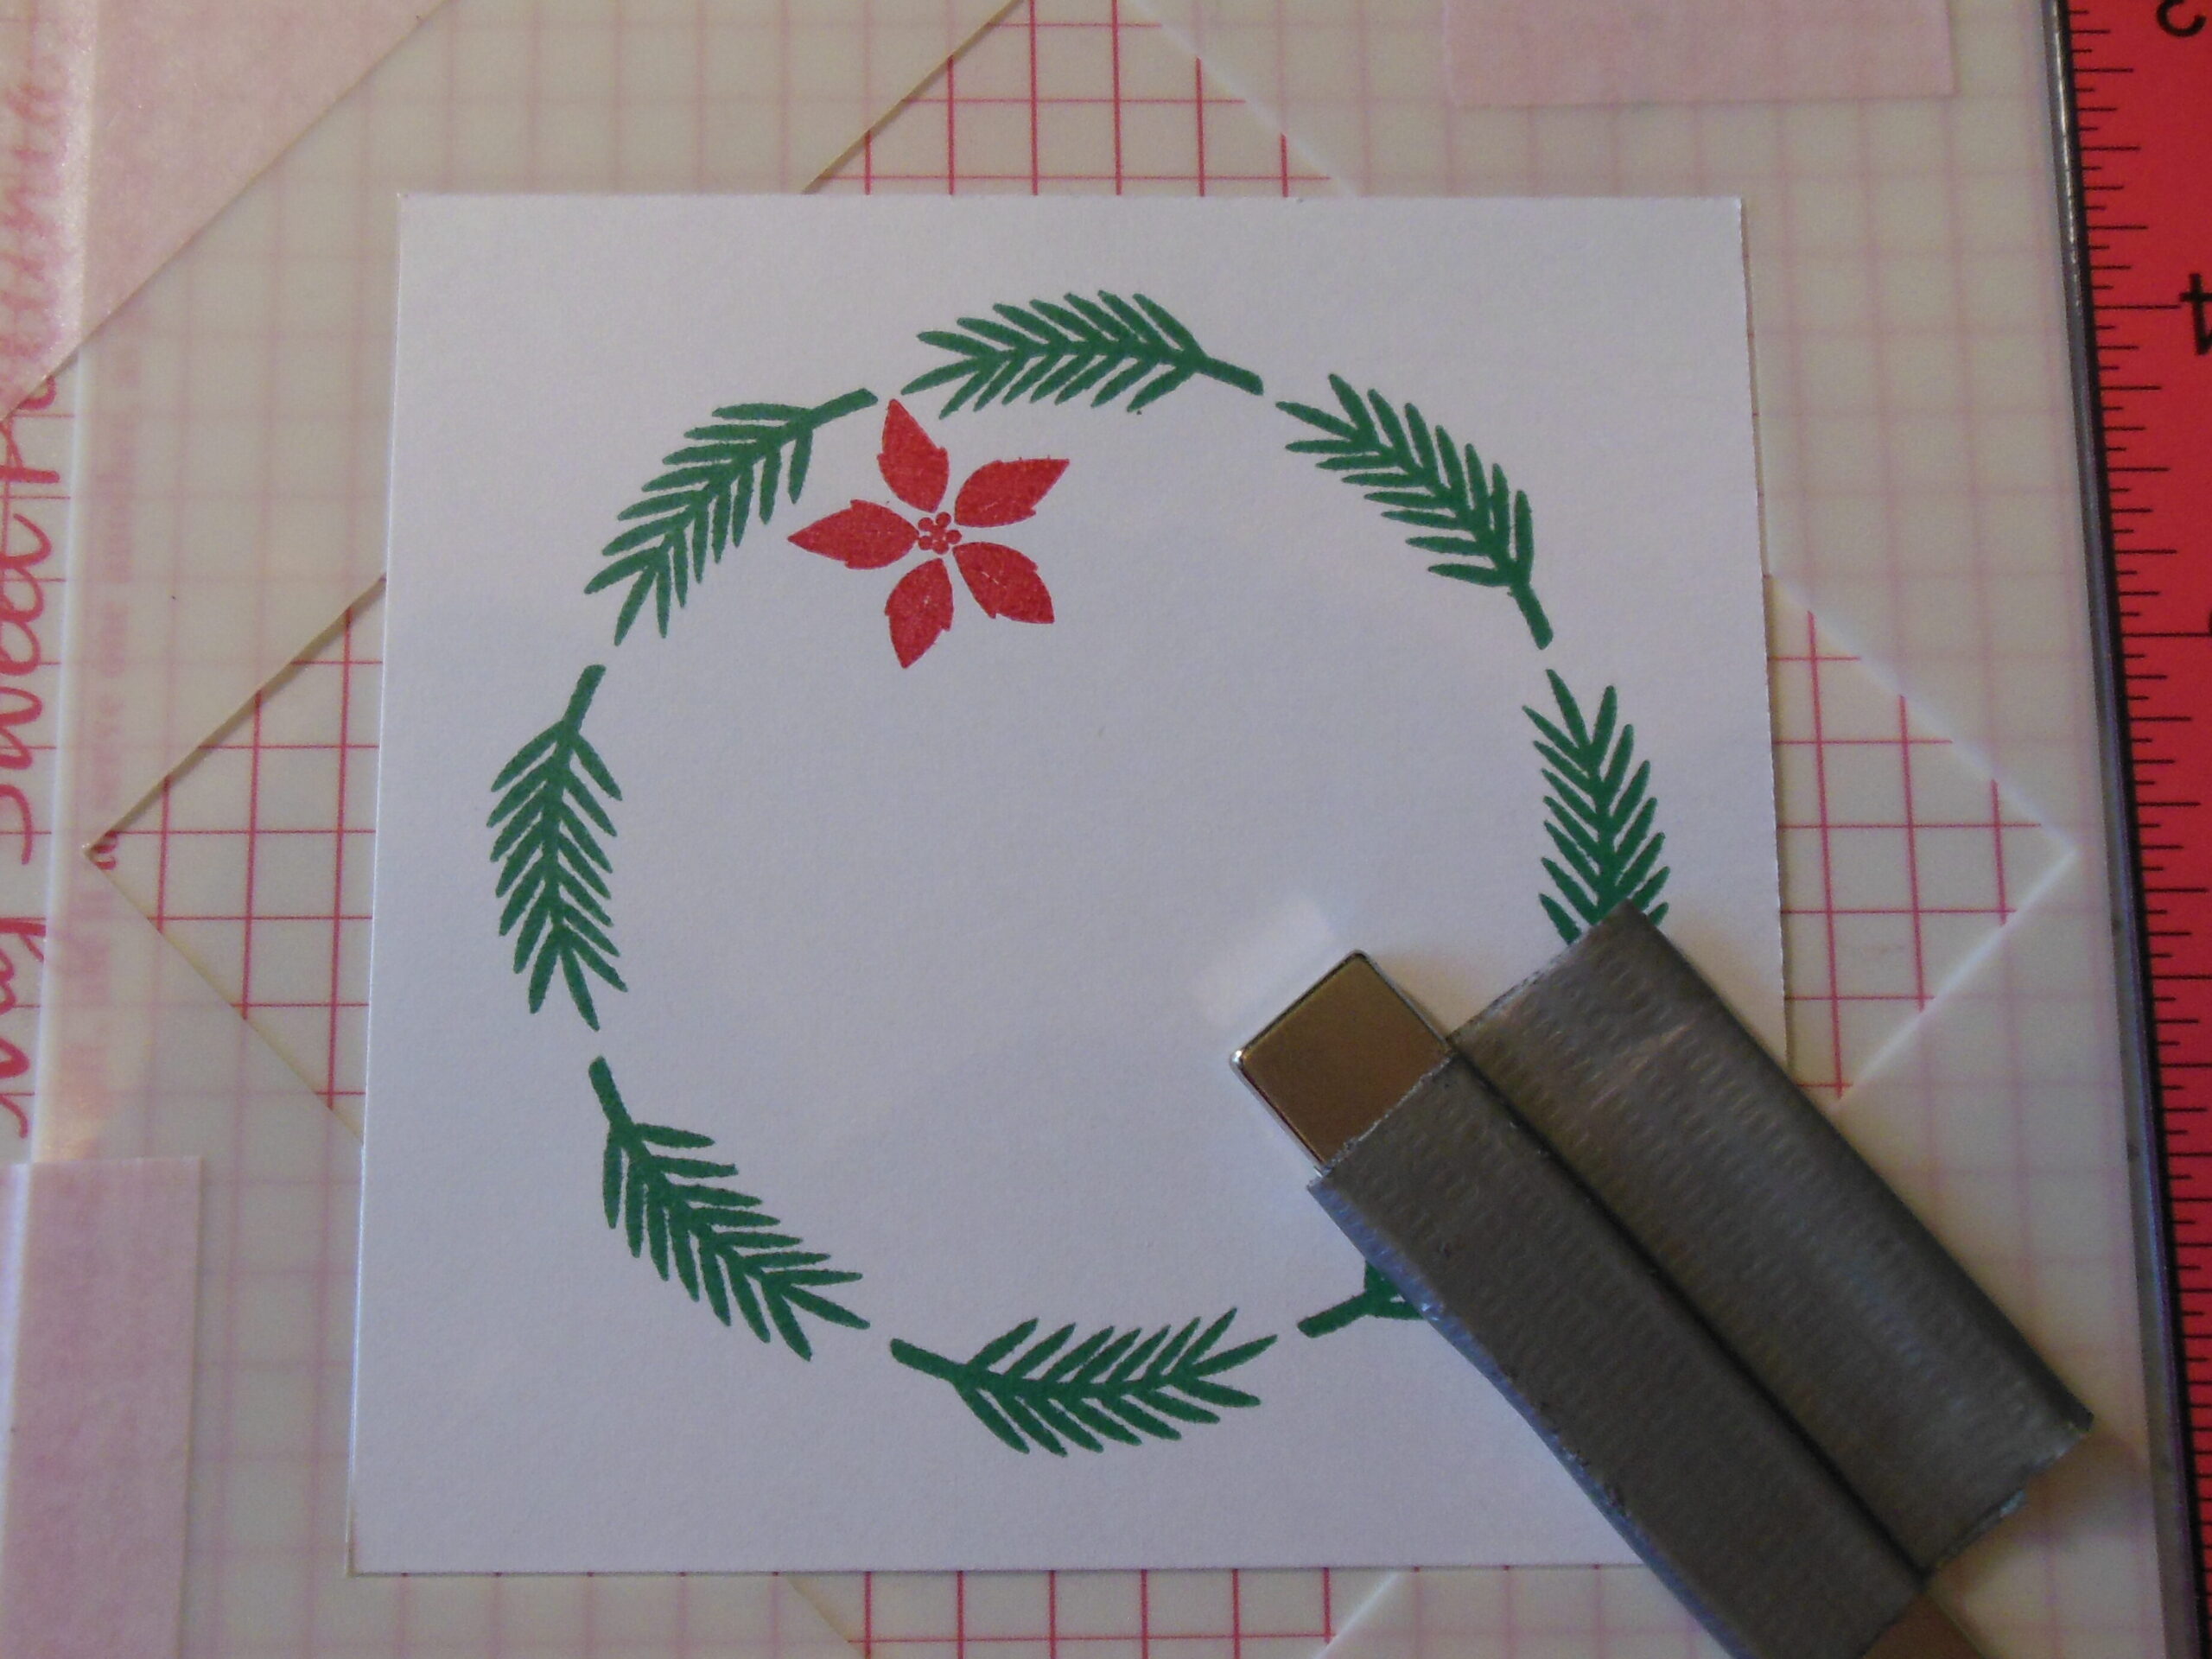
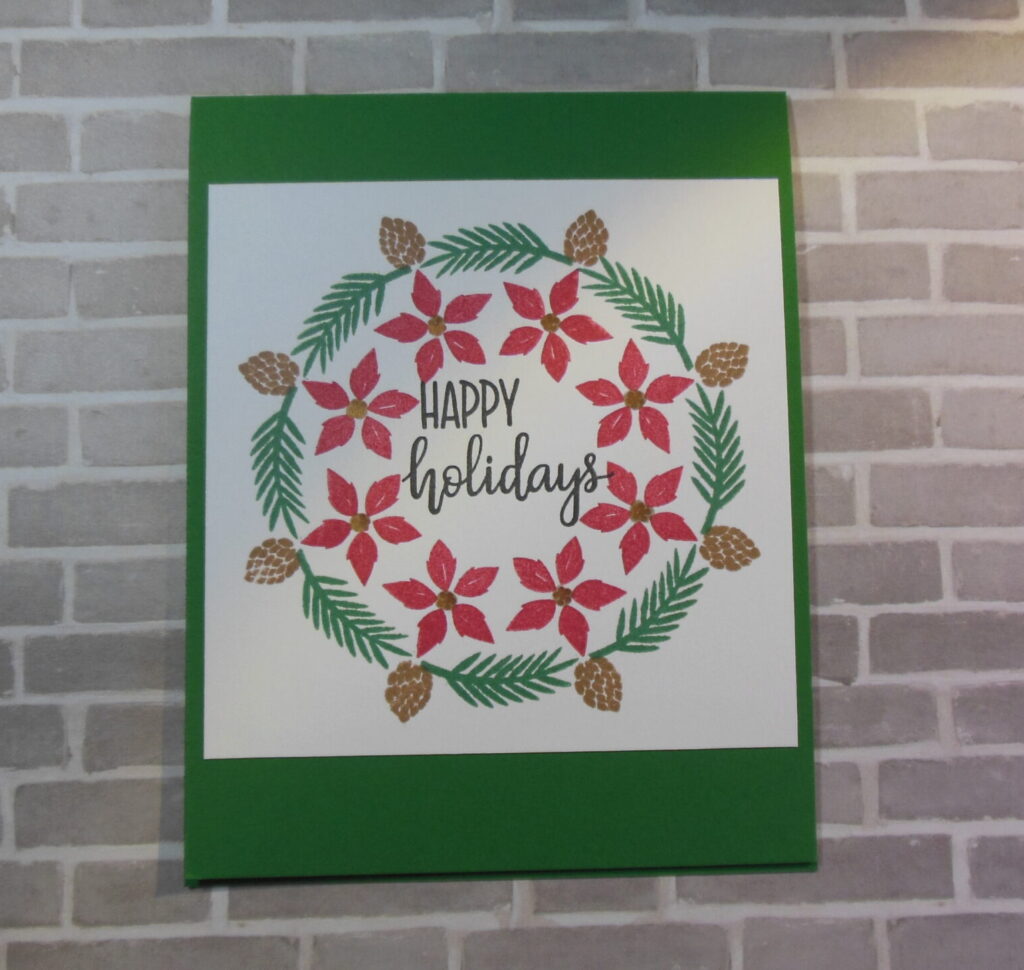
My second wreath is a holiday card. All of the images I used for this wreath are from Gina K Designs Holiday Wreath Builder. I started the wreath with the pine bough, stamping it in Gina K Designs Christmas Pine ink.
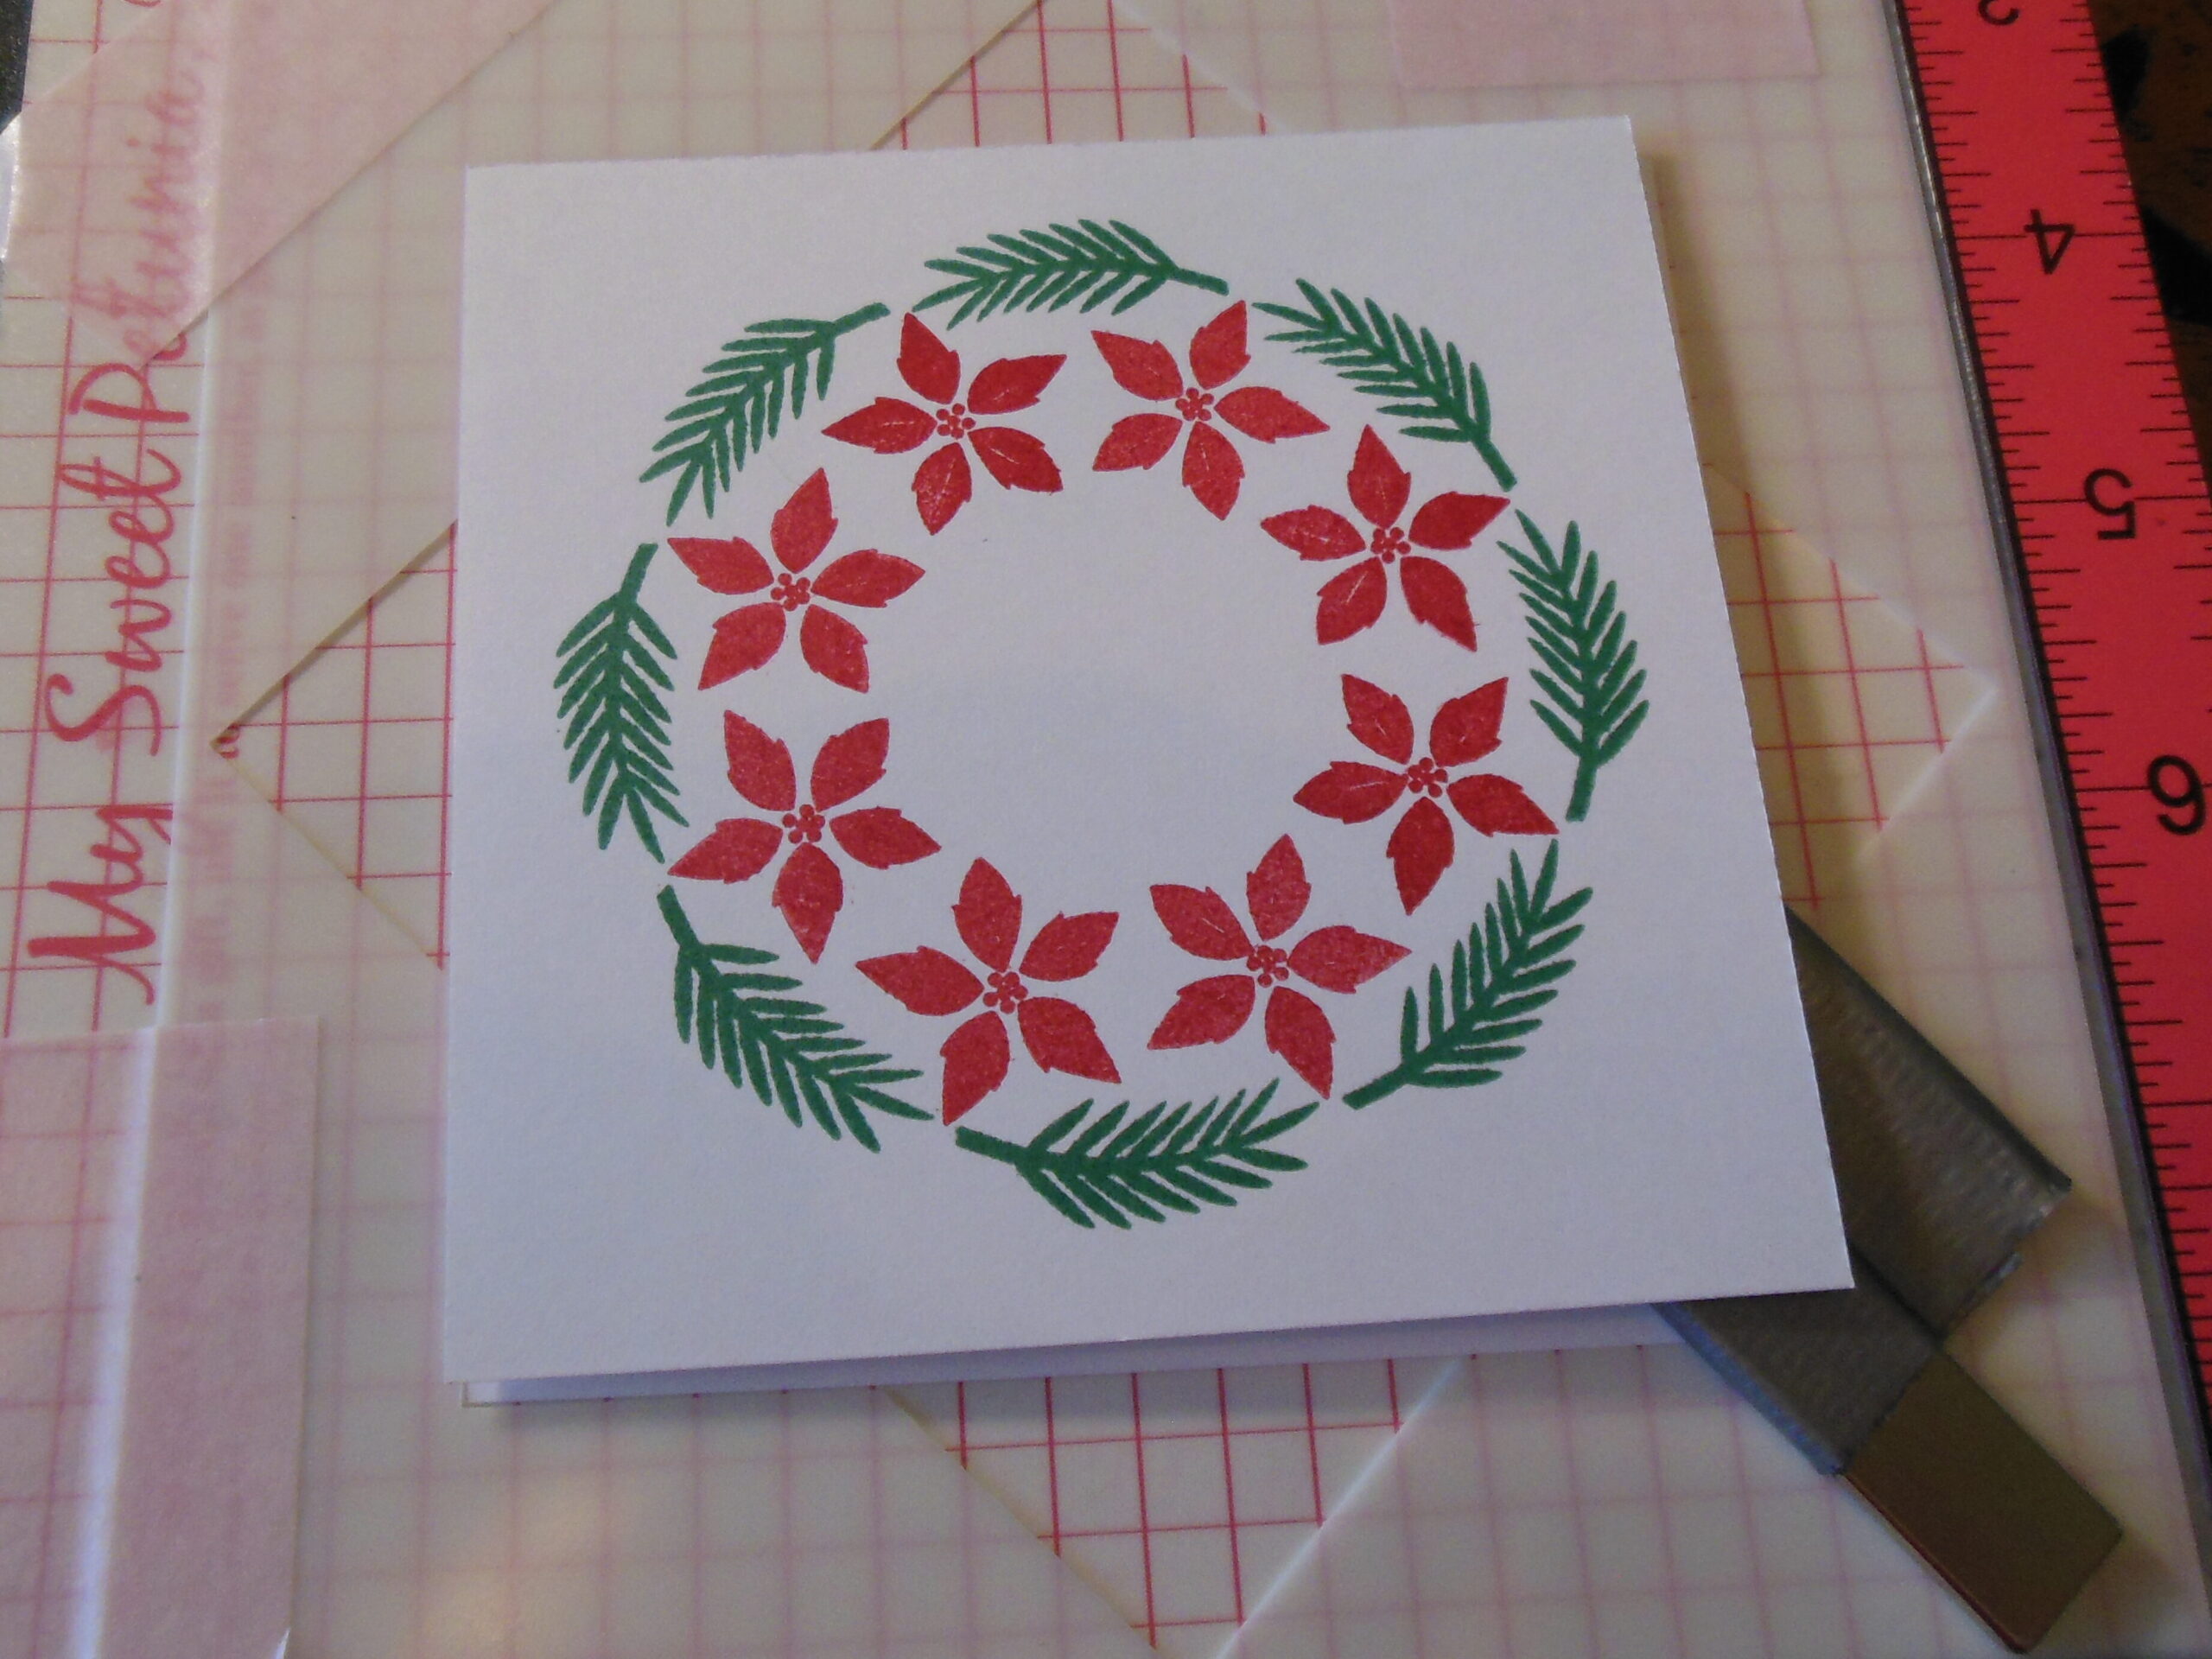
Next, I chose the poinsettia image and stamped it using Gina K Designs Cherry Red ink on the inside of the pine bough wreath.
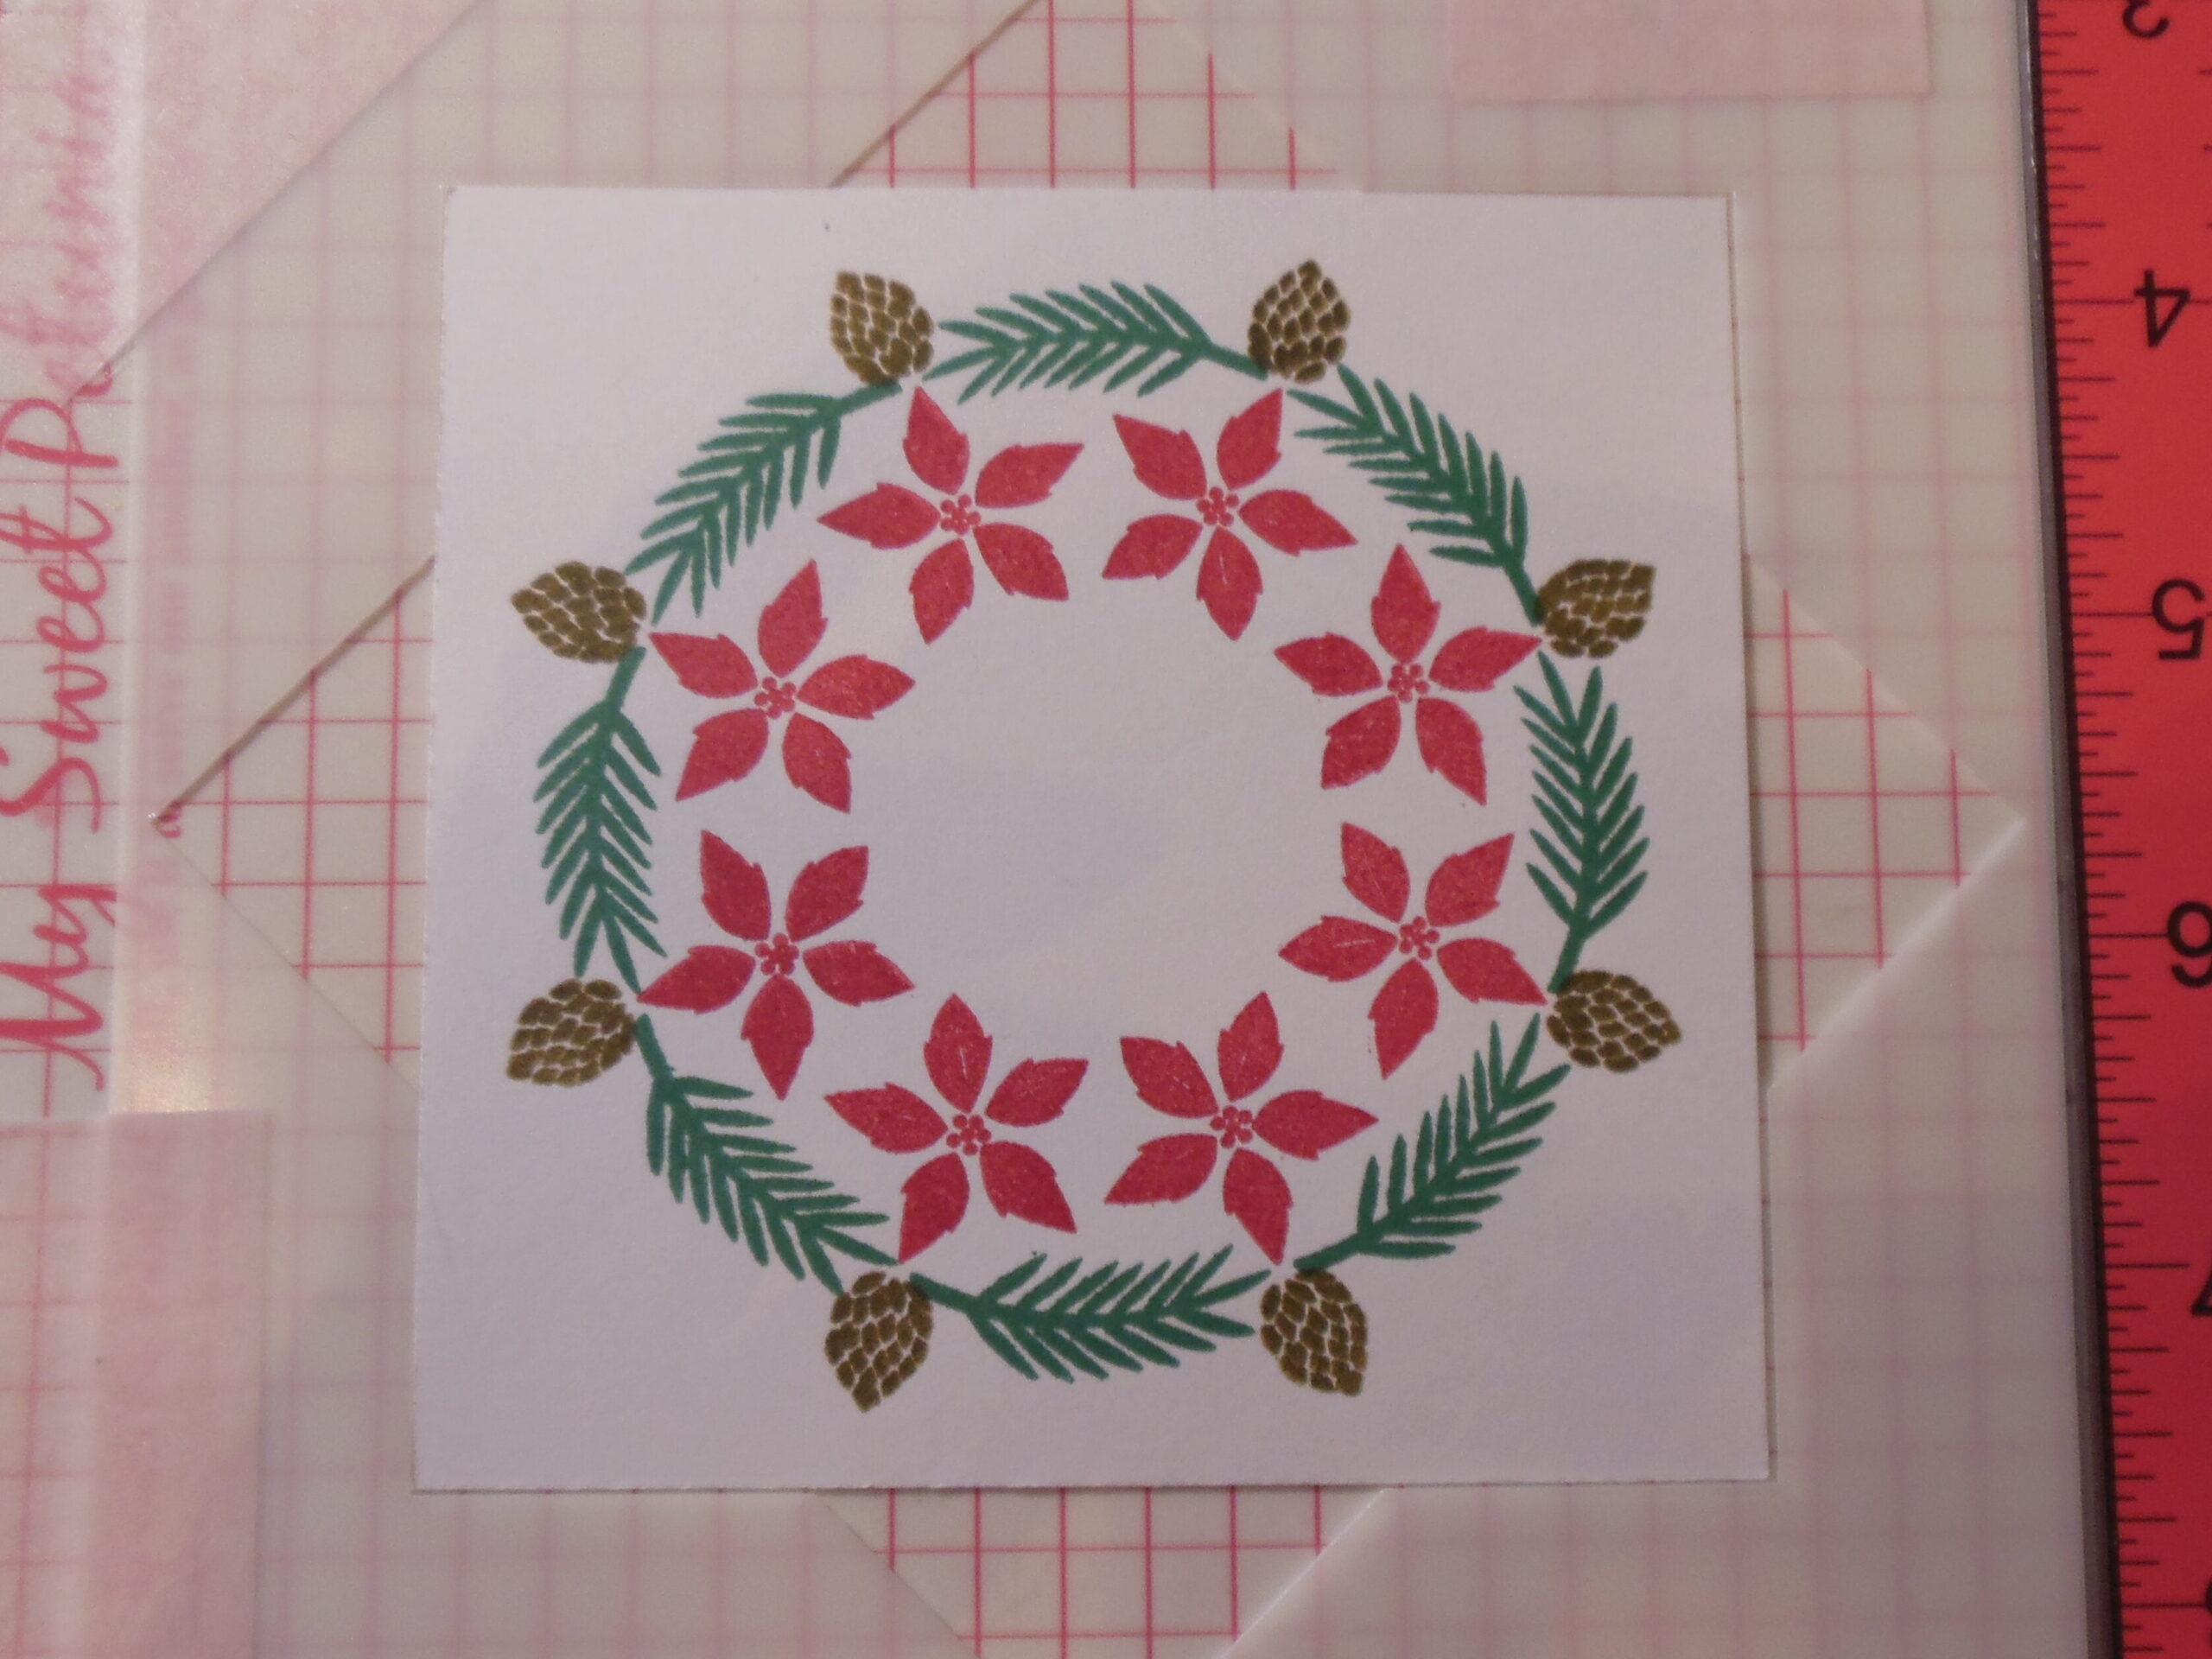
To fill in the gaps in the pine bough, I used the pinecone image and stamped on the outside of the wreath using Gina K Designs Warm Cocoa ink.

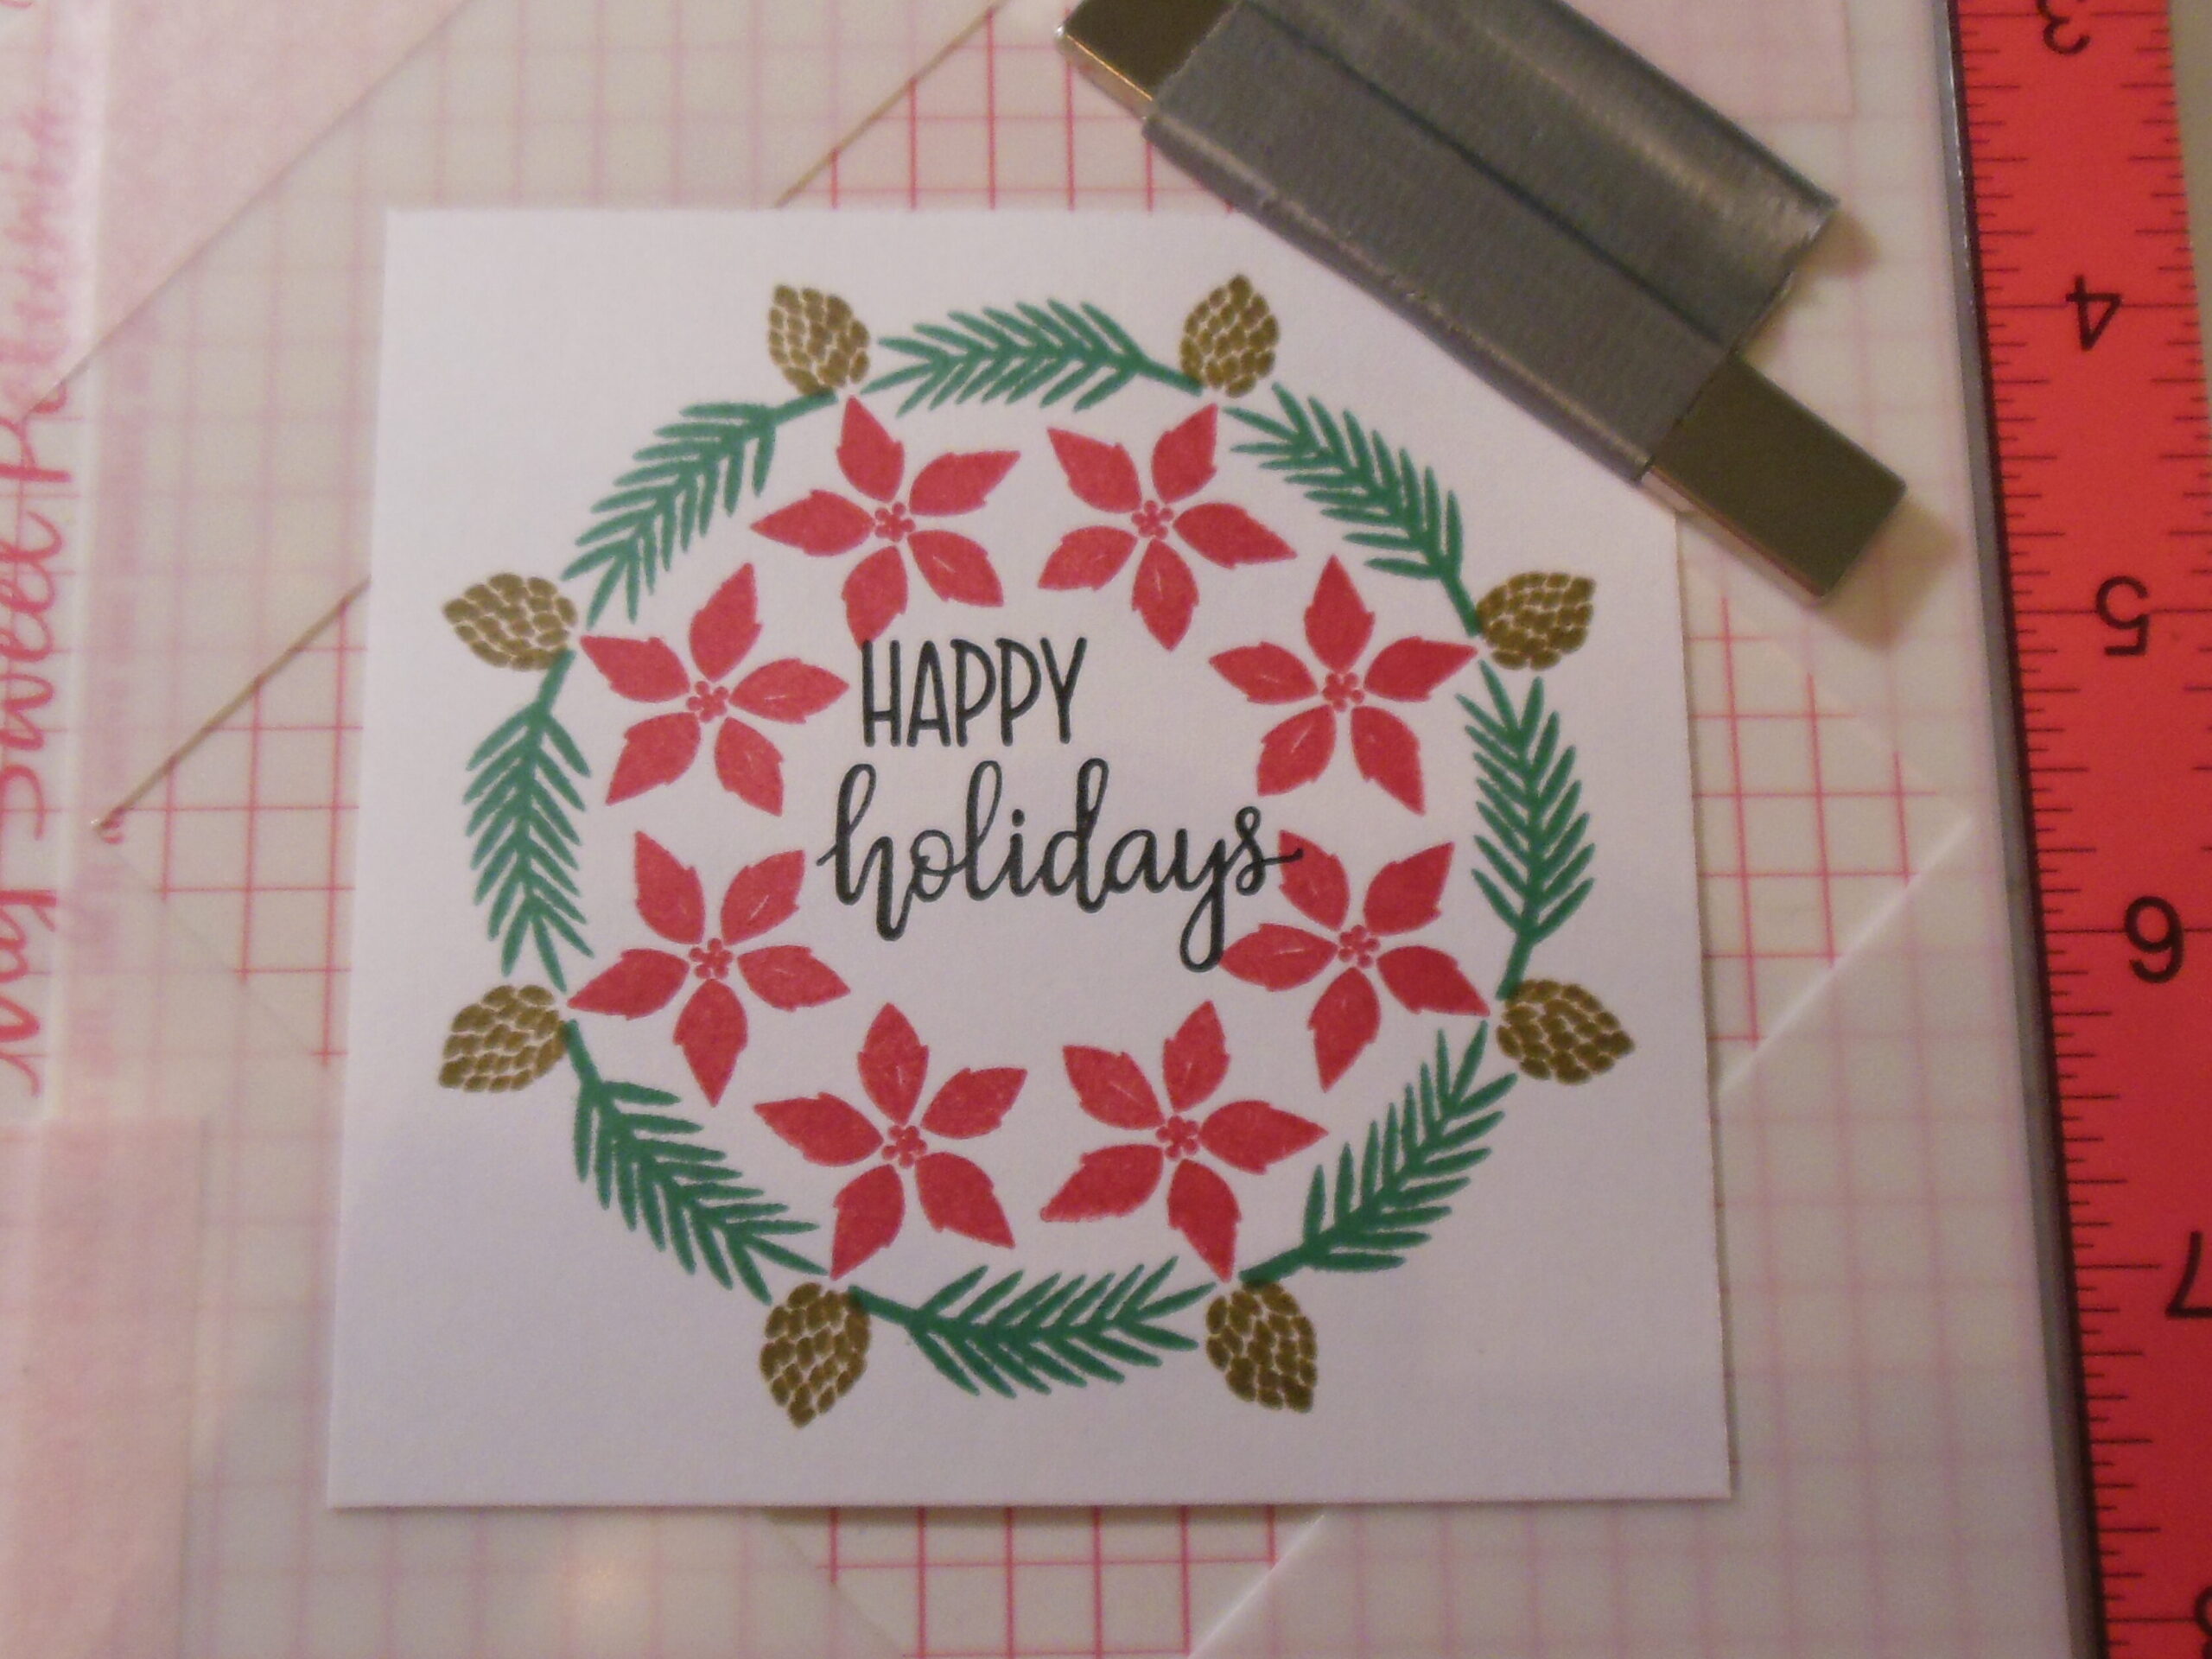
And finally I stamped the sentiment in the center using Black Amalgam ink.
And once again, I still had to use the pesky pencils parameter, so I used my Prisma Metallic Gold colored pencil and colored in the centers of each poinsettia (and again forgot to take a picture).
I added the 4 x 4 square panel to a 4 1/4 x 5 1/2 dark green card base and added a white panel on the inside to finish off the card.
Hope you enjoyed seeing the process of how these two cards came together.
Any links in this post are not affiliate links.