Our Craft Roulette episode for June is Episode No. 58. The parameters are: (1) Fancy Fold Card; (2) Colors – Green Plus 3; (3) Element – Outdoors; and (4) Random – Swink.
Here I am hoping to get back on track! I’m actually making my July Swap It card in the month of July – YAY ME!!!
If you’ve been following along from the beginning of this round of Swap It posts, we are using Craft Roulette episodes as our guidelines for our projects. We are able to interpret the parameters as we like, and this month I’m interpreting “fancy fold” as “fun fold” and went out to YouTube to find one I haven’t tried before. I’m keeping things simple this month and doing my best not to stress over making my swaps this month. This is supposed to be fun, right!?!?!
I took inspiration this month from a quick and easy fun fold card tutorial I found on Creative Moments by G’s YouTube channel. She’s calling this the Easiest Fun Fold Ever (and I think she may be right). I’ve linked her video so you can get all of the information directly from G.
To make this card, I started by cutting the single layer base at 4 1/4 x 5 1/2. I got my “green” color covered here. Note that the base is a single layer and not a folded card like usual.
The fun fold part starts with a piece that is 5 1/4 x 12 that is then scored at 2 inches, 4 inches, 6 inches and 8 inches. As G did in her video, I started with a piece of 12 x 12 cardstock, made my score lines, and then rotated the paper and cut it down at 5 1/4, giving me two cards for the work of one.
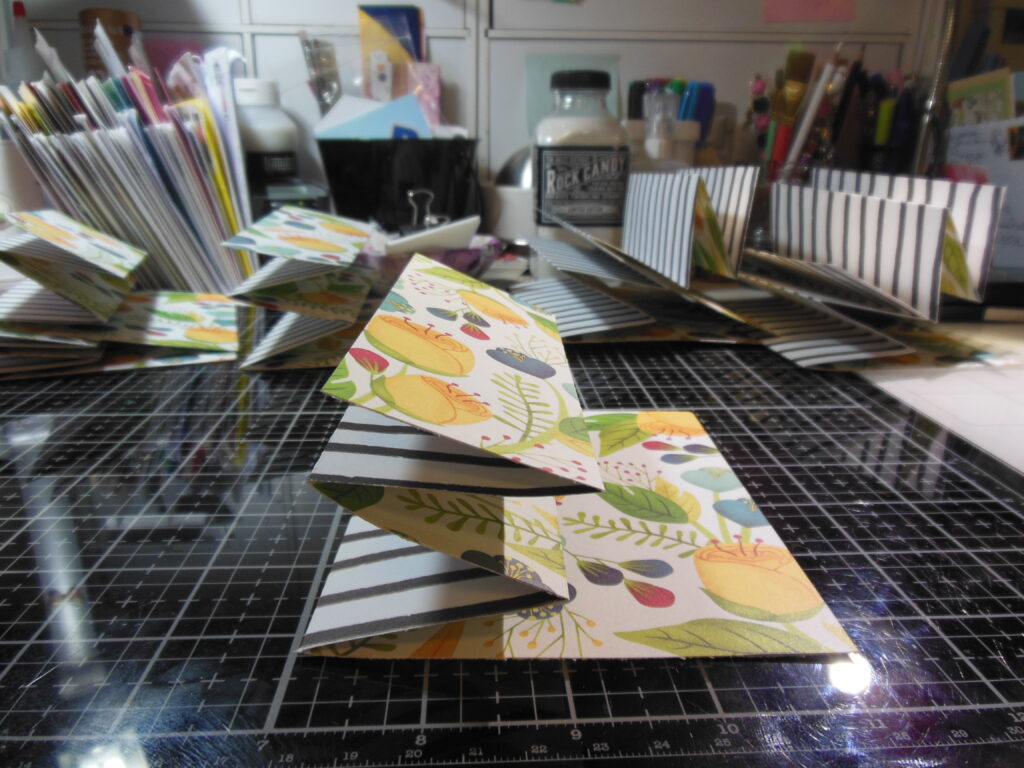
My patterned cardstock takes care of my other 3 colors, so my color parameter is met. I folded my card at the scores accordion style, and then glued in between the first and second folds and then in between the second and third folds.
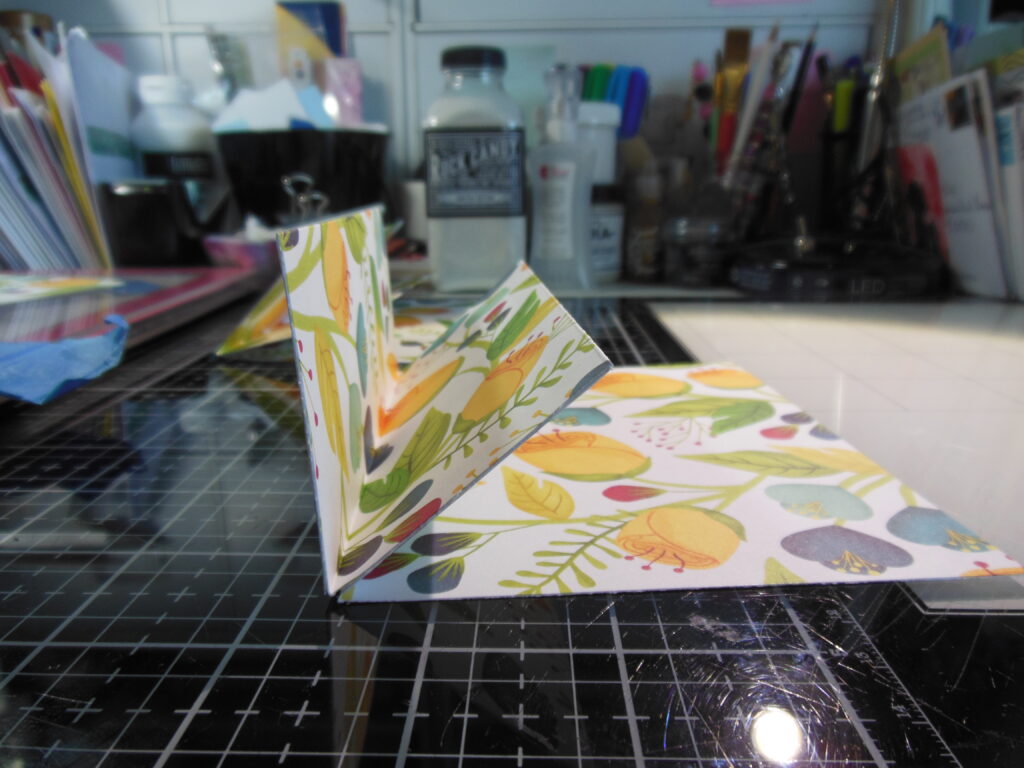
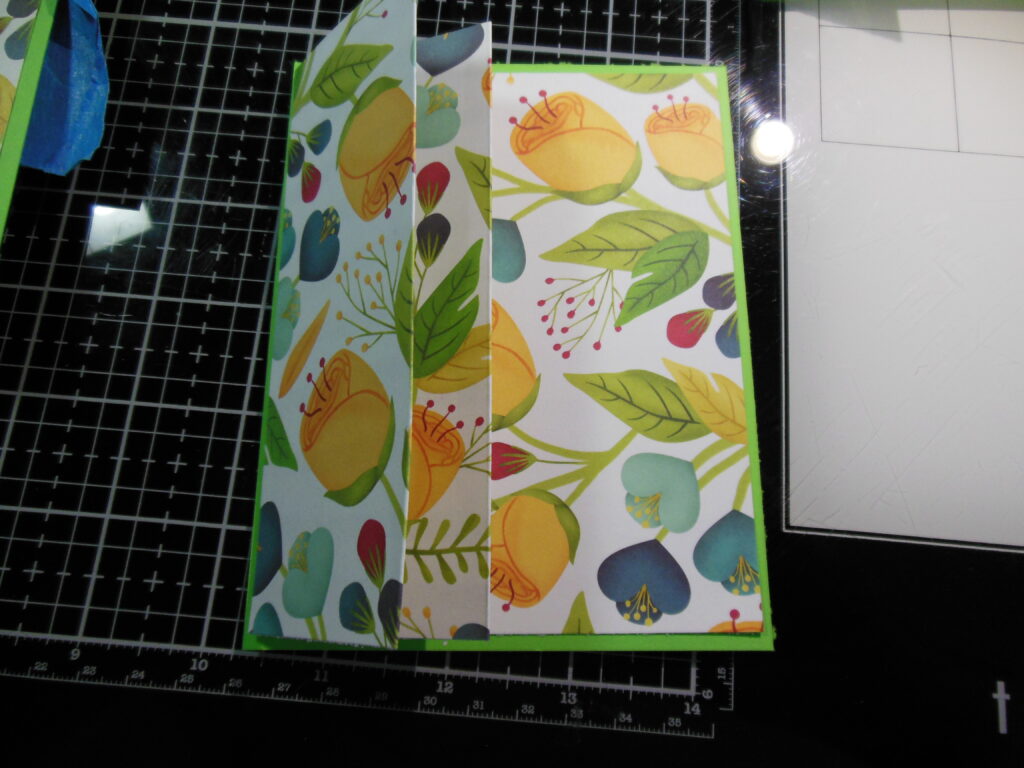
Next I glued the large card side to the base.
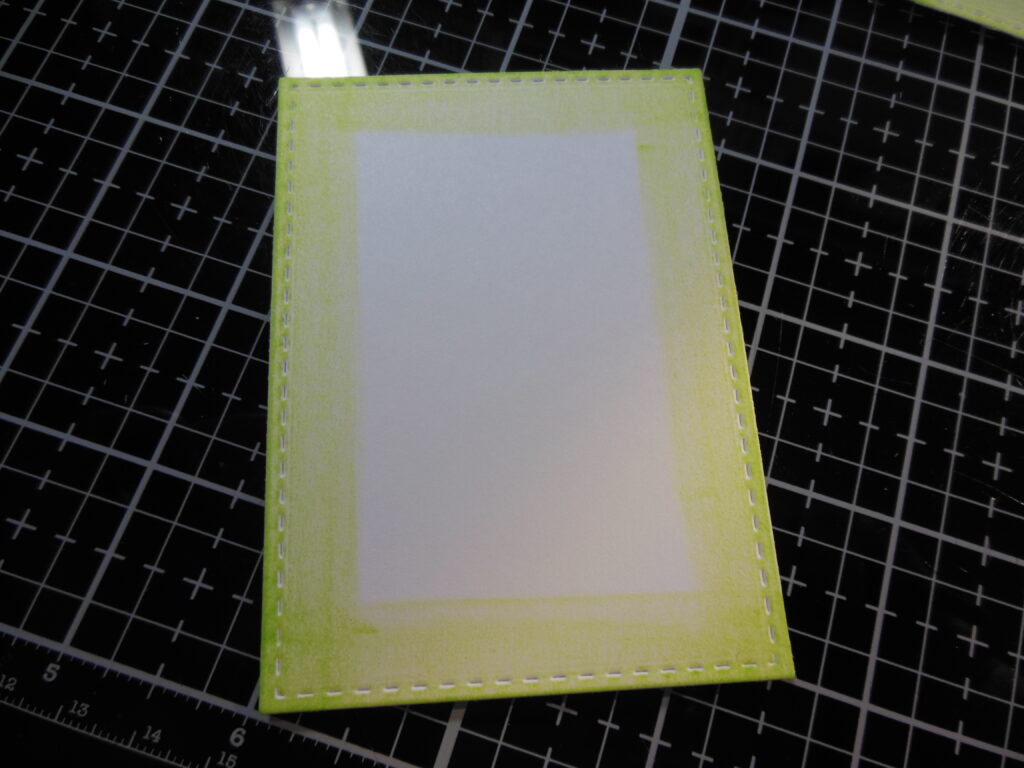
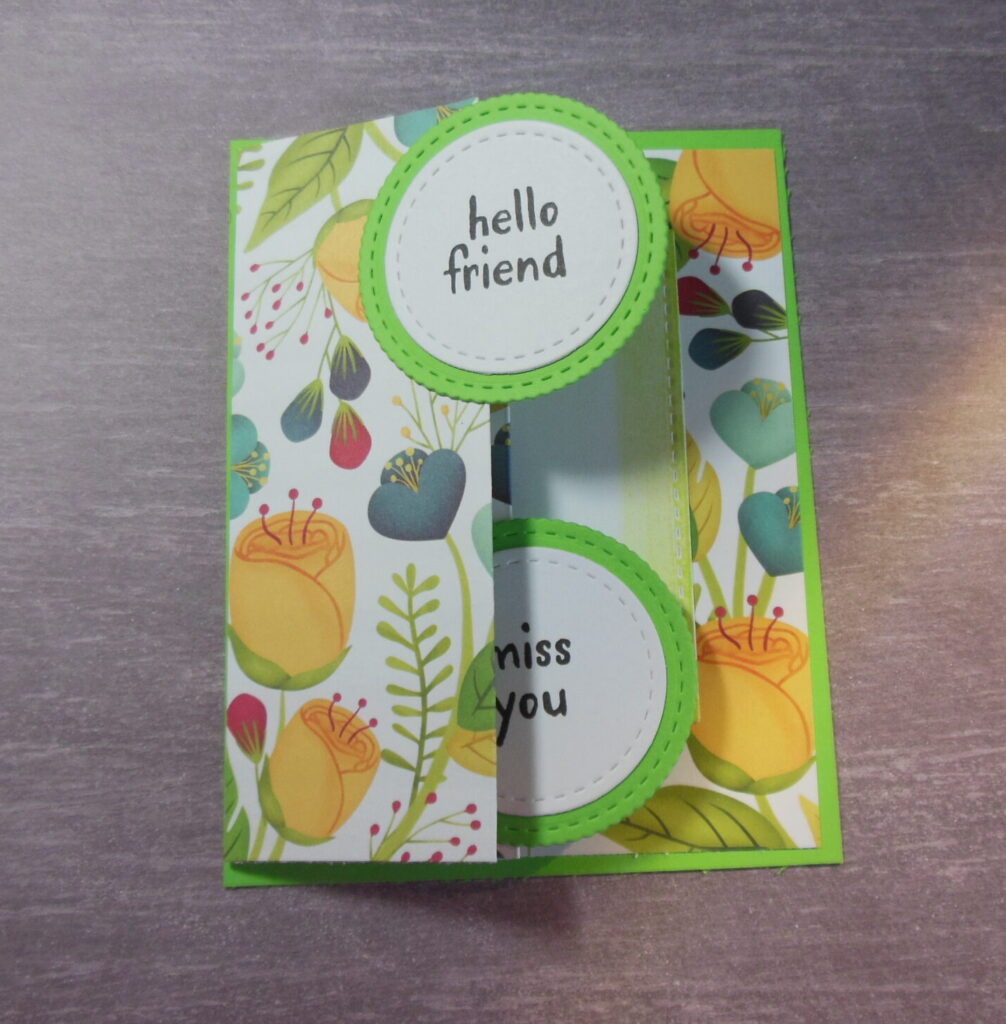
I cut a white inside mat at 3 1/2 x 4 3/4 and decided this will be a perfect place to incorporate my Swink parameter. Hopefully swinking around the inside mat will help it not get lost since the background of my patterned cardstock is also white. After thinking about it for a little bit, I decided the 3 1/2 x 4 3/4 panel was too large and would hide too much of my background, so I trimmed those panels down using the smallest stitched rectangle from Unity Stamp Company’s Scallops & Rectangles nesting dies. I then swinked on Twisted Citron Distress Ink. My ink pad needs to be re-inked so the swinking is rather light, but I love that it isn’t over powering and just brings the stitching out a bit.
I turned to creating my two sentiment circles next. I used the smallest two circles from Unity Stamp Company’s Scallops & Circles nesting dies to create the sentiment circles. I used the same green as my card base for the scalloped circle and my regular layering white cardstock for the sentiment circles.
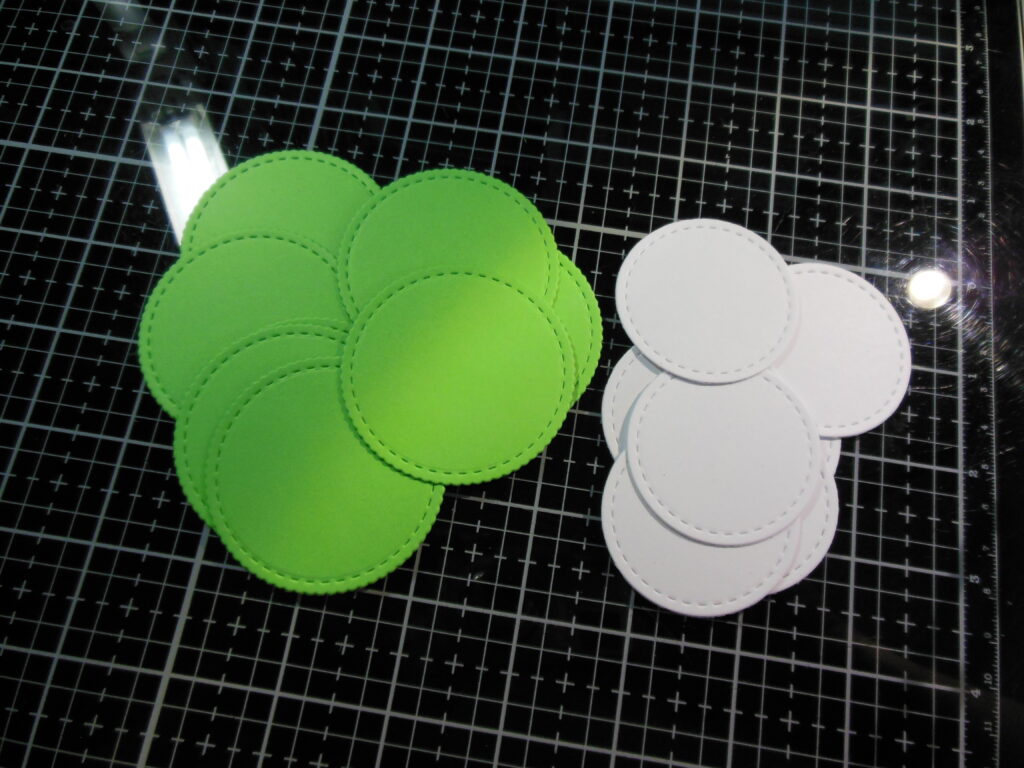
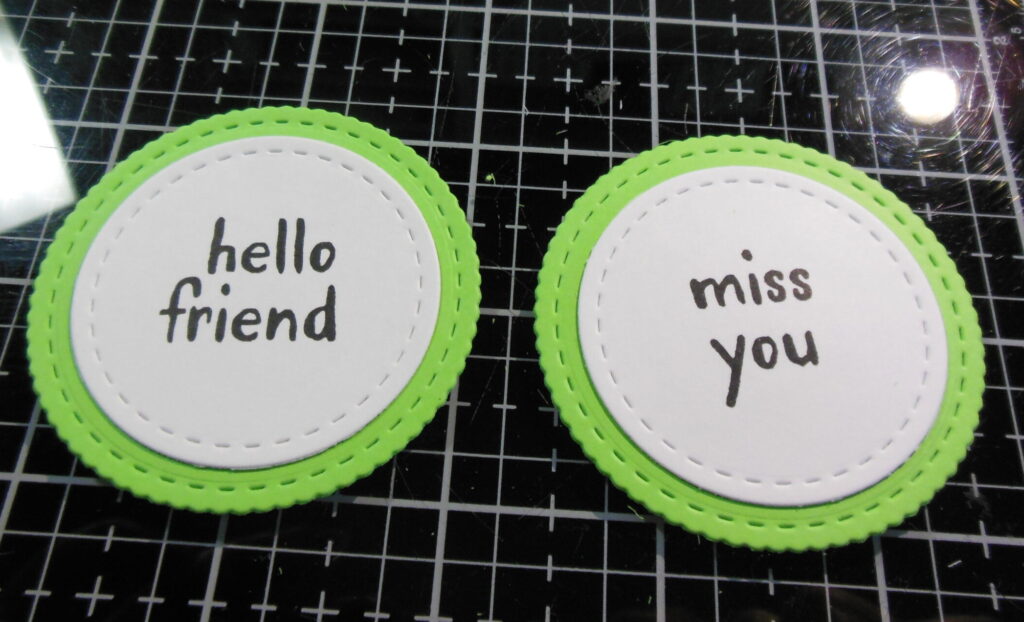
I stamped two of the little sentiments from Tim Holtz’s Note Quotes stamp set. I chose this stamp set because the sentiments are small and perfect for fitting on small circles like this. Once the sentiments were stamped on the white circles and had a minute to dry, I glued the two circles together.
All that is left is gluing the sentiment circles and the swinked panel to the card itself. One sentiment circle is glued to each of the folded panels, and then the swinked panel on the back panel. Hope you like the card!!!
Any links in this post are not affiliate links.